
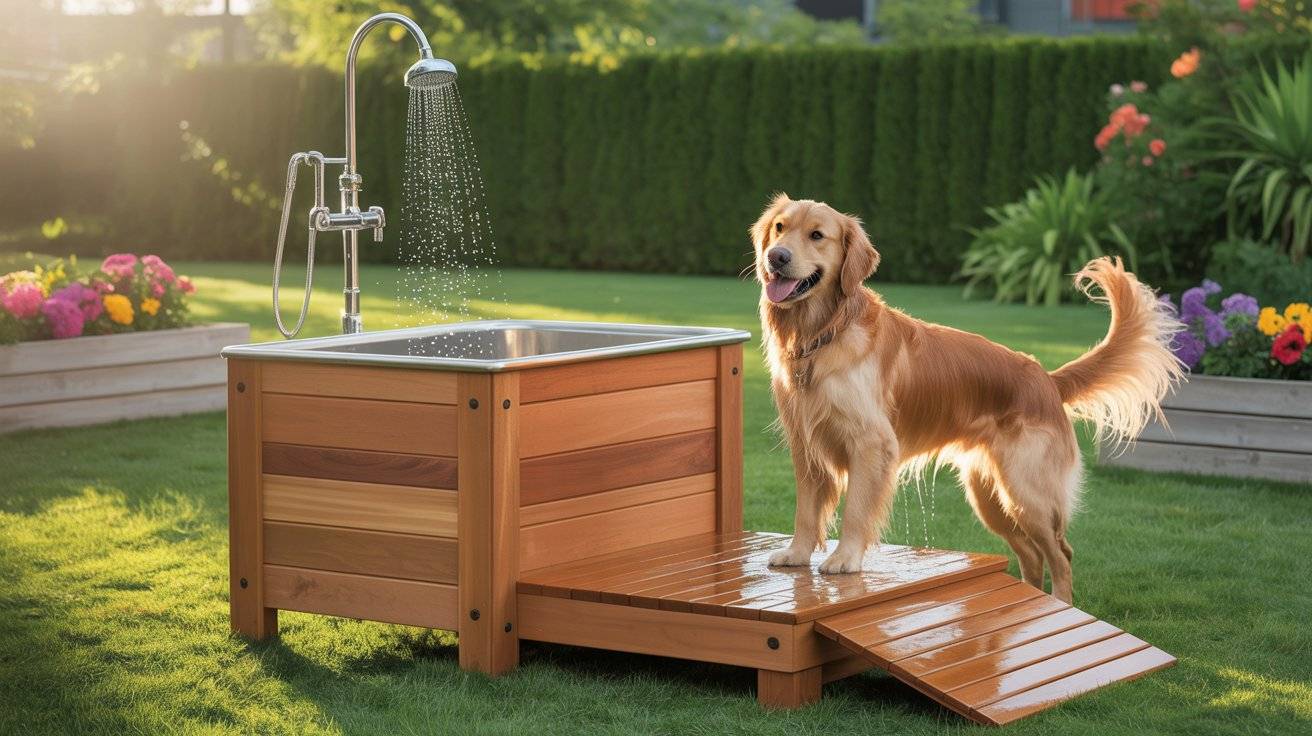
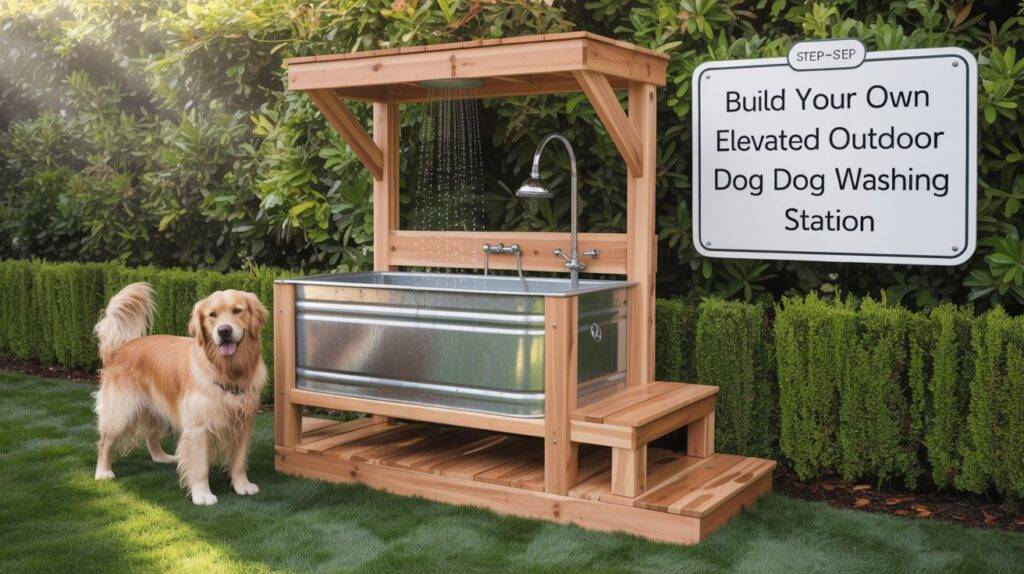
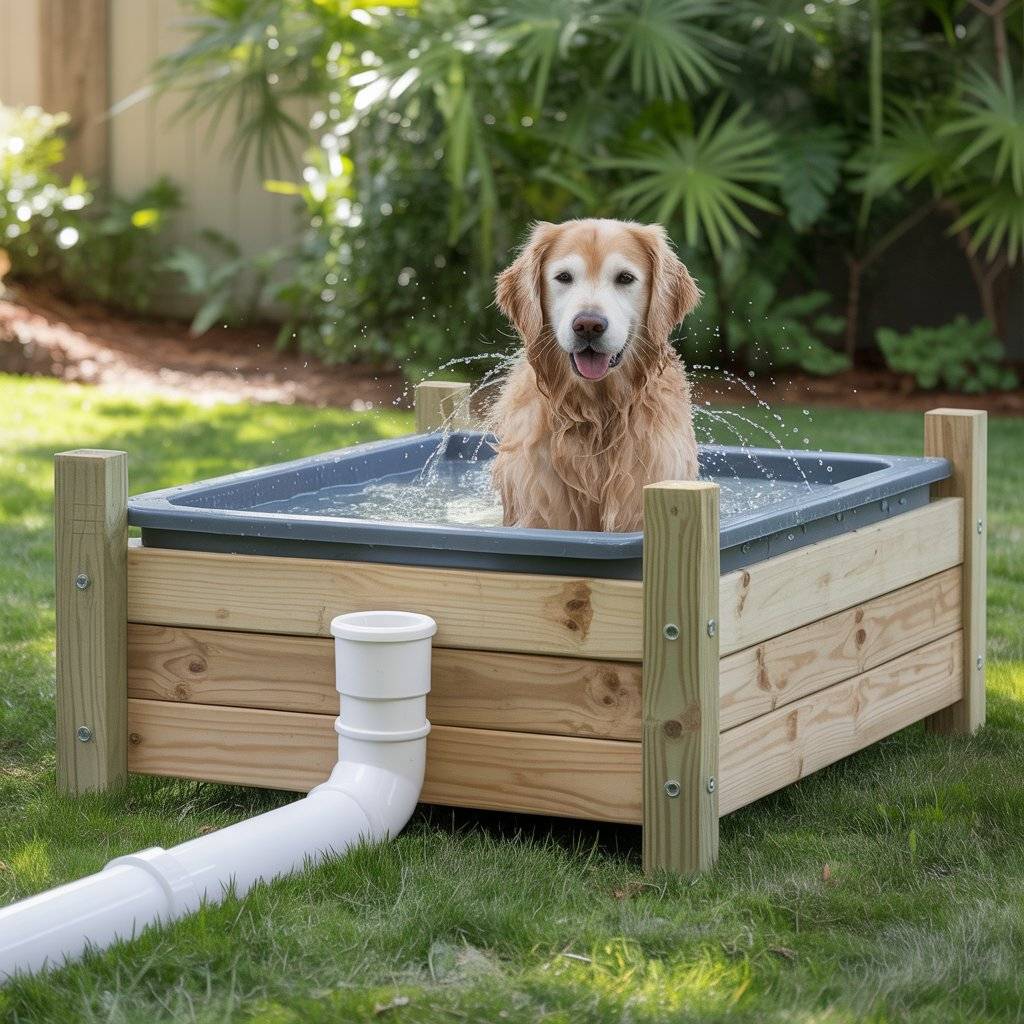
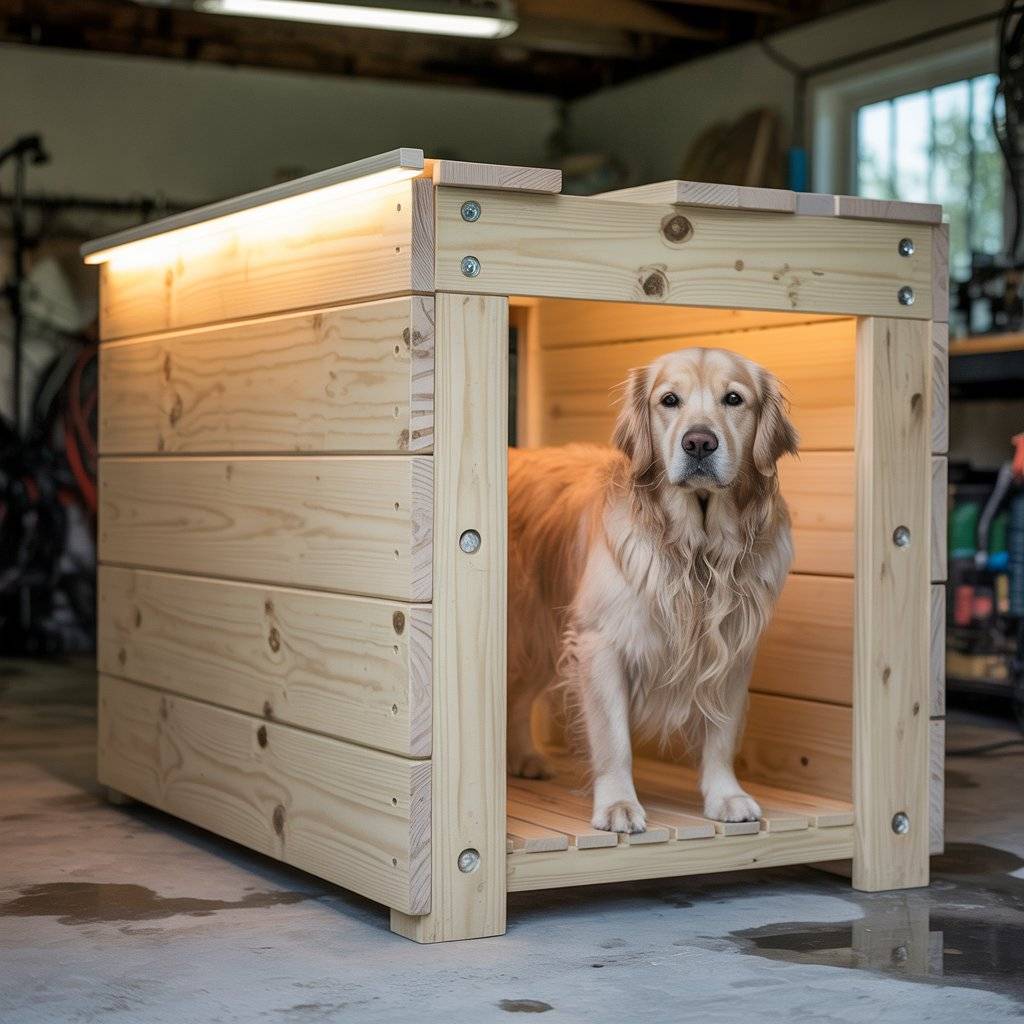
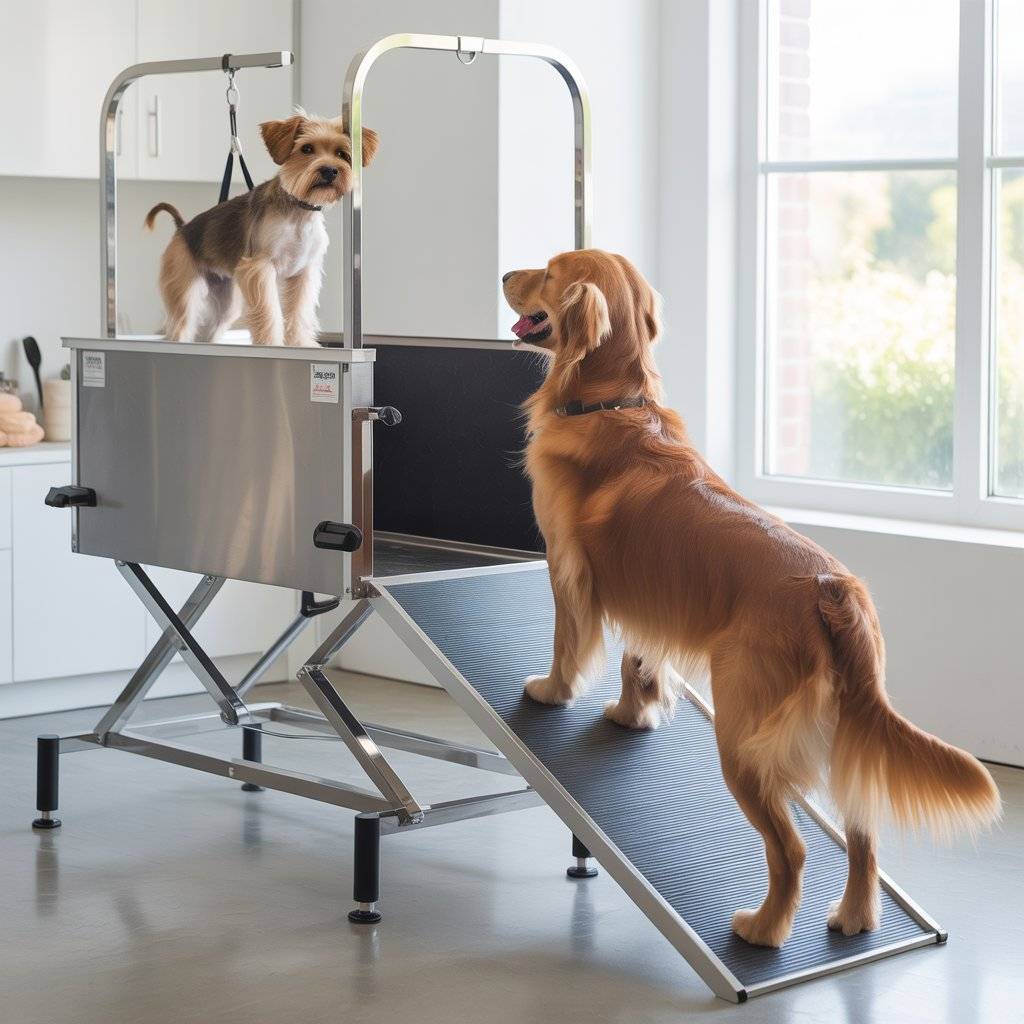
Washing your dog on the ground it can wreck your back. You bend over, scrub away, and end up with aches that last for days. What if you could stand tall while giving your pup a bath? This elevated outdoor dog washing station changes everything. It lets you work at a comfy height, no more crunching down like a pretzel.
The design fits dogs of all sizes. Lift small ones right onto the platform. For bigger breeds, add a simple ramp. My own pups one tiny at 17 pounds, the other a hefty 76 pounds both use it without hassle. If you want to skip the guesswork, grab my detailed plans. They include a full cut list and shopping guide to make your build smooth.
Section 1: Planning and Preparation Setting Up for Success
Start strong by picking the right stuff. This project sits outside and deals with water all the time. Choose treated lumber to fight off rot and bugs. Go for 4×4 posts as legs they’re thick and steady. Use 2x4s for the frame and supports. These hold up the wash area without wobbling.
Exterior screws keep things tight. Pick ones rated for outdoors. They won’t rust when wet. Glue spots with waterproof adhesive too. This combo makes your station last years. Skip cheap hardware, or you’ll rebuild sooner than you think.
Material Selection for Outdoor Durability
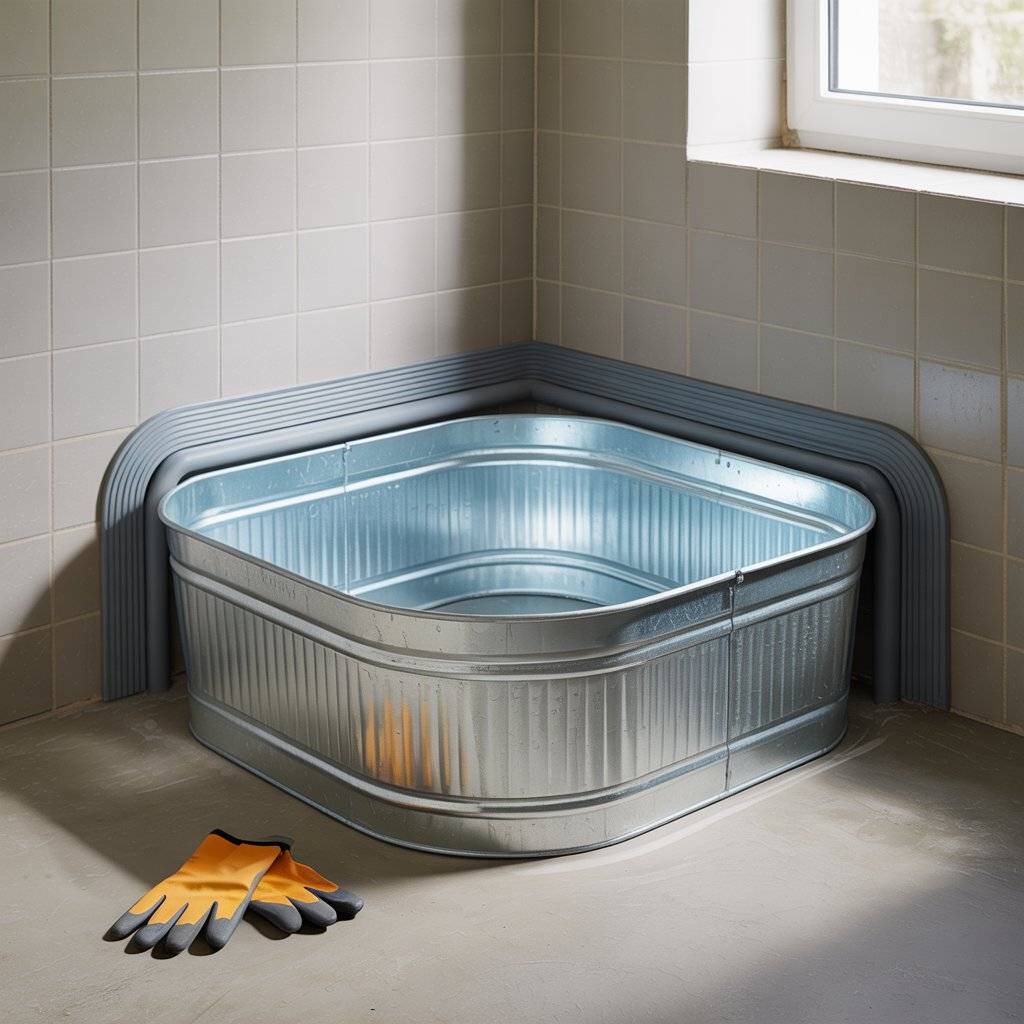
Treated lumber is a must for any wet spot. Moisture soaks in fast without it. I used pressure-treated wood for every piece, from legs to decking. This stuff resists water and lasts longer in the yard. For the tub, grab a big fiberglass drain pan. It handles small pups or large ones without leaks.
Don’t forget gloves the pan’s edges can scratch. Stock up on PVC pipes for plumbing. Use schedule 40 type; it’s tough and easy to cut. Add galvanized fittings if you skip wood for the restraint. These choices keep your build safe and strong.
Key materials list:
- 4×4 treated posts (four, 8 feet long)
- 2×4 treated boards (several for frame and ramp)
- Fiberglass drain pan (large size for versatility)
- Exterior screws (3-inch and 2.5-inch)
- PVC pipes and elbows for water line
This setup costs around $150 to $200, depending on your local prices. It’s a smart spend for happy dogs and your back.
Essential Cuts and Notching Techniques
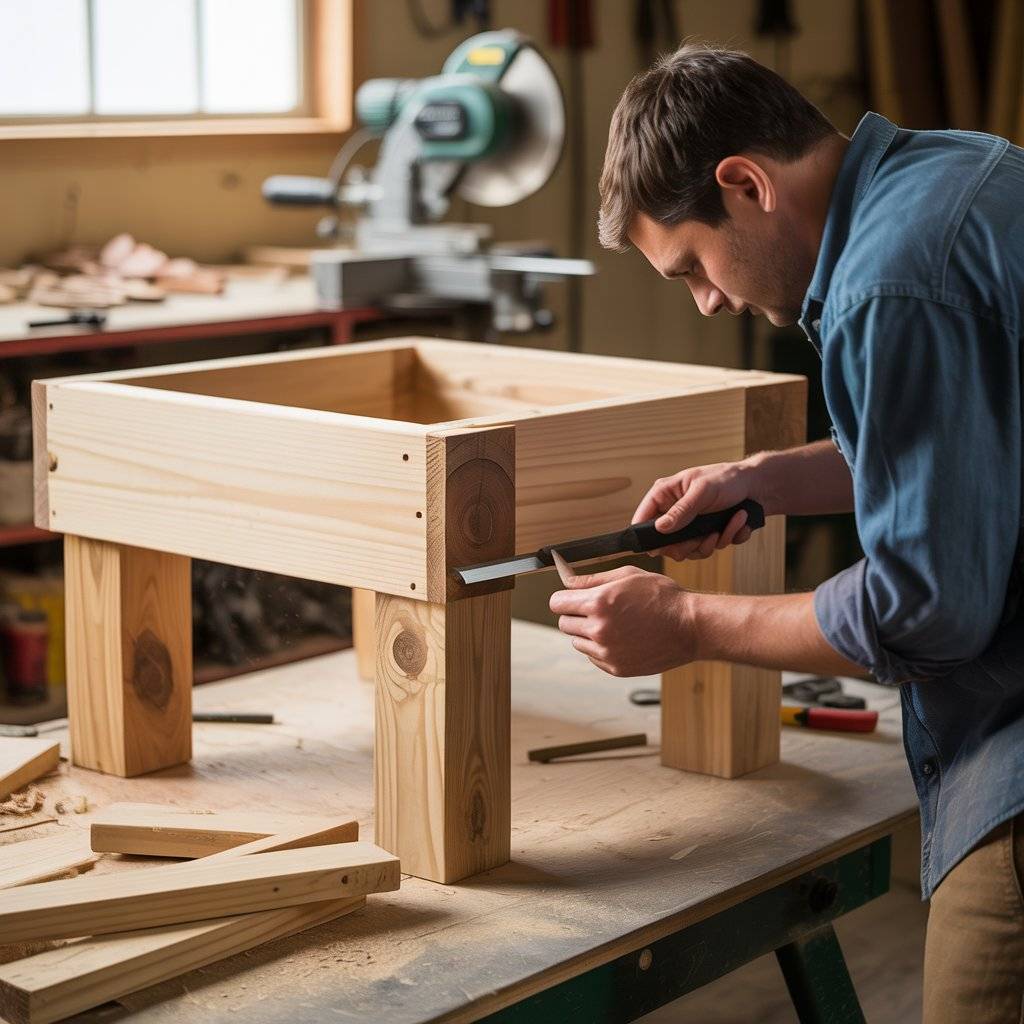
Fire up your miter saw first. Work from the cut list in the plans. Measure twice, cut once old rule, but it saves wood. I cut all 2x4s to length for the body and ramp. The 4×4 legs get trimmed to about 36 inches for a good height.
Now, notch those legs for the base. Mark the spot with pencil, say 6 inches up from the bottom. Set your circular saw depth to half the post’s width. Cut two lines for the notch edges. Then, slice the middle in passes. Use a chisel and mallet to pop out the waste. Smooth it flat. This seat lets the base sit flush and strong.
Test fit before moving on. The notch should hug the 2×4 tight. No gaps mean no weak spots later.
Understanding the Build Philosophy
This design stays simple for weekend warriors. No fancy tools needed beyond a saw and drill. Butt joints hold the frame easy to screw together. Pocket holes add strength where hidden. The whole thing feels like stacking blocks, but way sturdier.
Pre-drill every hole near ends. Wood splits easy without it. Use a bit slightly smaller than your screw. This pulls boards tight without cracks. Build on a flat spot, like your garage floor. It keeps lines straight from the start.
Think of it as a puzzle. Pieces fit by eye in spots, but check with a square often. This loose vibe cuts stress and speeds things up.
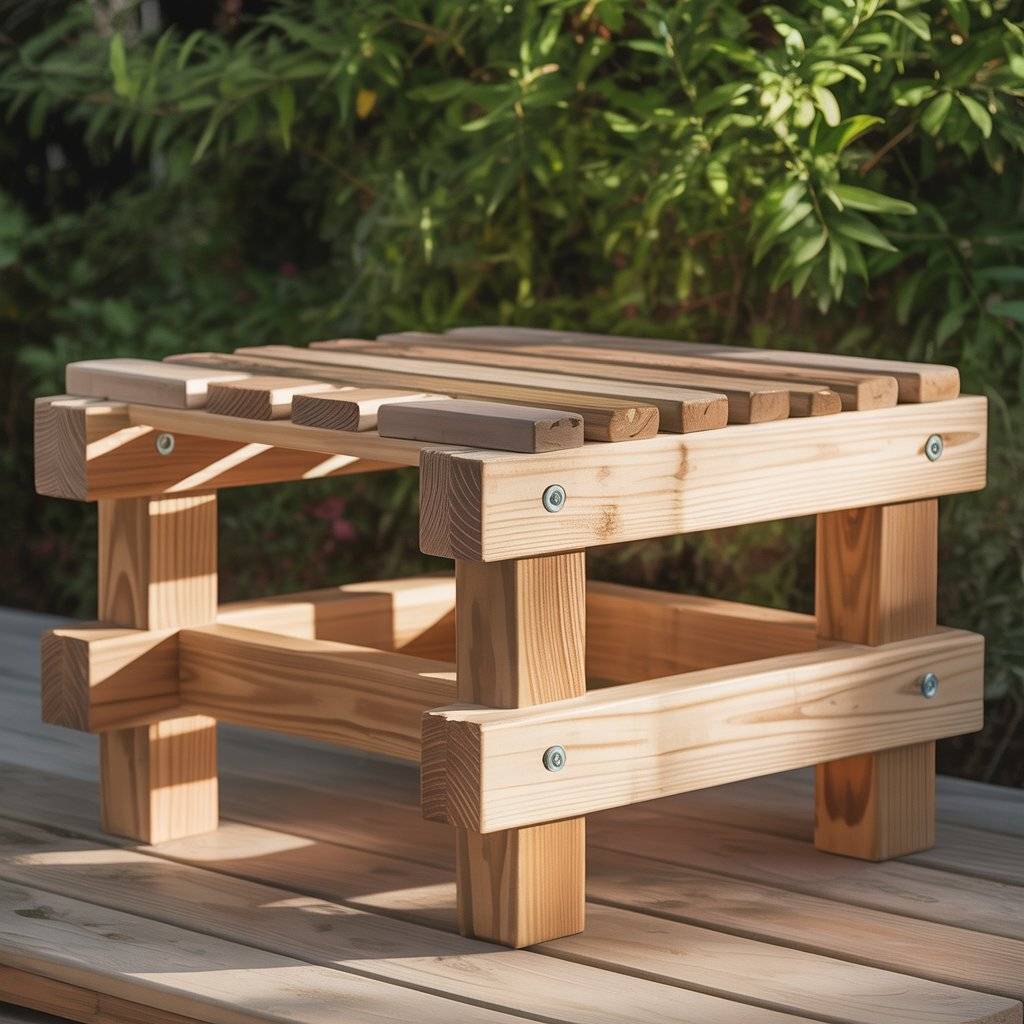
Section 2: Constructing the Main Body and Support Base

Waterpik Pet Wand Pro Dog Shower Attachment for Fast and Easy Dog Bathing
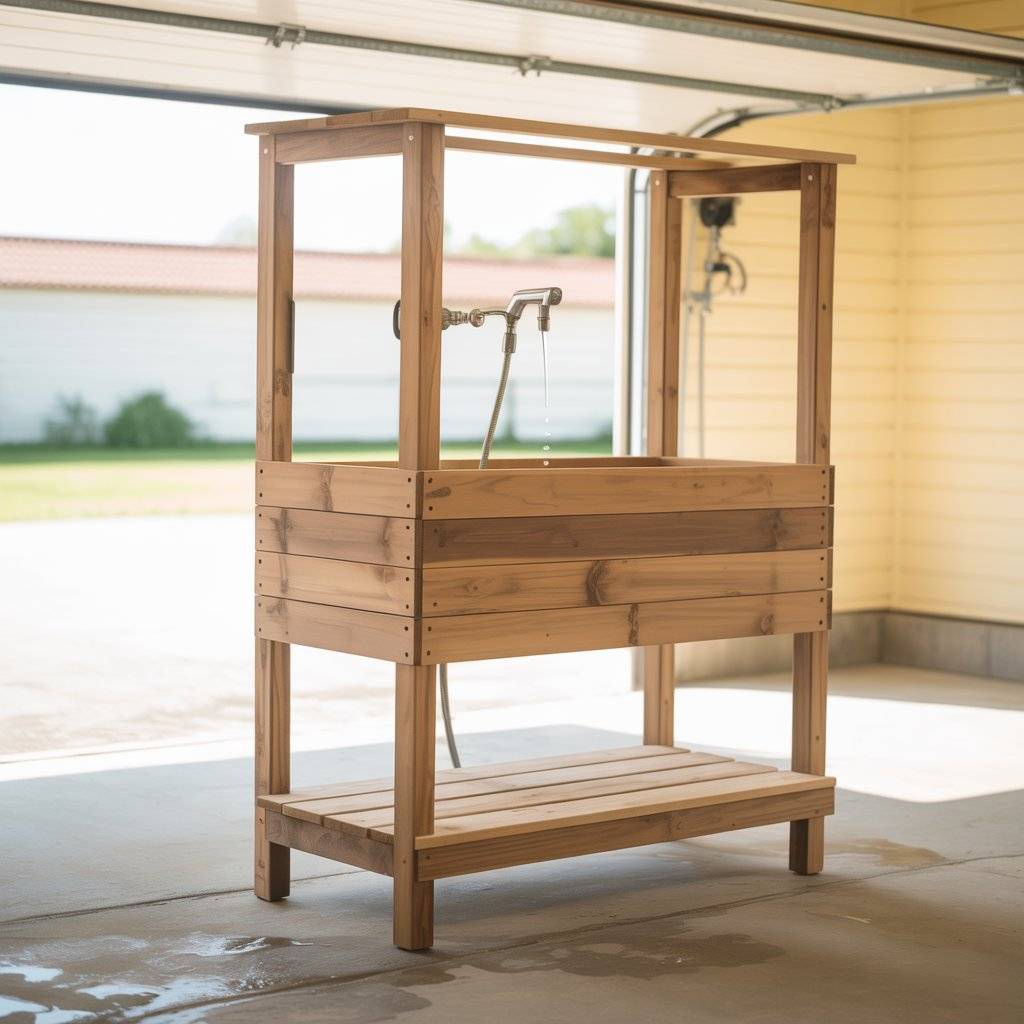
With cuts done, assemble the core. The body is the heart where your dog sits for the wash. Start here, then add legs. Keep it level, or the whole thing tilts. I built mine in the shop, but you can do it outside if space allows.
Screws go in from the back for clean looks. Clamp pieces first. This stops slips mid-drive. The frame comes together quick, under an hour if you’re handy.
Assembling the Wash Tub Housing
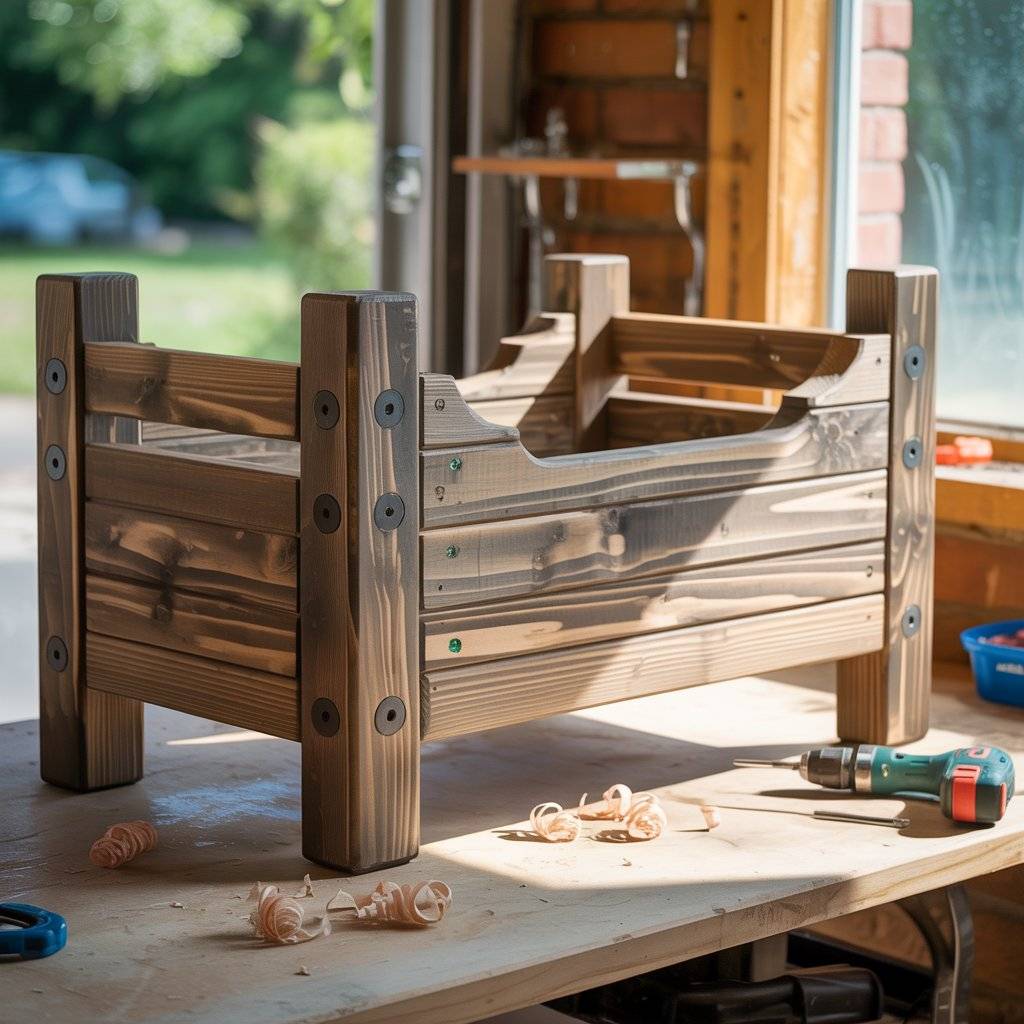
Lay out the main frame on your bench. Screw butt joints for the sides and back. Use three 3-inch exterior screws per spot. They bite deep into the treated wood. Next, add the front supports. These hold the tub edges later.
Pre-drill these fronts to avoid splits. Position the unit so it hangs off the bench edge. Your drill won’t bump the surface. Drive screws straight aim for flush. The frame now stands about 26 inches high, perfect for elbow room while scrubbing.
Wipe off sawdust now. Clean wood bonds better if you add glue.
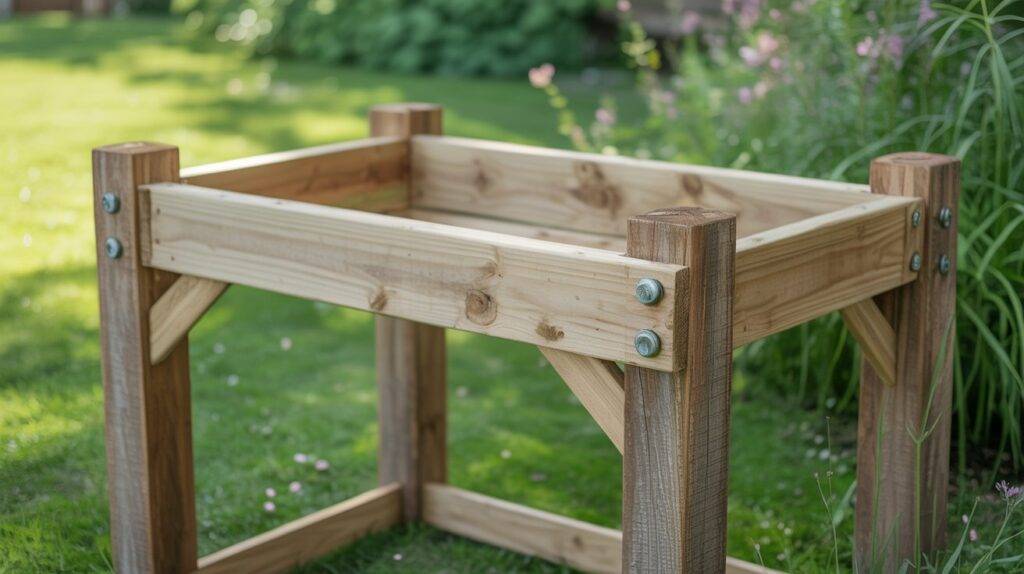
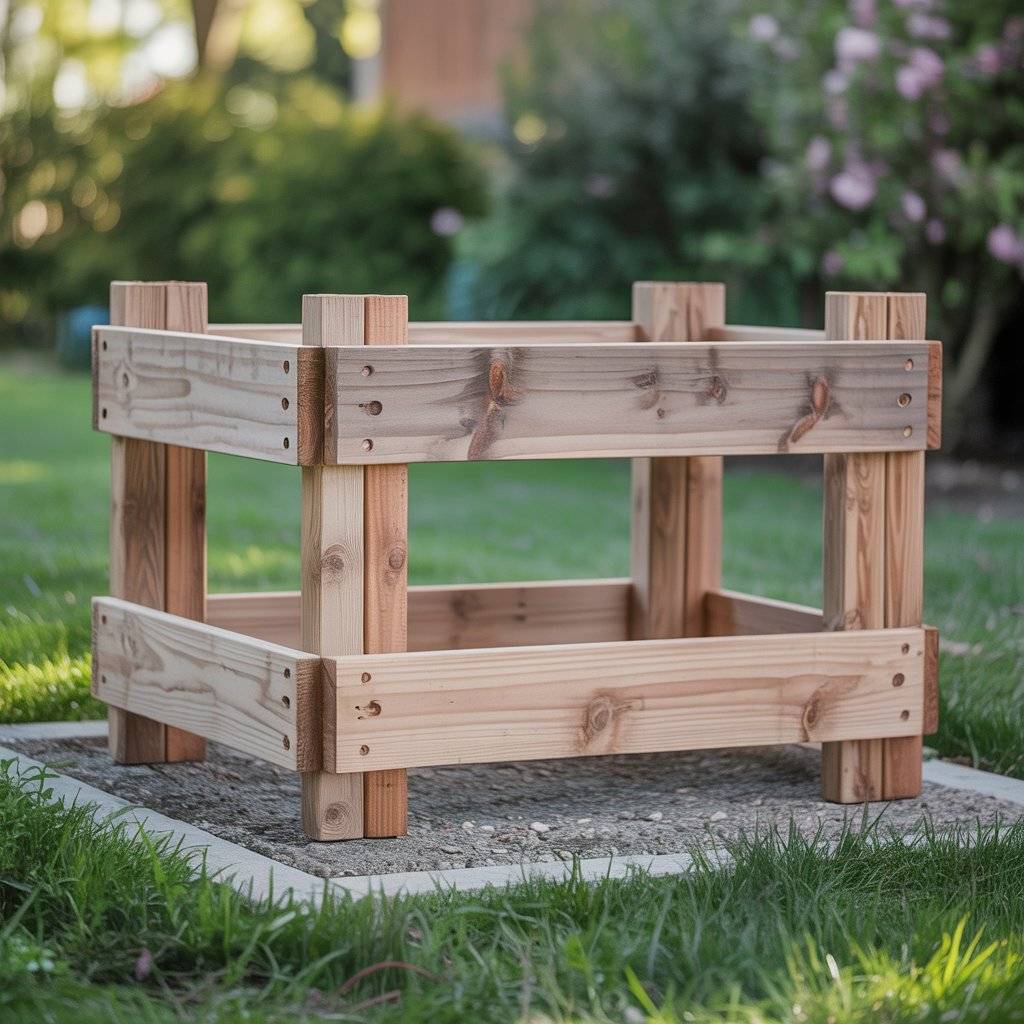
Incorporating Center Support and Pocket Holes
Fill the middle with more 2x4s. Mark rough spots with pencil, but attach by eye. No need for tape measures here gaps under an inch work fine. It adds strength without fuss.
For secure hold, use pocket holes on the bottom faces. Flip the whole frame on its end. This lets you drill and screw easy. Clamp each board flush before driving. Pocket screws pull tight and hide away.
I spaced mine even, about 12 inches apart. It supports the tub weight plus a wet dog. Test by pushing down should feel rock solid.
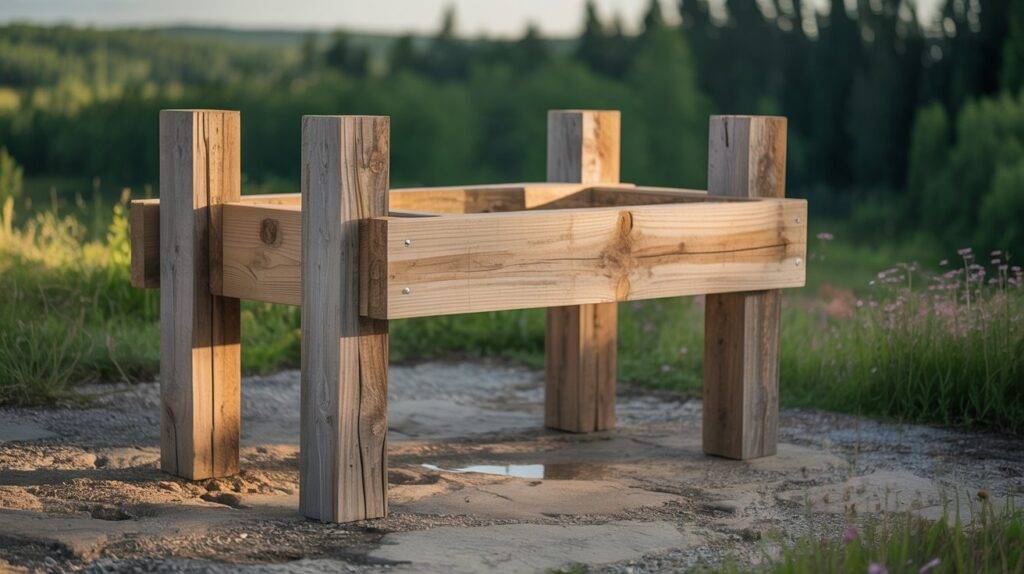
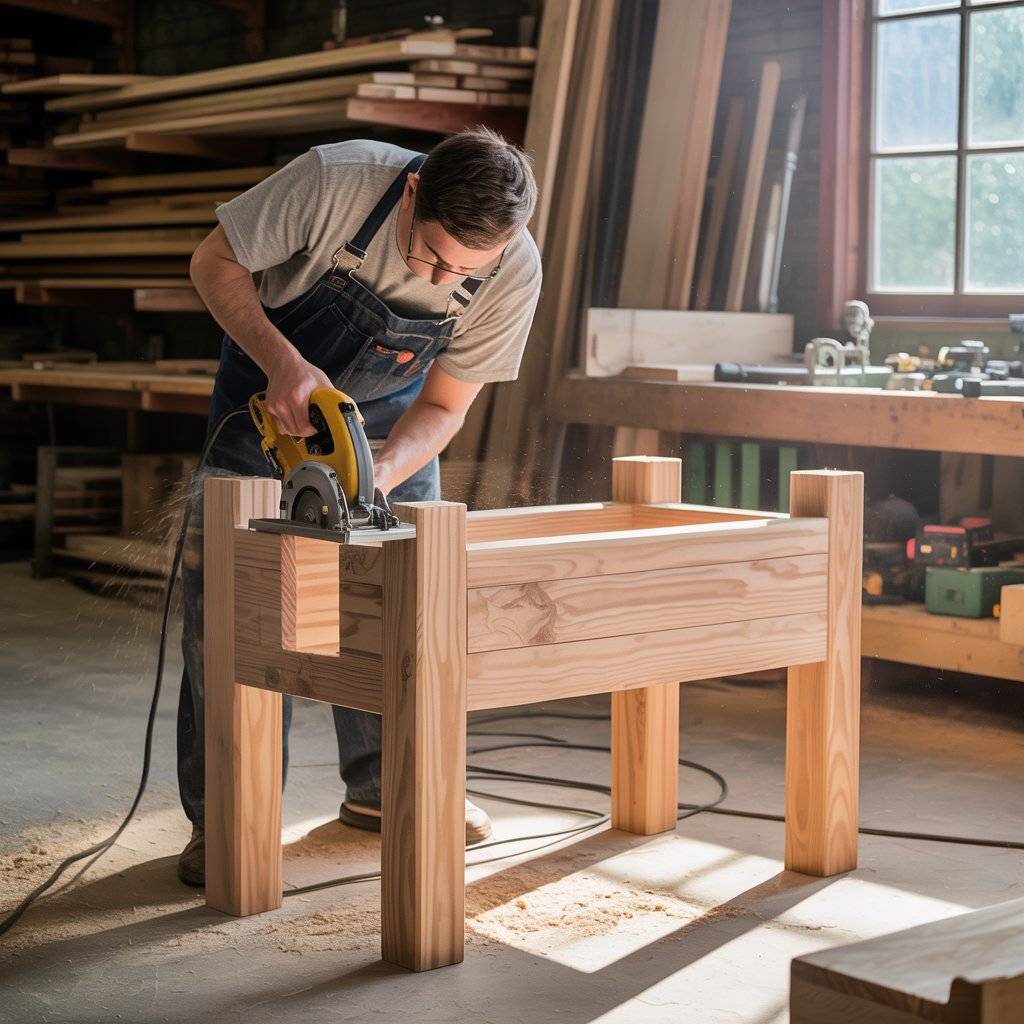
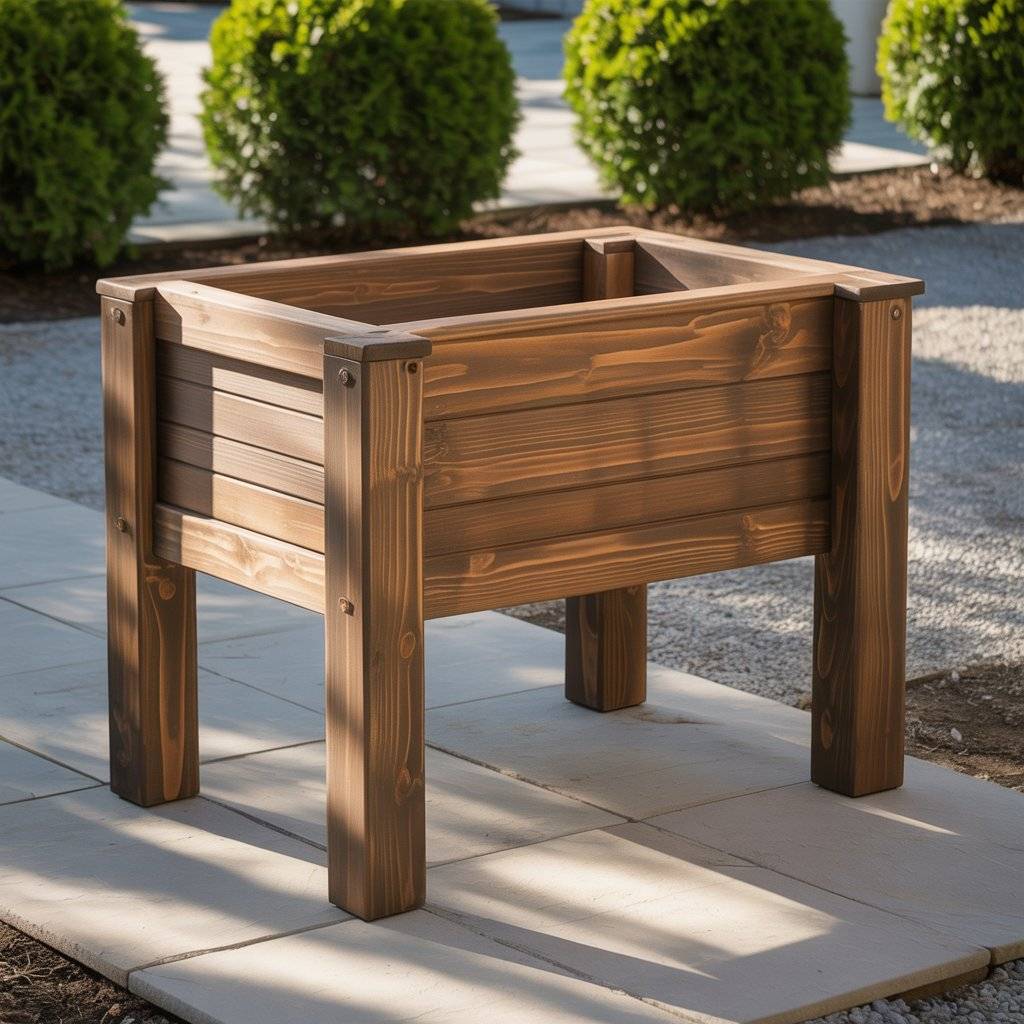
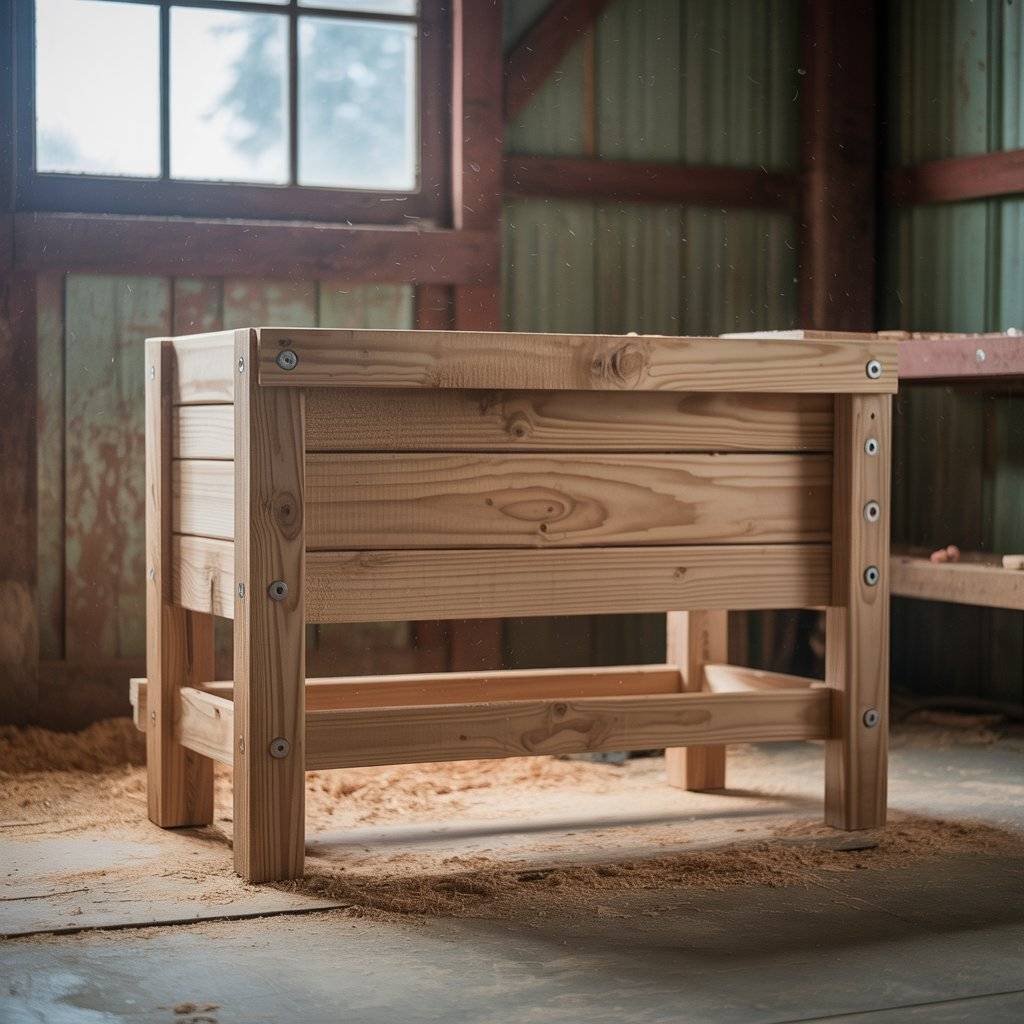
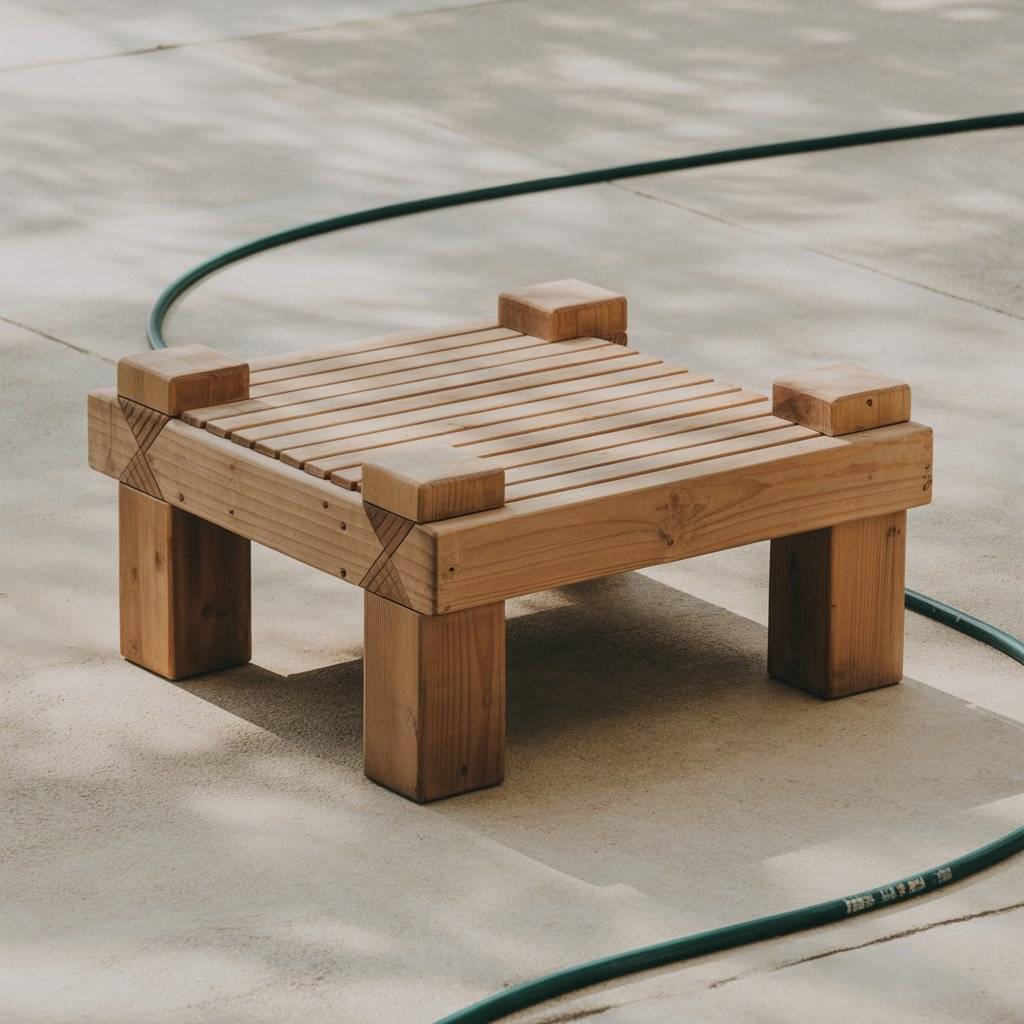
Building the Sturdy Foundation Legs
Take your notched 4x4s. Slide a 2×4 into each notch for the cross brace. Pre-drill an angled hole from the 2×4’s bottom. This lets long screws go up into the post. Drive from below so water runs off, not in.
Build two legs this way. Stand them up, then add the shelf platform. Eyeball the 2×4 spacing across the top. Use a square on the first and last board. Screw them in others follow straight.
Stand on it. If it holds your weight, it’s ready. This base lifts the body to scrubbing height, around 30 inches total.
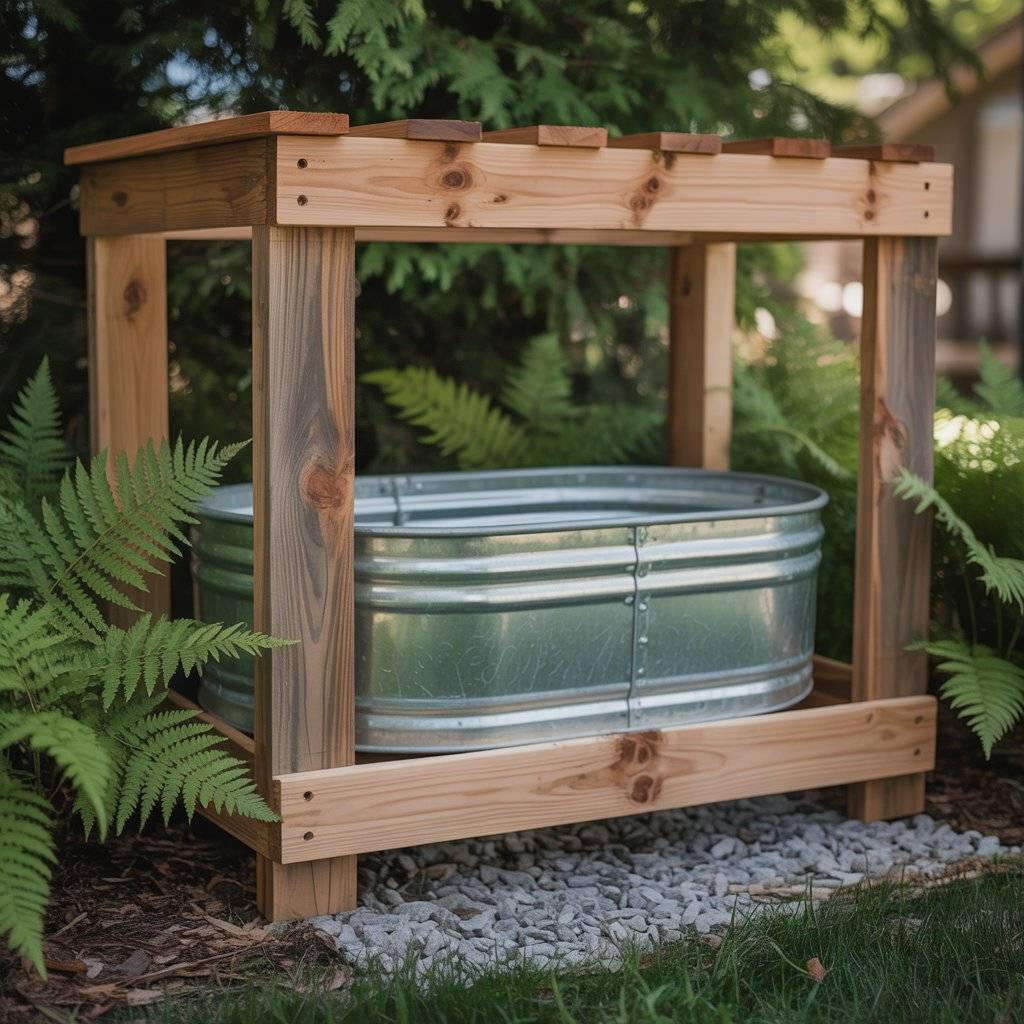
Section 3: Installing the Tub and Accommodation Features
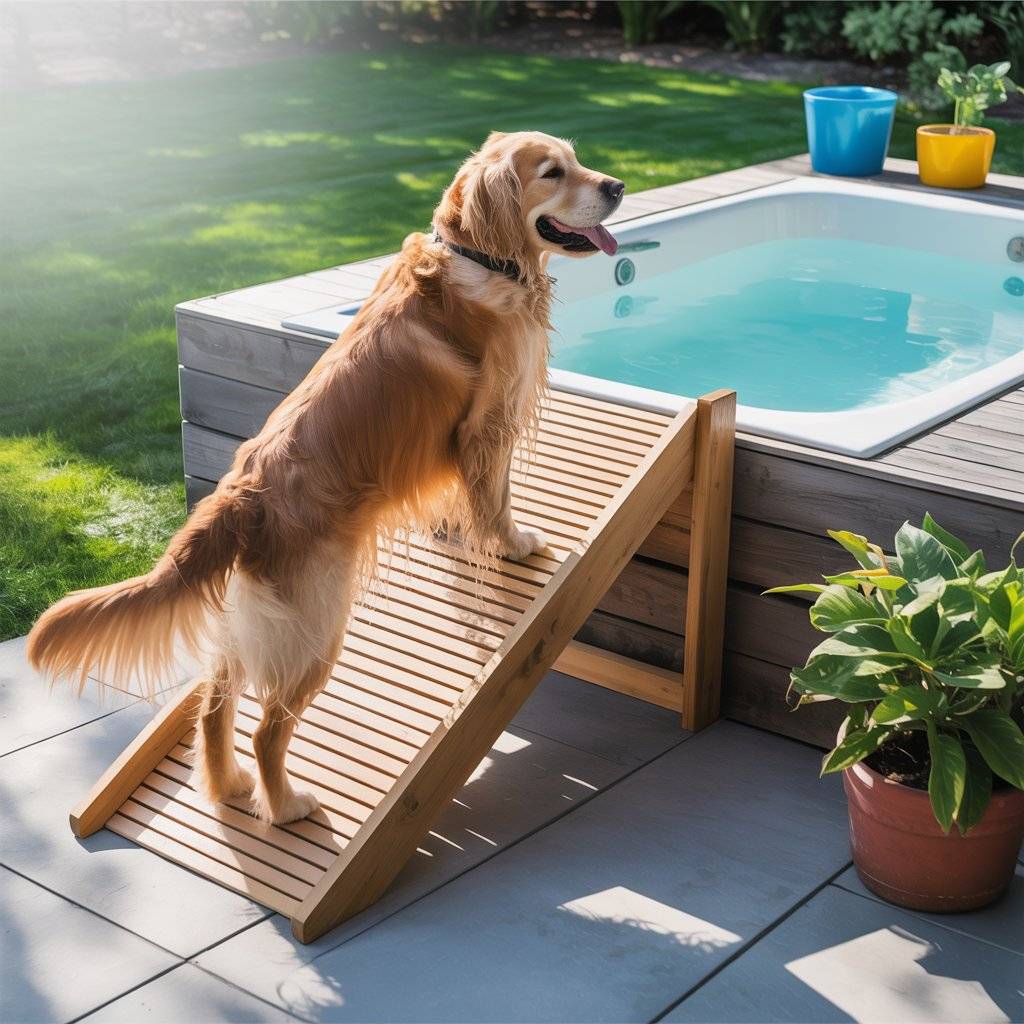
The tub goes in next. Pick one with a built-in drain hole. Mine’s a 4-foot pan, big enough for Labs or Chihuahuas. Secure it well, or water spills everywhere.
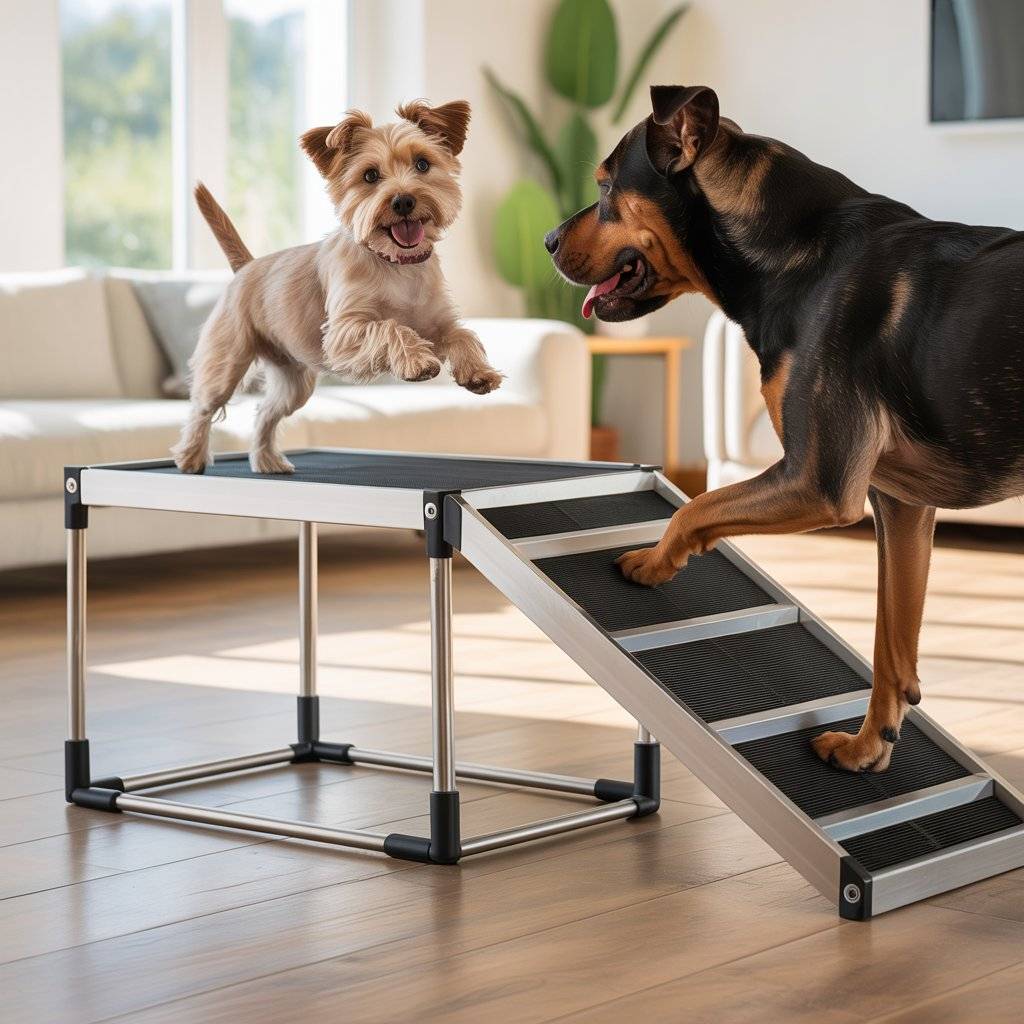
For big dogs, the ramp makes access simple. Hinges let it adjust to your yard’s bumps. Test as you go your pup’s comfort matters.
Portable Bath Tub for Pets Dogs Folding Dog Bathtub Pet Swimming Pool
Securing the Wash Pan
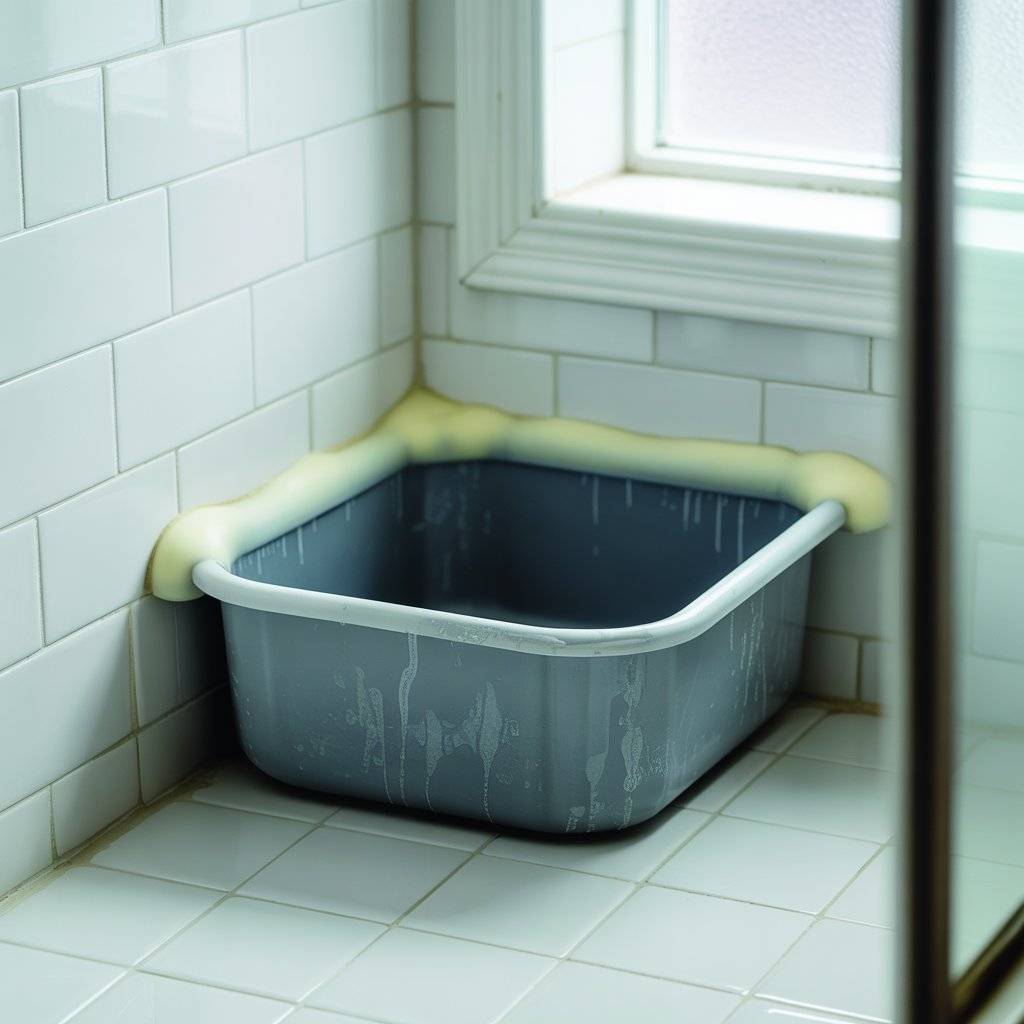
Place the pan in the frame. Butt it flush to one corner. Caulk the seams with silicone for a watertight seal. Press firm, then screw from below if needed. The pan’s heavy, so get a helper.
Wait 24 hours for caulk to cure. I moved mine too soon once seam popped, redo time. Gloves on, always; fiberglass bites back.
This setup drains right, no puddles under your feet.
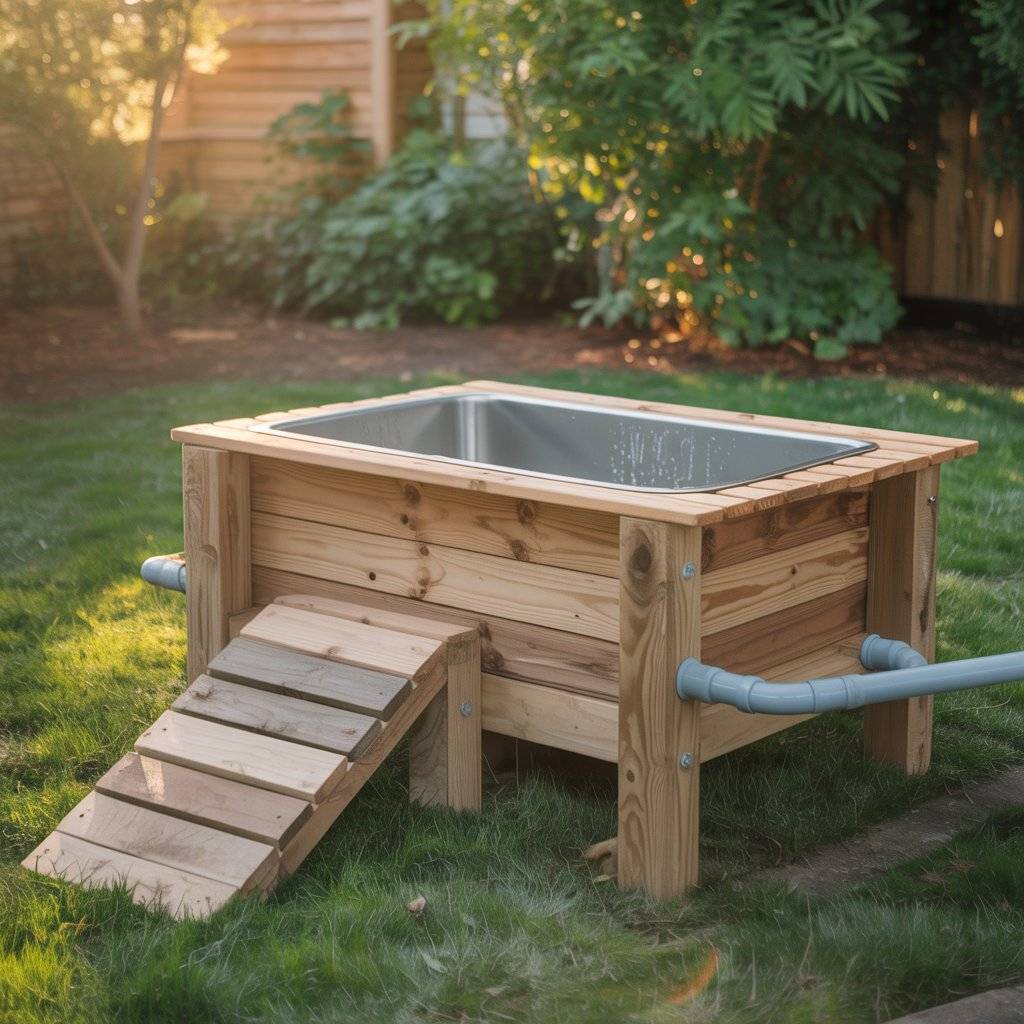
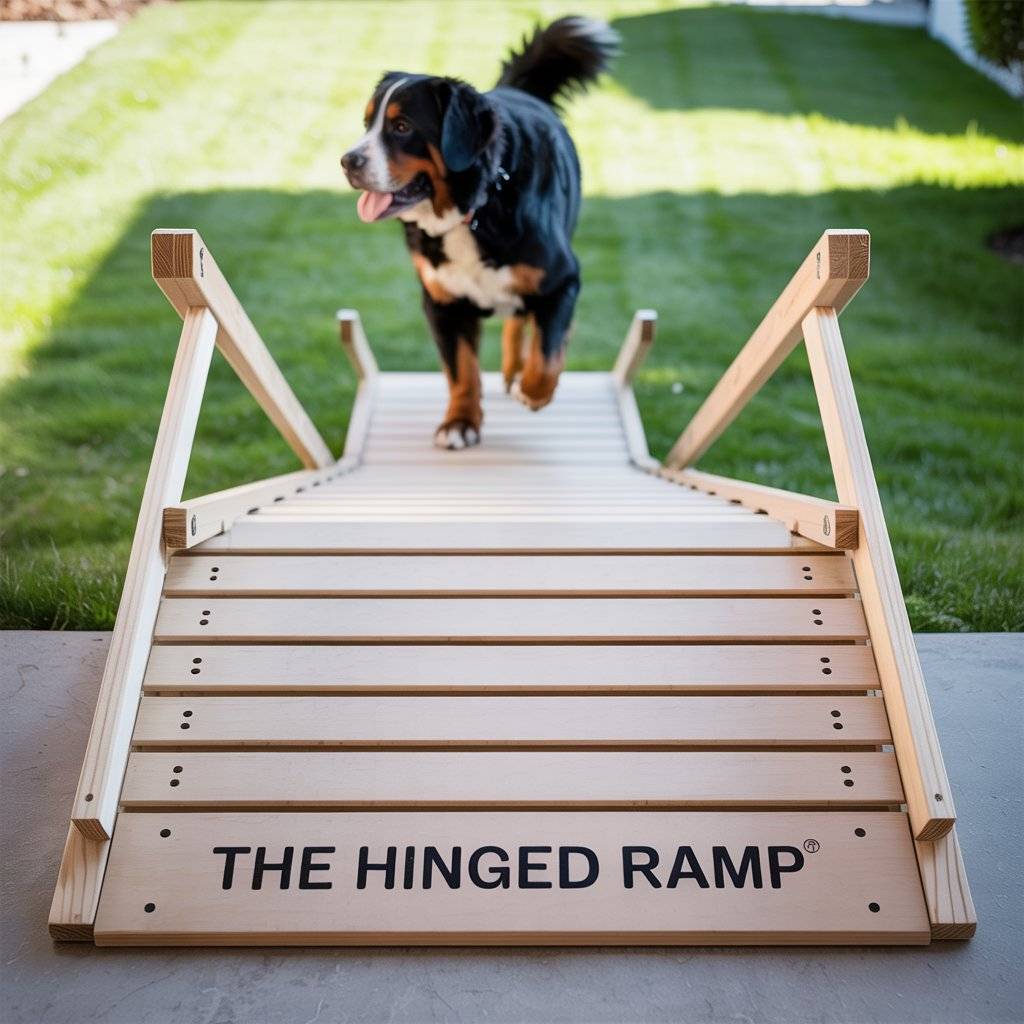
Designing for Large Breeds: The Hinged Ramp
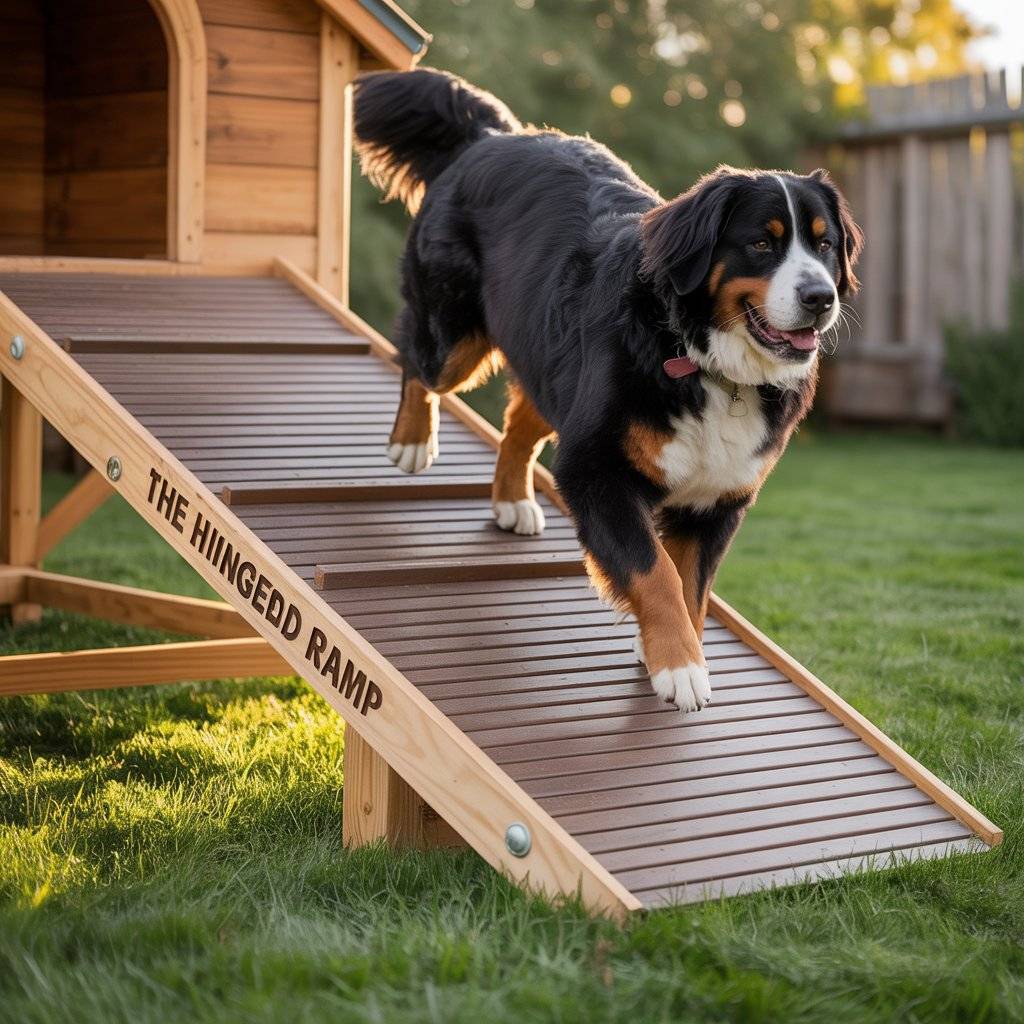
Uneven ground? Hinges fix that. Screw them to the station’s side first. Then attach 2×4 stringers to the other leaf. These form the ramp sides.
Lay decking boards across. Start square at the top. At the bottom, space the stringers even. Screw a temp board there to lock it. Fill the rest fast boards butt tight. They shrink a bit later, leaving small gaps for drainage.
Pull the temp and add the final board. Ramp done. Mine’s 4 feet long, gentle slope for a 76-pound dog.
Ramp tips:
- Use three hinges for heavy use
- Sand edges smooth no splinters
- Adjust angle after install
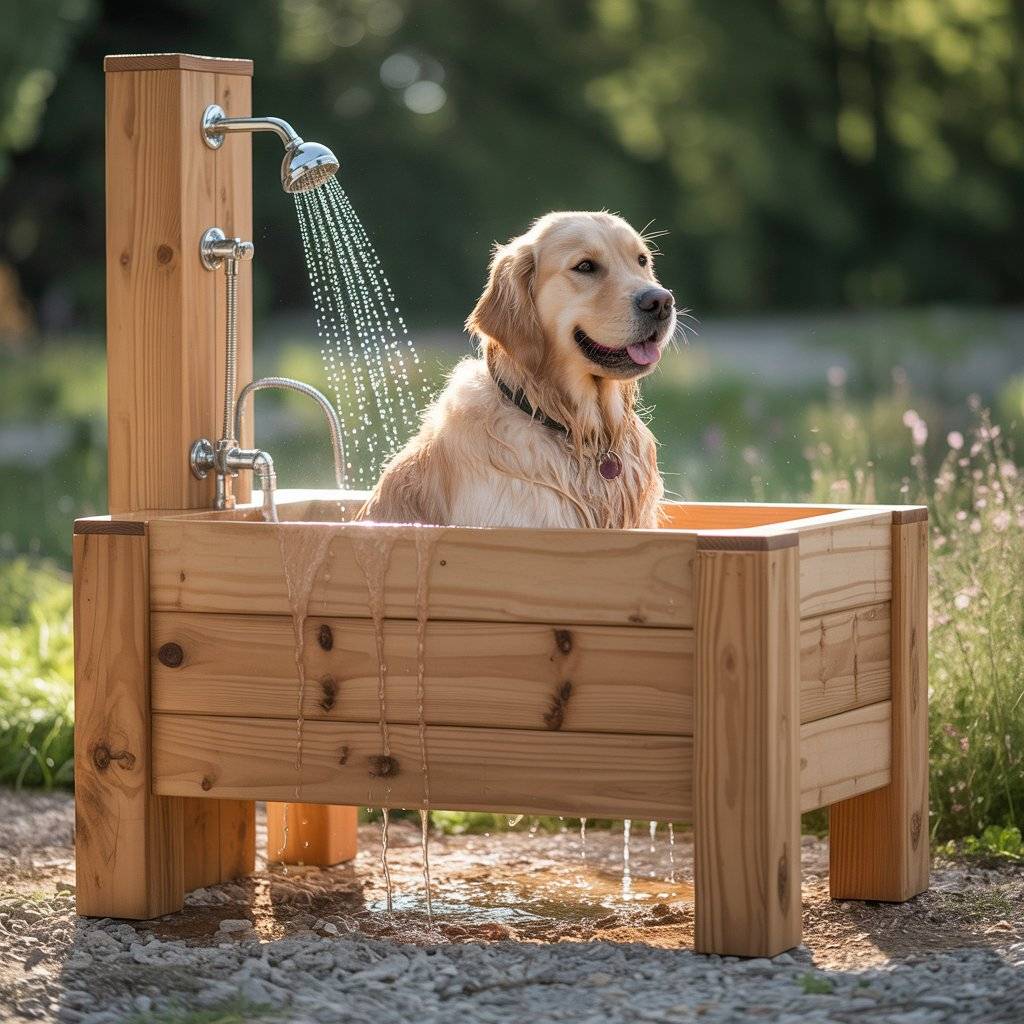
Functionality Check and Adaptability
Lift your small dog in easy reach at 26 inches. For the big one, guide up the ramp. My 17-pounder hops right up. The 76-pounder walks steady, no lift needed.
Test with water running. Does it drain? Is it stable? Tweak hinges for level. This versatility shines for mixed breeds. One station, all dogs happy.
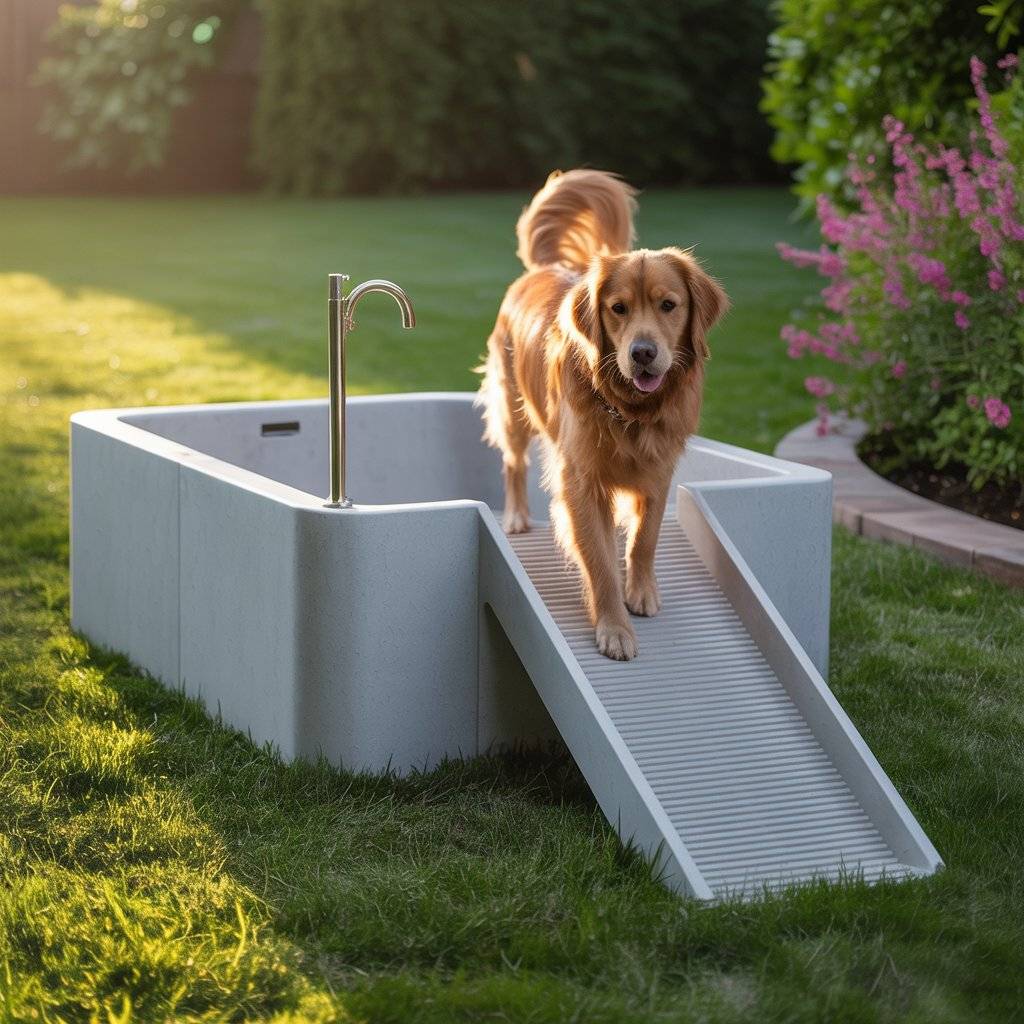
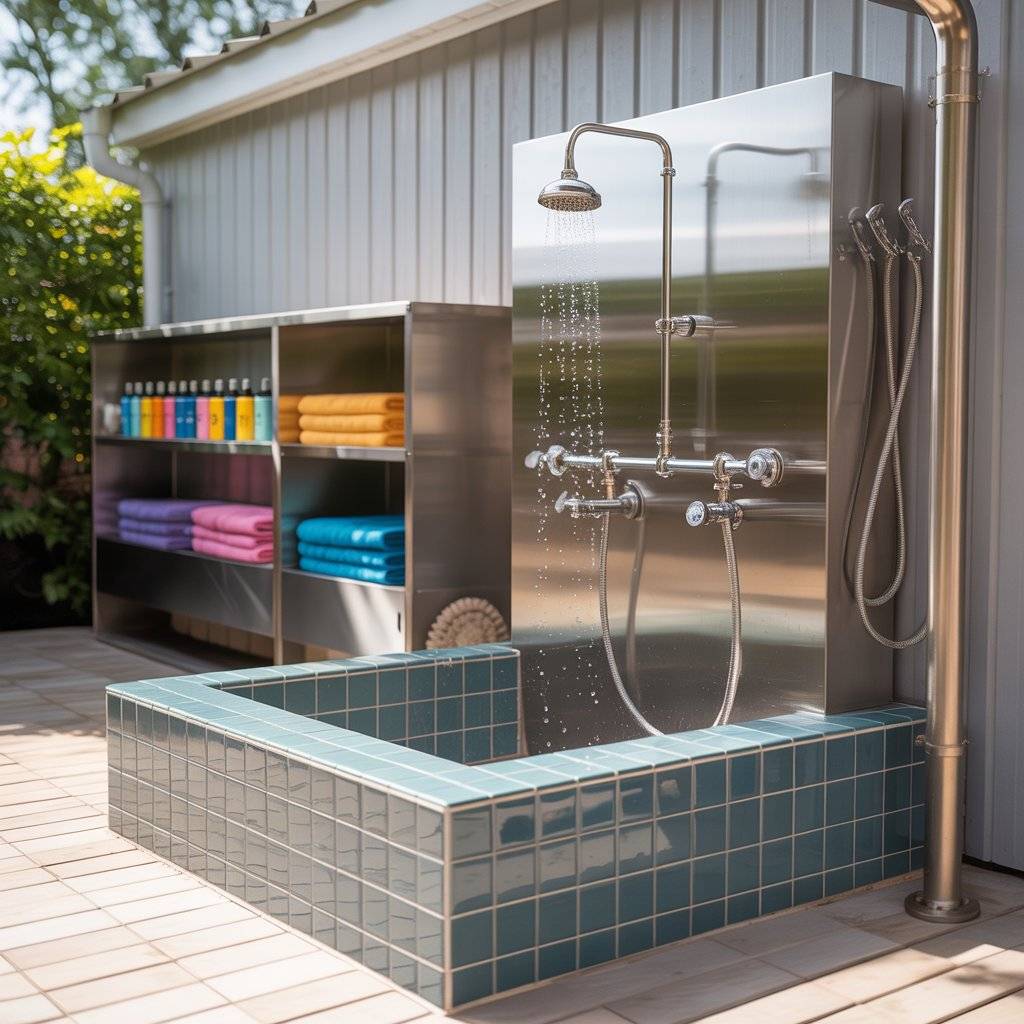
Section 4: Plumbing and Finalizing Functionality
Plumbing turns it real. Add water in, drain out. Keep pipes straight twists clog easy. Use PVC glue for joints; it sets fast.
Safety comes last. The restraint stops escapes mid-bath. Hooks and shelves organize gear.
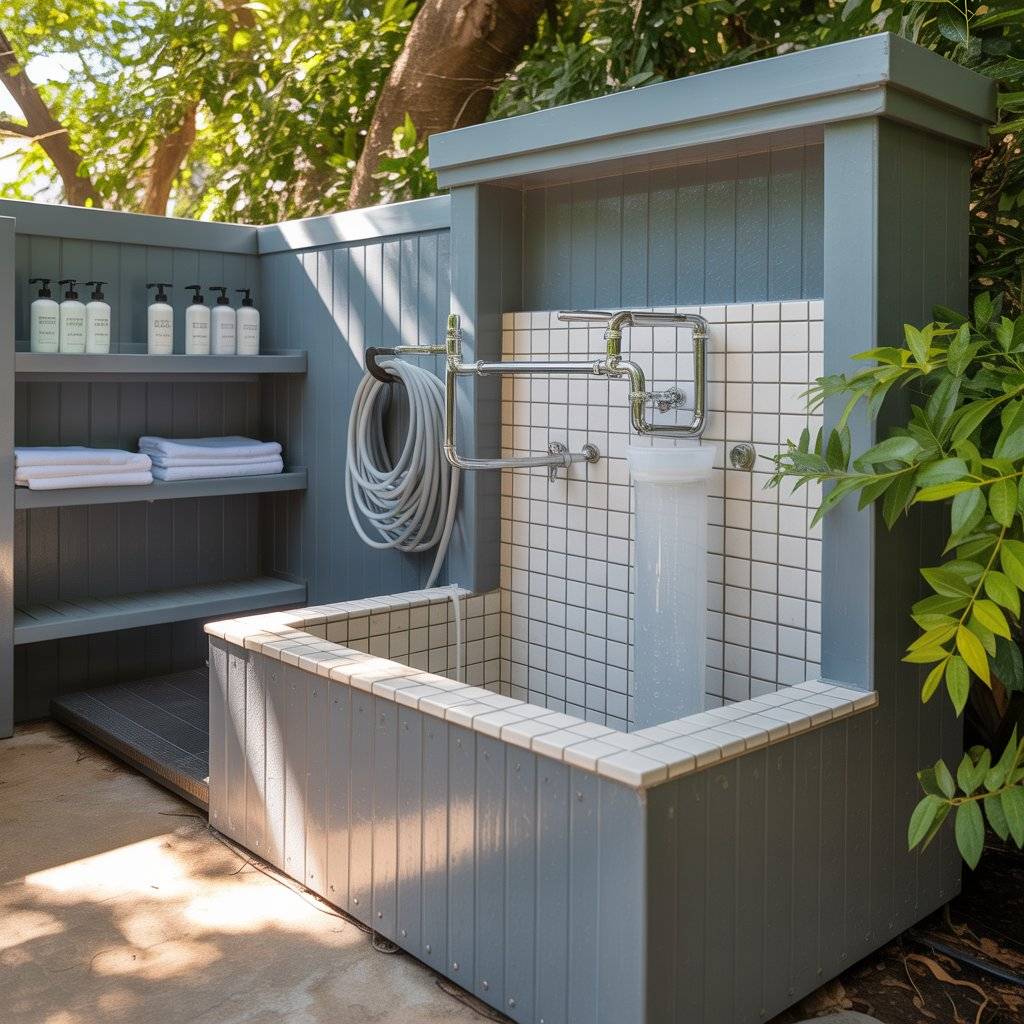
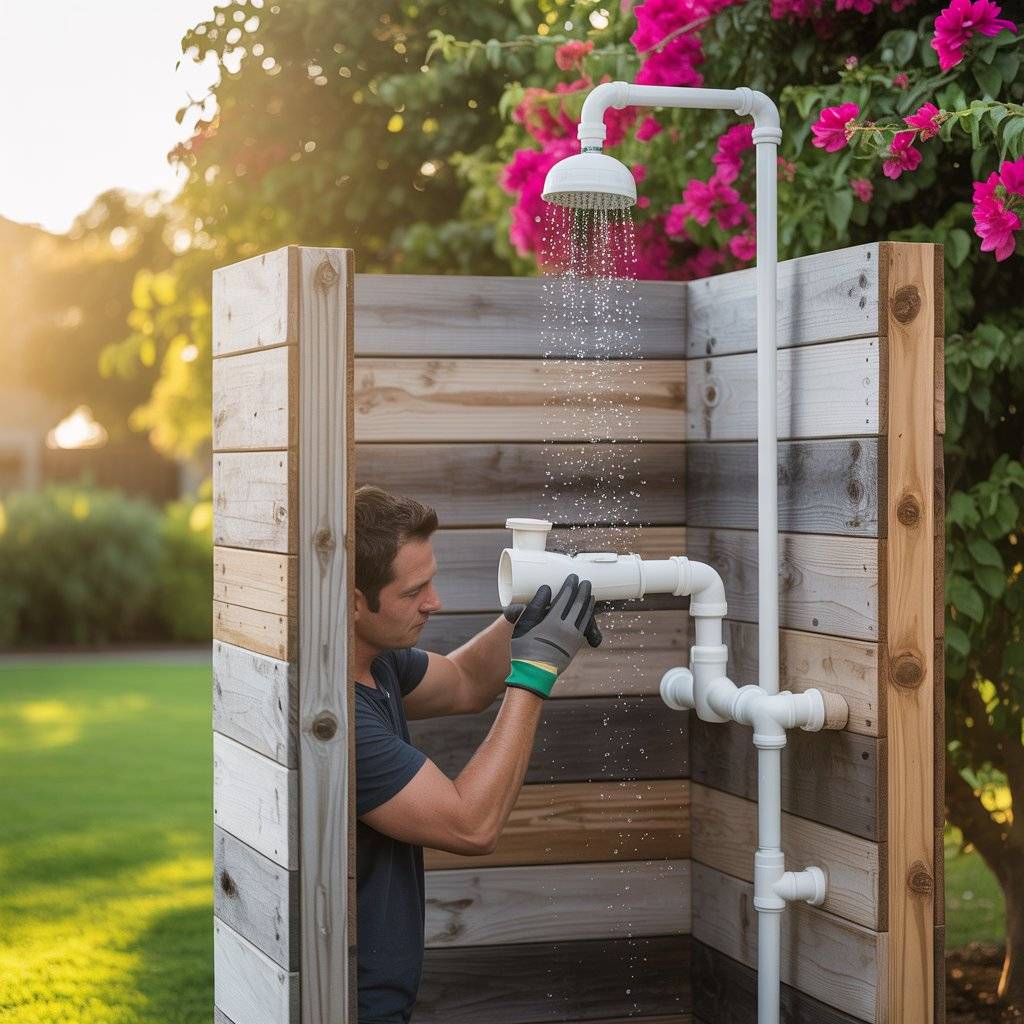
Installing the Water Supply Assembly
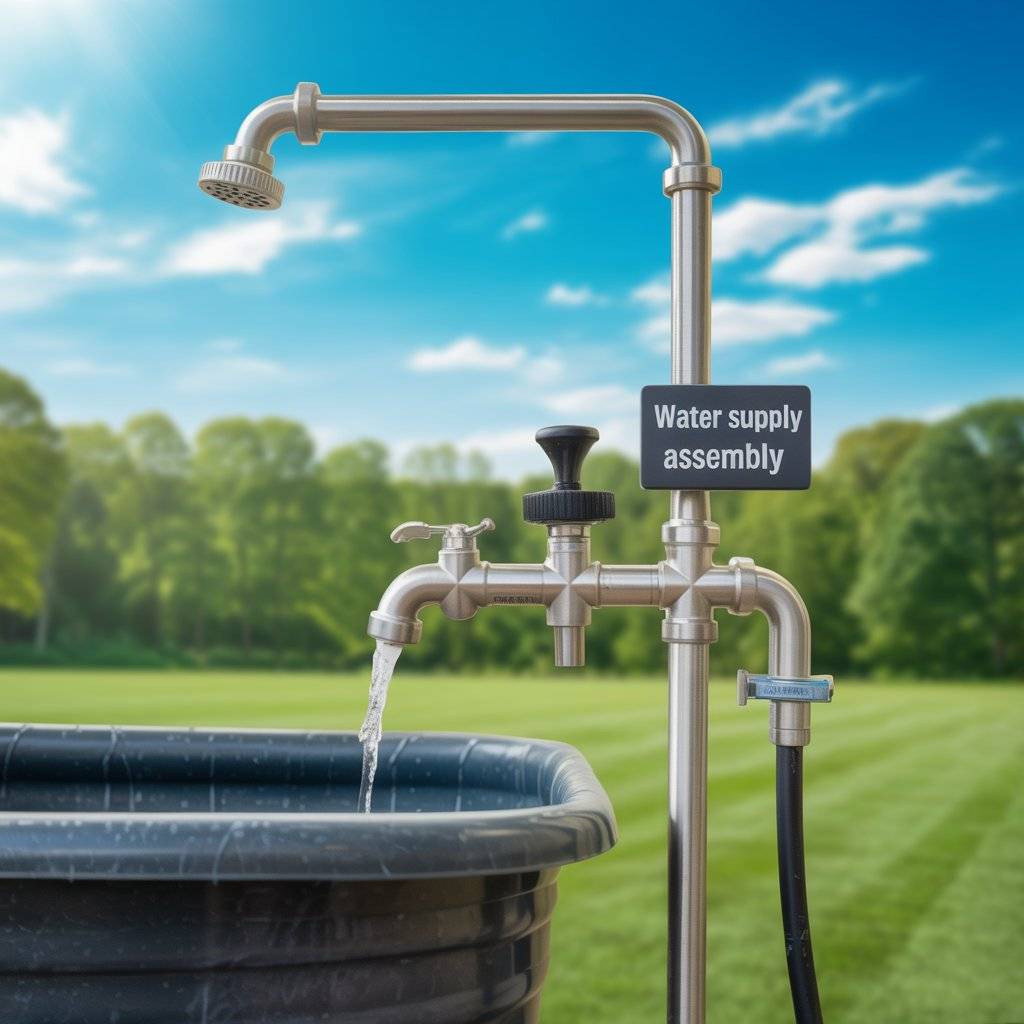
Cut PVC to rough length. Clamp the assembly to the frame. Trim exact now. Glue a 90-degree elbow for the rise. Keep the inlet horizontal, outlet vertical.
Build up the vertical pipe, leave long. Cut in place again. Add the top 90 for the shower wand. Screw clamps hold while glue dries. Attach the wand great for belly rinses.
In Texas heat, cold water works. For year-round, add hot check my outdoor shower guide for how.
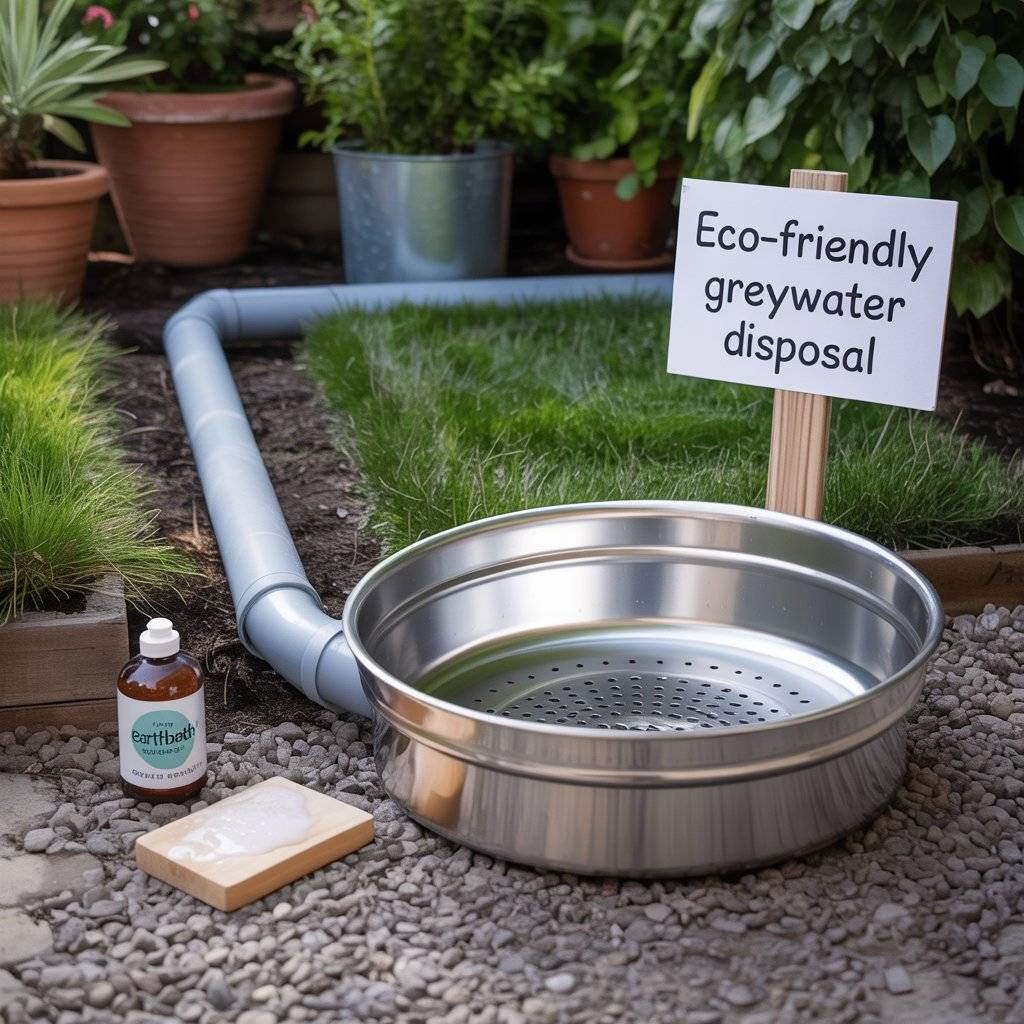
Drain Management and Eco-Friendly Disposal
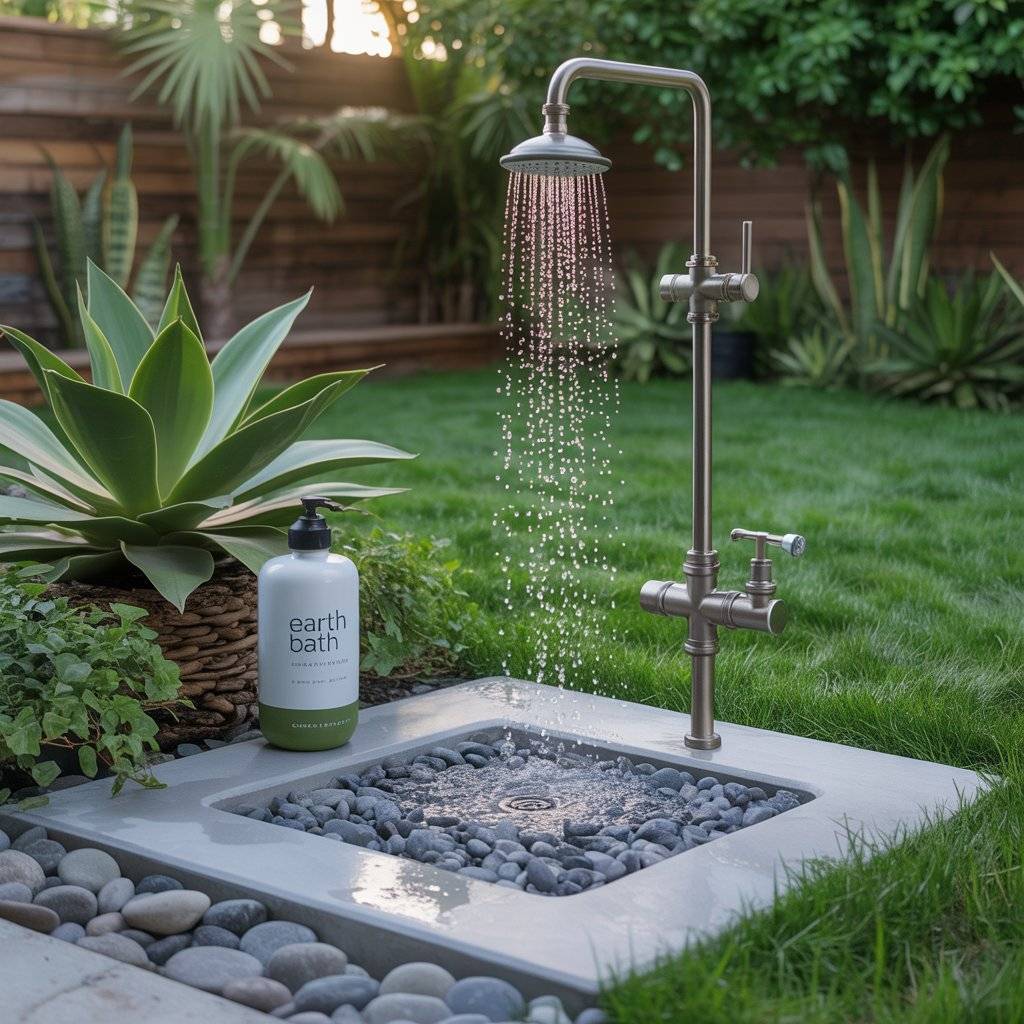
The pan has a drain kit. Caulk under the flange, thread the nut below. Tighten snug. Run a 2-inch PVC elbow out the bottom.
Pipe it away from paths or plants. Mine goes to a gravel spot. Use big-dog safe, plant-friendly soap. No harsh chemicals kill your grass. Brands like Earthbath work well rinse clean, earth happy.
This setup diverts greywater safe. No soggy yard after baths.
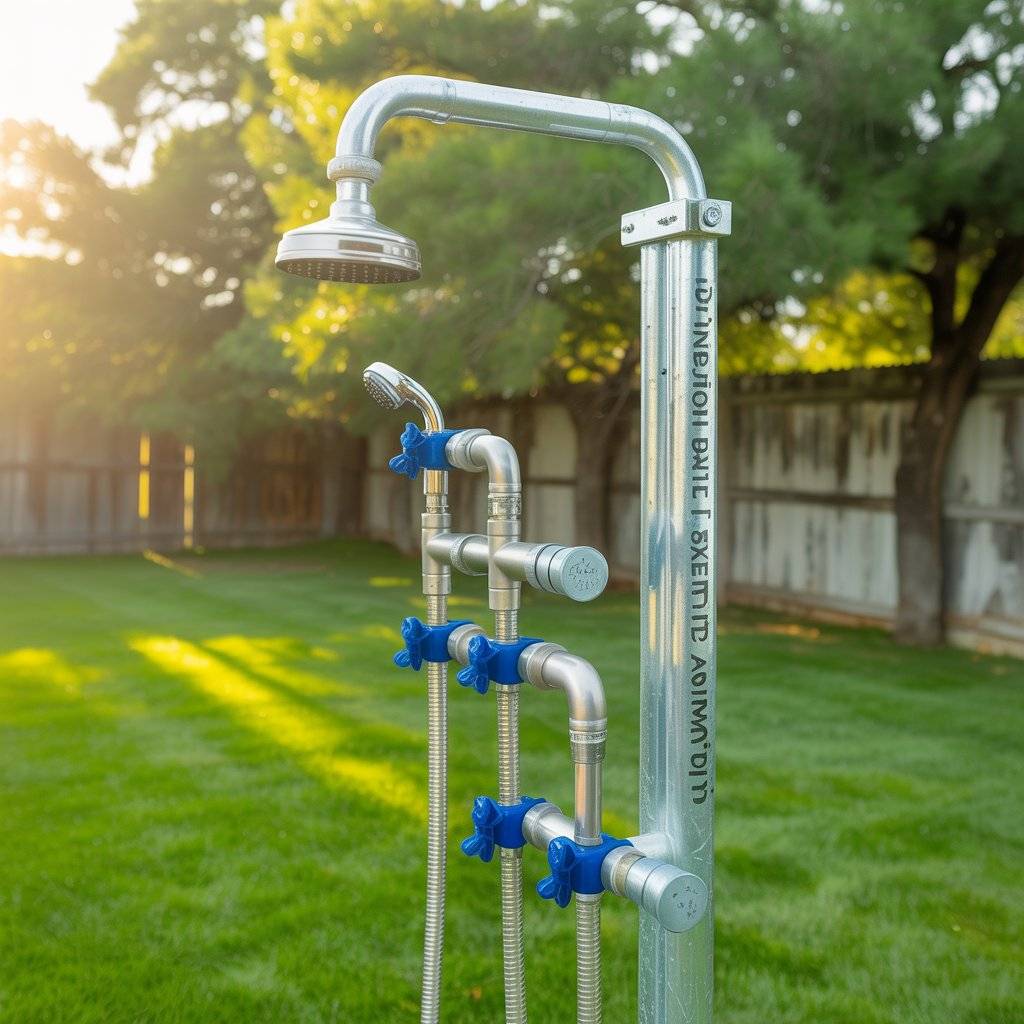
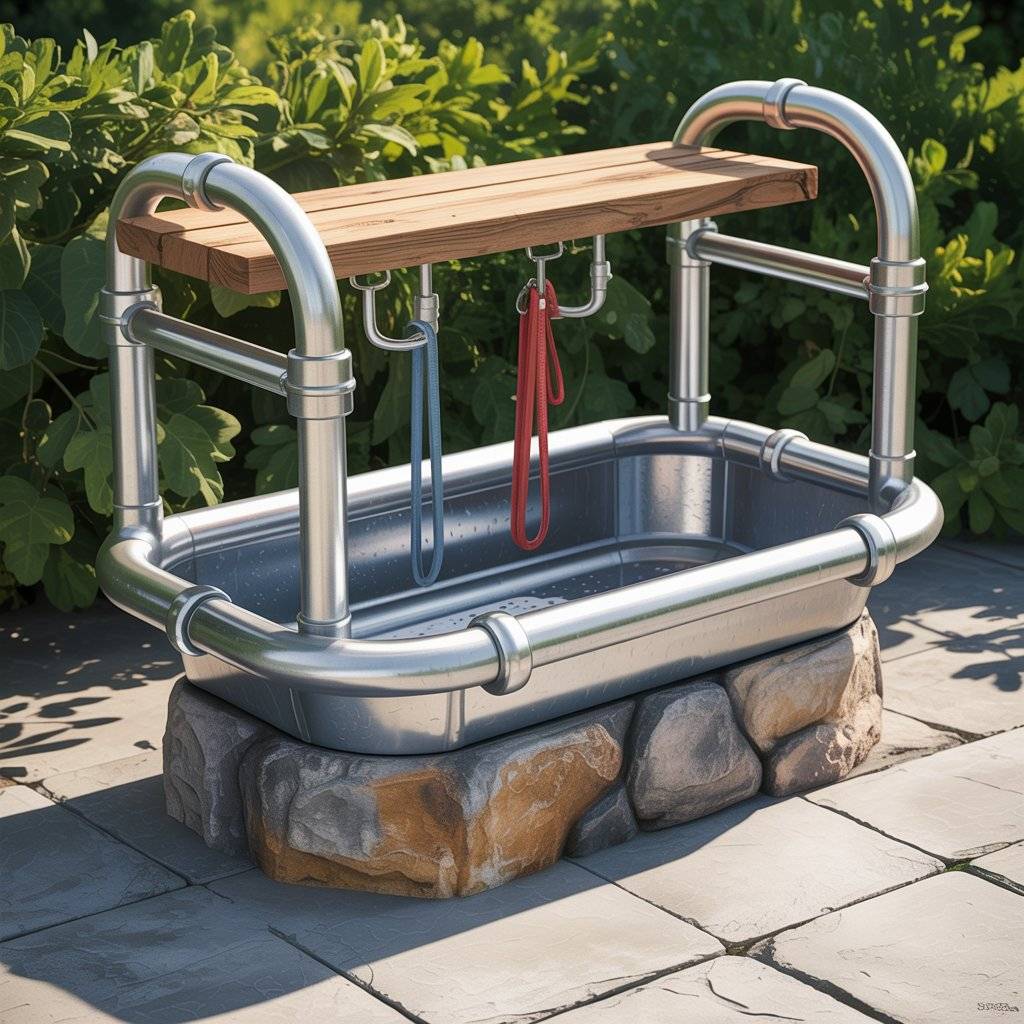
Safety and Accessory Integration
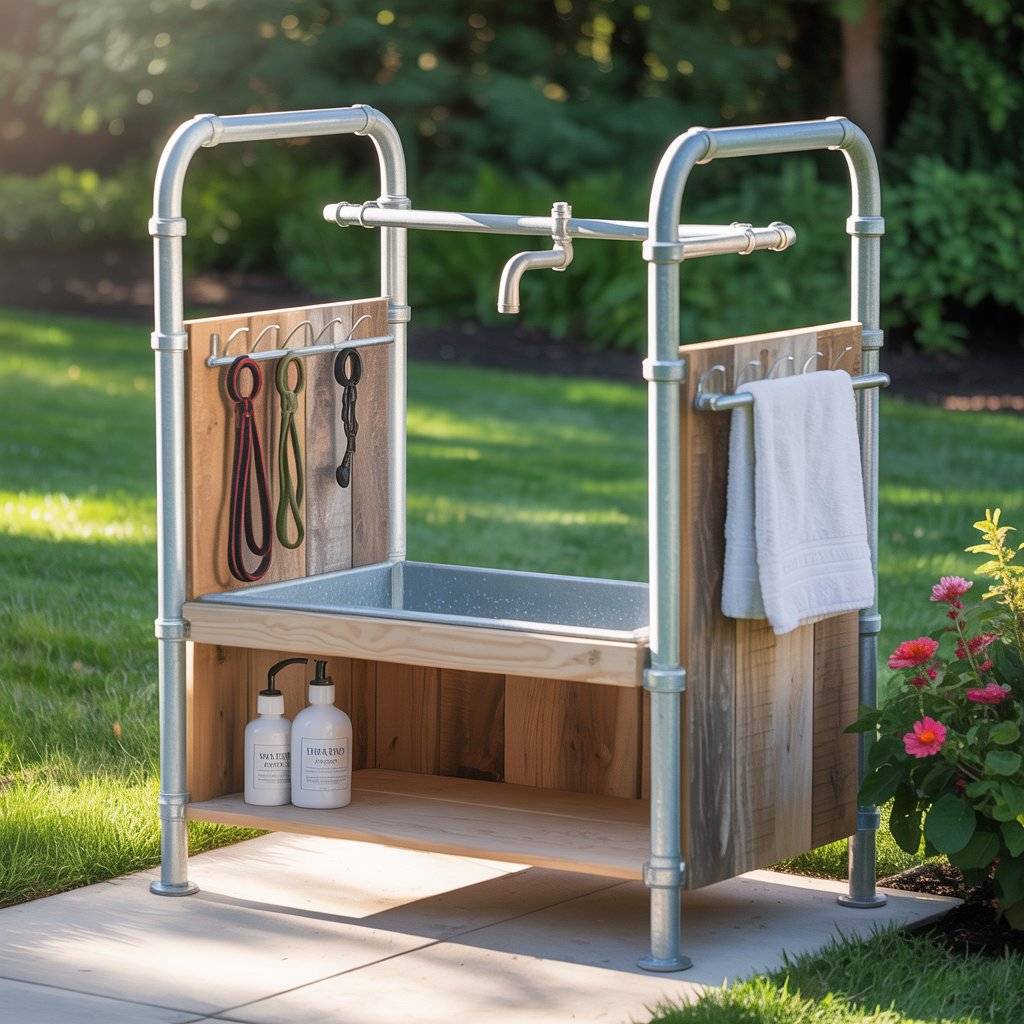
Build a pipe restraint with galvanized tubing. Bend two 90s for U-shape. Space them to clip a leash. Clamp to the frame sides. Sturdy, no wiggles.
No bender? Wood works screw 2x4s in an arch. Add T-brackets for join strength. Leave a gap for the hook.
Hooks on the side hold towels. Shelf above stores shampoo. All within arm’s reach.
Conclusion:
You now have a custom outdoor dog washing station. It’s elevated for your comfort, tough against weather, and fits any dog size. From cuts to plumbing, each step builds function and fun.
The best part? It’s adaptable. Add hot water for winter baths. Tweak the ramp for your yard. Your pups get spa treatment without the spa price.
Grab the plans today cut list, shopping guide, all included. Build it this weekend. Your back will thank you. Watch your dogs wag through clean fur. Happy building!
Related Post: