
Protect your privacy, prevent data leaks, and recycle responsibly.
When you’re upgrading your phone, replacing an old laptop, or clearing out that drawer of dead gadgets, recycling electronics is the right move for both the planet and your home. But before you drop off your old device at a recycling center or give it away, there’s one thing you must do first: remove your personal data.
Why? Because even broken or outdated electronics can still hold personal information like saved passwords, messages, emails, documents, financial records, and photos. If not properly erased, that data could fall into the wrong hands.
This guide walks you through 15 clear, practical steps to safely and completely remove your data before recycling. It doesn’t matter if you’re tech-savvy or not—these tips are written in plain English, with actions anyone can take. From smartphones and computers to smart TVs and USB drives, we’ve got you covered.
Let’s protect your privacy before you recycle.
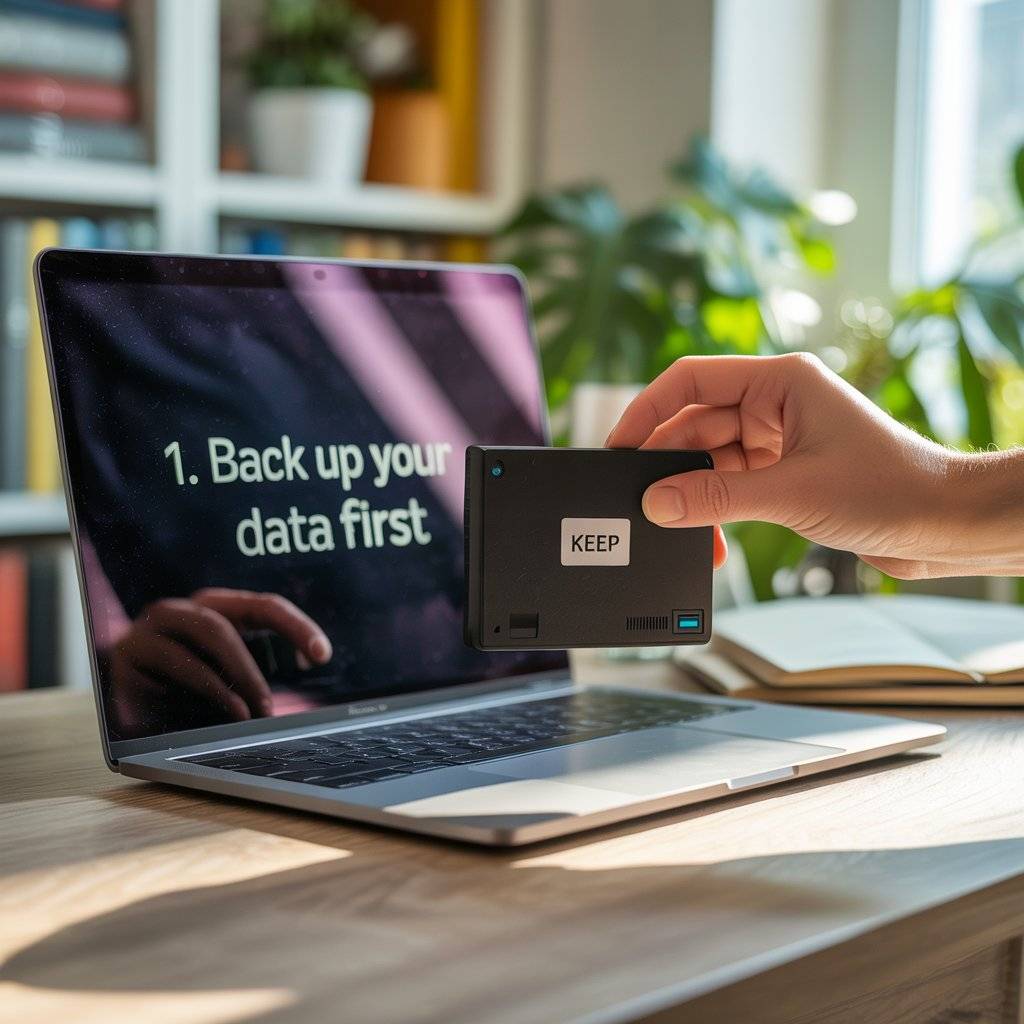
✅ 1. Back Up Your Data First
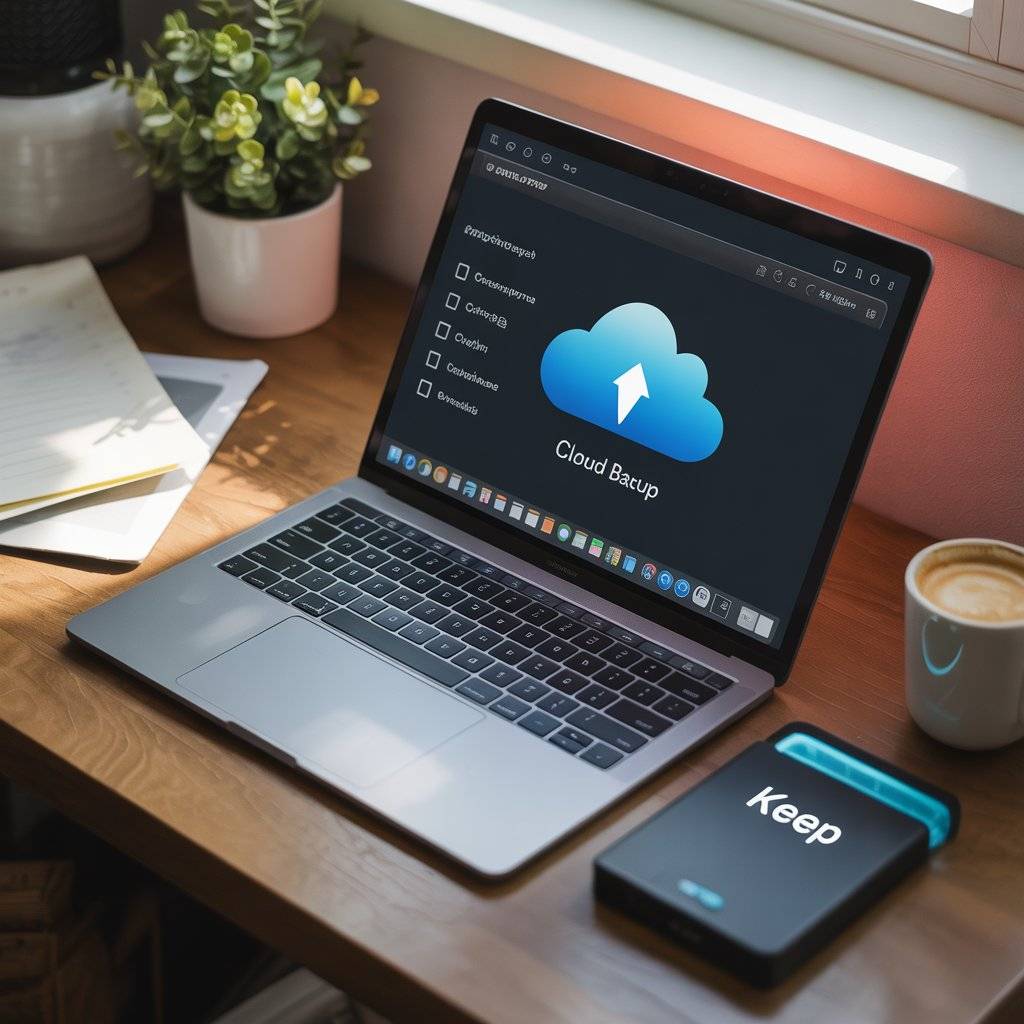
Before you wipe anything, make sure you’ve saved the files you actually want to keep. Think about photos, videos, documents, and important emails. Use cloud services like Google Drive, iCloud, Dropbox, or an external hard drive to store them.
Go through your device carefully you might have old receipts, tax records, or passwords stored in folders you forgot about. Backing up is not just about convenience. It’s about preserving what matters to you.
🛠️ Real Tip: Create a “Keep” folder on your backup drive and copy all your files there before starting the wipe process.
✅ 2. Unlink Accounts and Services
Your devices are connected to a lot of accounts email, banking, social media, and app stores. Before recycling, go through and sign out or deactivate them.
For example:
- Sign out of your Apple ID on iPhones and Macs
- Remove your Google account from Android devices
- Deauthorize devices in your Spotify, Netflix, and Microsoft accounts
This prevents future logins or syncing from happening and keeps your accounts safe.
🛠️ Real Tip: On Apple and Google devices, make sure to turn off “Find My” and “Activation Lock” features to avoid issues with the next user.
✅ 3. Factory Reset the Device

A factory reset is a built-in feature that erases all your personal info and returns the device to its original settings. Every major device has this option smartphones, tablets, laptops, and even smart TVs.
Find the option under Settings > System or General > Reset > Factory Reset. It usually takes a few minutes. Always back up before you reset.
🛠️ Real Tip: Double-check that the reset was completed. Some devices give you the option to restart or review the deleted content.

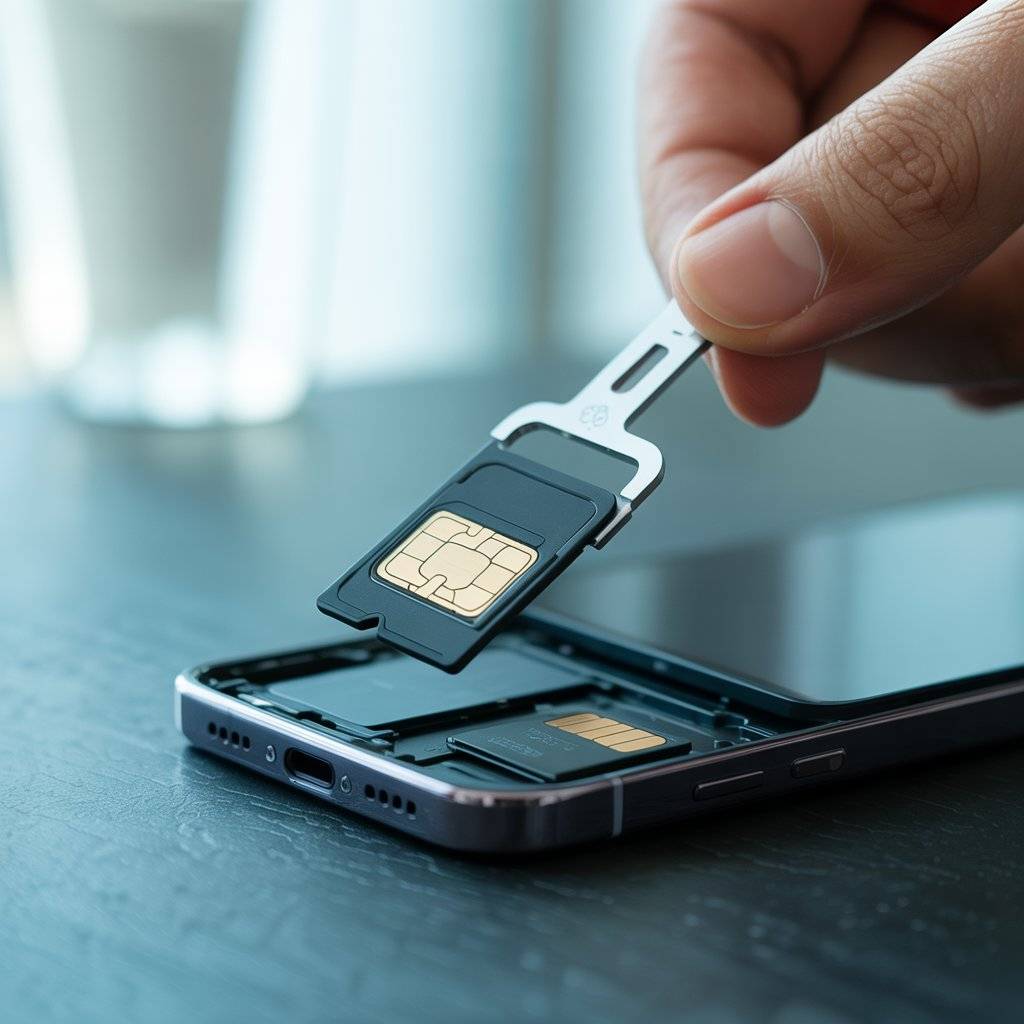
✅ 4. Remove SIM Cards and SD Cards
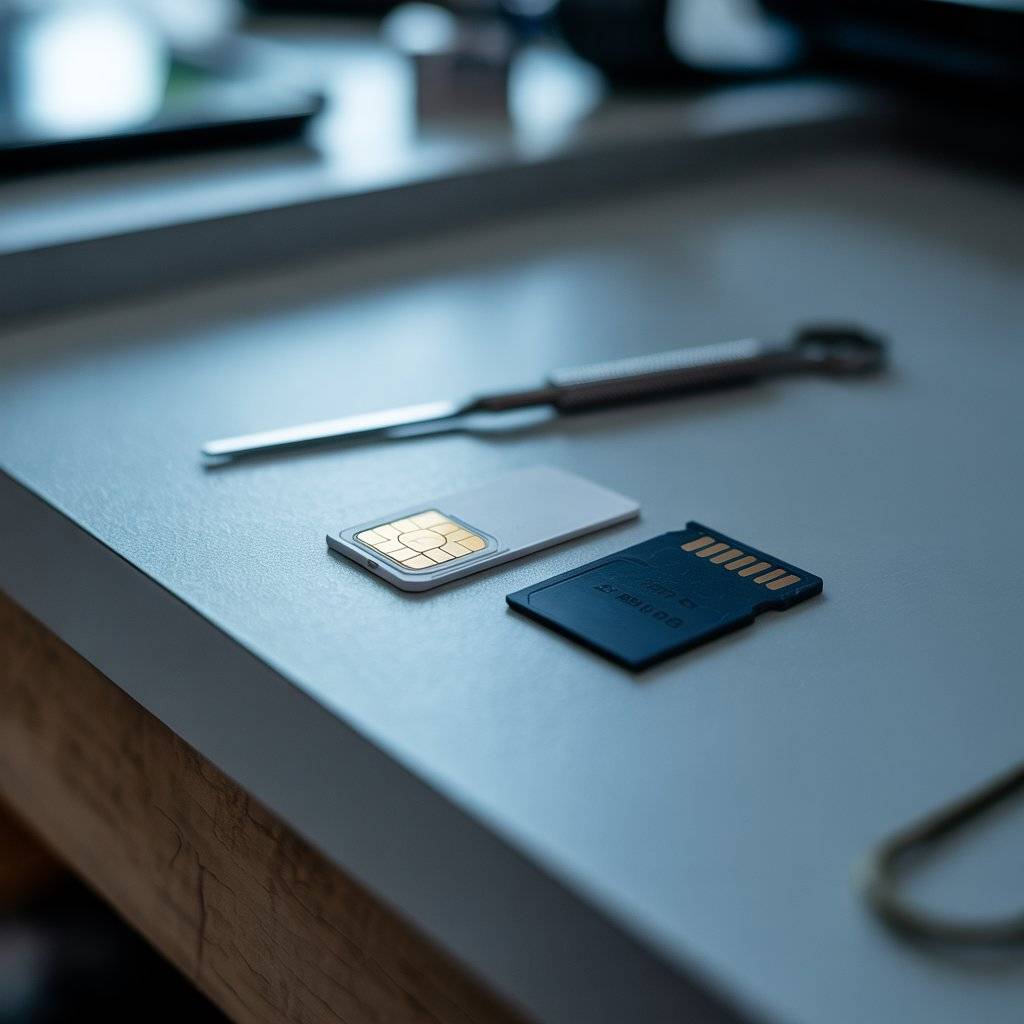
If your phone or tablet has a SIM card or memory card slot, remove both before recycling. SIM cards may still hold personal contacts and phone logs, and SD cards often store photos, videos, and files.
They’re small and easy to overlook, but leaving them in your device is like leaving your house key in the door.
🛠️ Real Tip: Use the SIM removal tool (or a paperclip) to pop open the tray. Label your cards if you plan to reuse them.
✅ 5. Erase Hard Drives Securely (Don’t Just Delete Files)
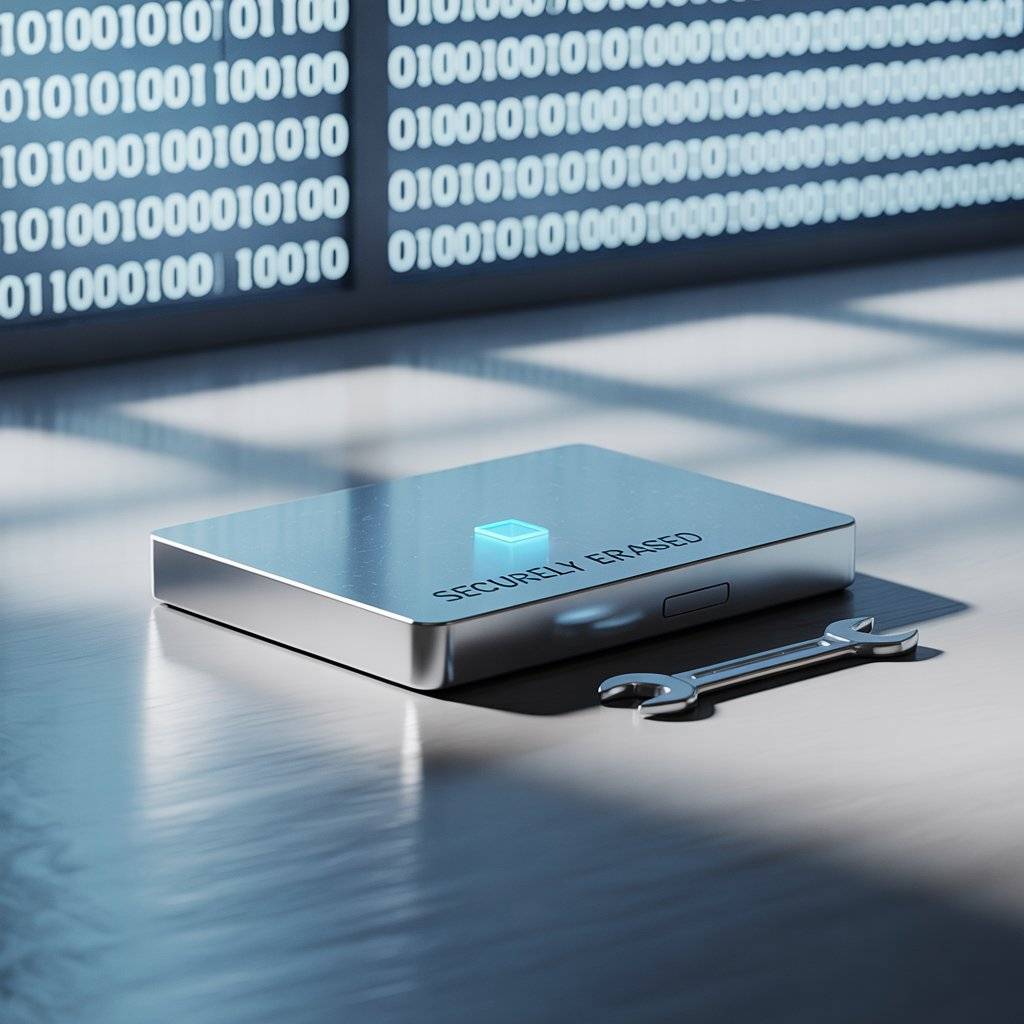
On computers, dragging files to the trash doesn’t erase them permanently. Use a disk-wiping tool that overwrites the data so it can’t be recovered.
For Windows: Use apps like DBAN (Darik’s Boot and Nuke) or Eraser.
For Mac: Use Disk Utility to securely erase your drive.
For SSDs: Use manufacturer-specific software like Samsung Magician or Intel SSD Toolbox.
🛠️ Real Tip: If you’re donating your PC, reinstall the operating system after wiping, so it’s ready to use.

✅ 6. Sign Out of Cloud Storage and Browsers

Before recycling, make sure to sign out of:
- Google Drive, iCloud, Dropbox
- Chrome, Safari, Firefox, or Edge
Why? Because even if your browser is reset, saved cookies and auto-logins might remain accessible to someone with tech skills.
🛠️ Real Tip: On Chrome, go to Settings > You and Google > Turn off sync and sign out.
Related Post: Robot Lawn Mowers Ideas for Your Home
✅ 7. Unpair Bluetooth Devices
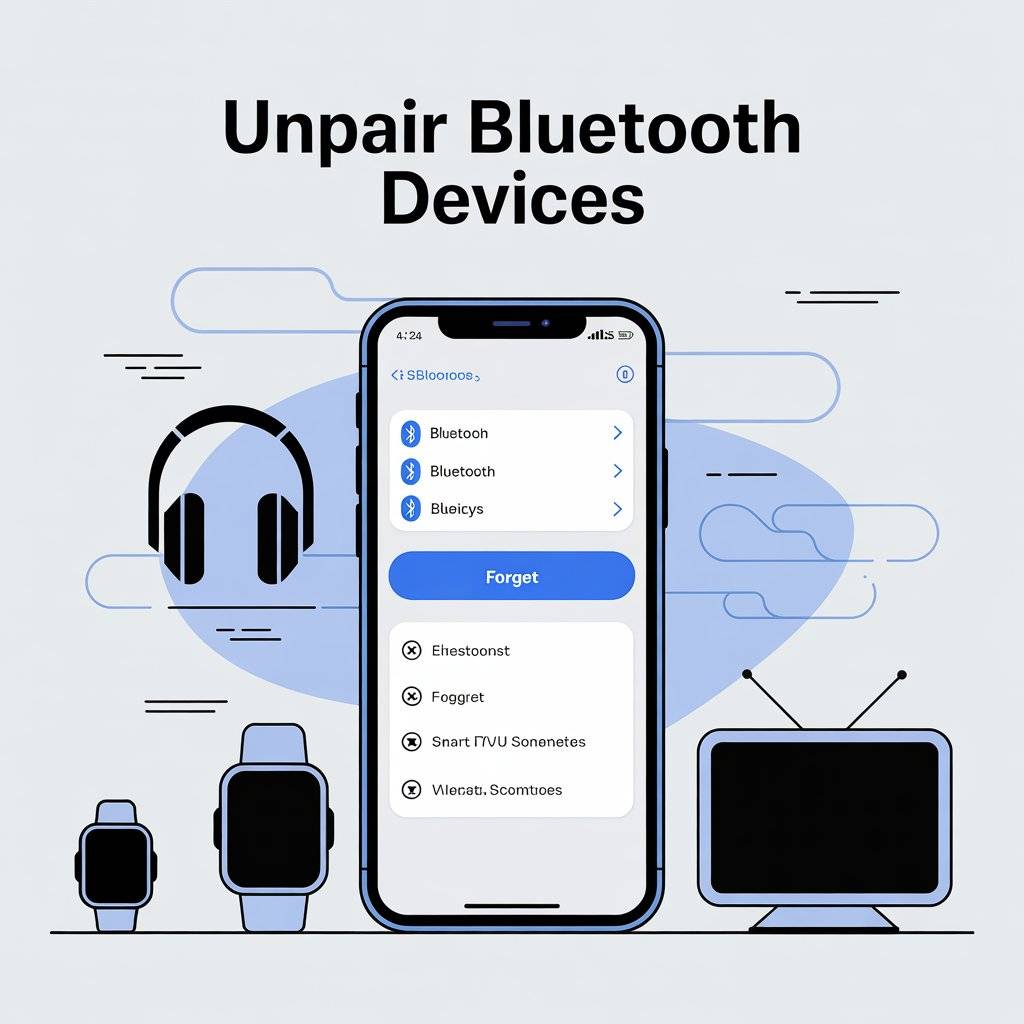
Many smart devices stay linked to your headphones, watches, or speakers even after a reset. Unpairing helps avoid confusion or unauthorized connections later.
For phones, go to Settings > Bluetooth > Tap device > Forget.
For smart TVs and consoles, look under Network or Bluetooth settings.
🛠️ Real Tip: After unpairing, reset your Bluetooth accessories too, so they’re ready for the next connection.

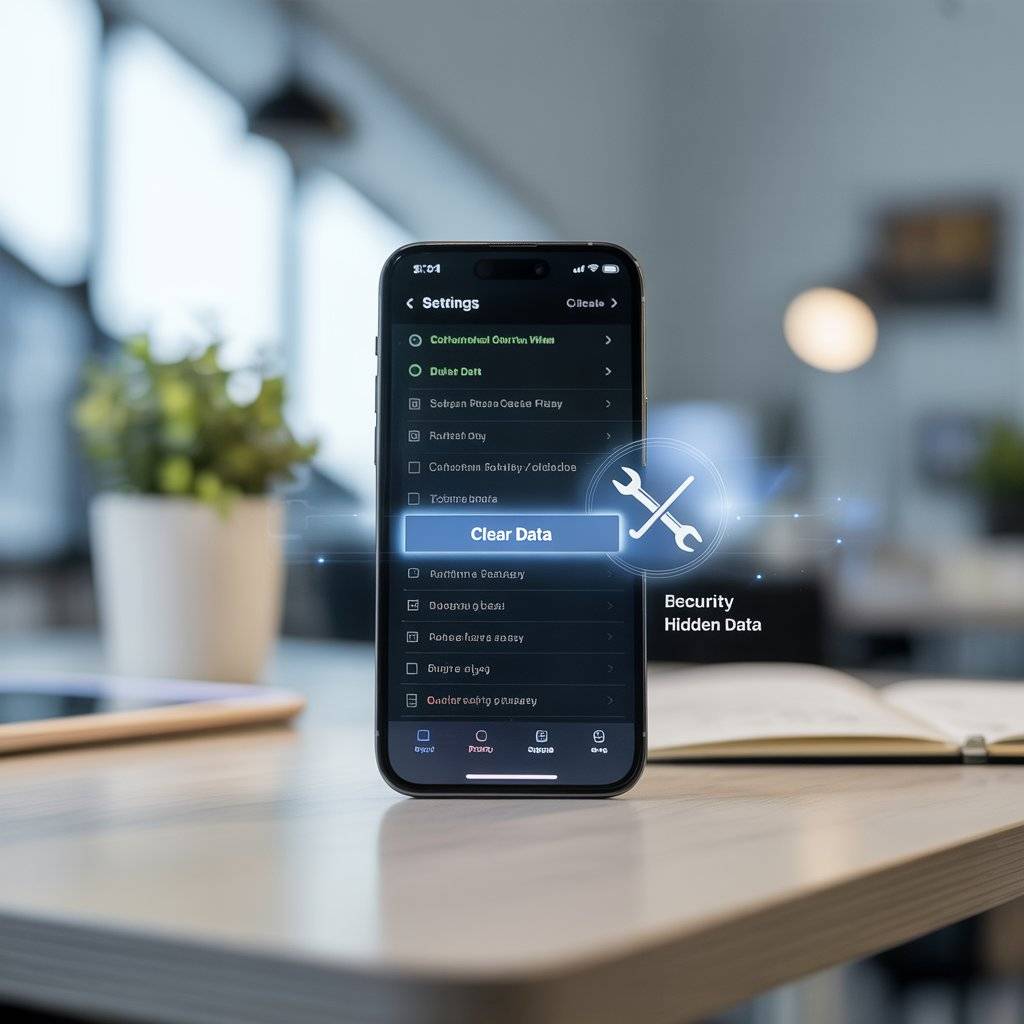
✅ 8. Check for Hidden Data in Apps
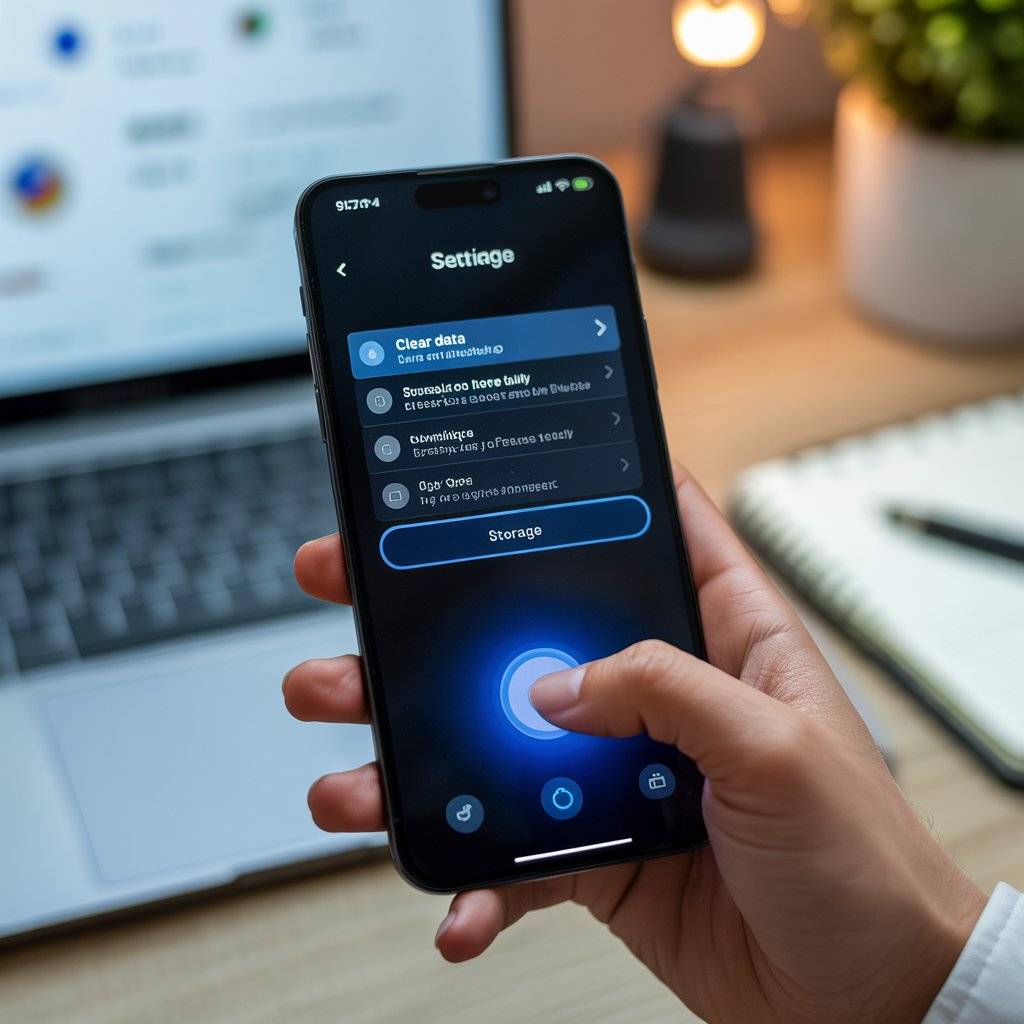
Many apps store data locally like downloaded maps, saved passwords, or offline files. Check app storage in your settings and clear it manually.
Go to Settings > Apps > [App Name] > Storage > Clear Data or Clear Cache.
🛠️ Real Tip: Messaging apps like WhatsApp and Telegram may have media stored that isn’t visible in your gallery clear those too.
✅ 9. Delete Browser History and Saved Passwords
If you’ve logged into websites on a device, your browser likely saved your history, cookies, and passwords. Before you recycle, clear it all.
For Chrome:
Settings > Privacy > Clear Browsing Data > Choose All Time
🛠️ Real Tip: Also go to “Passwords” in browser settings and delete saved login credentials.
✅ 10. Reset Smart Home Devices
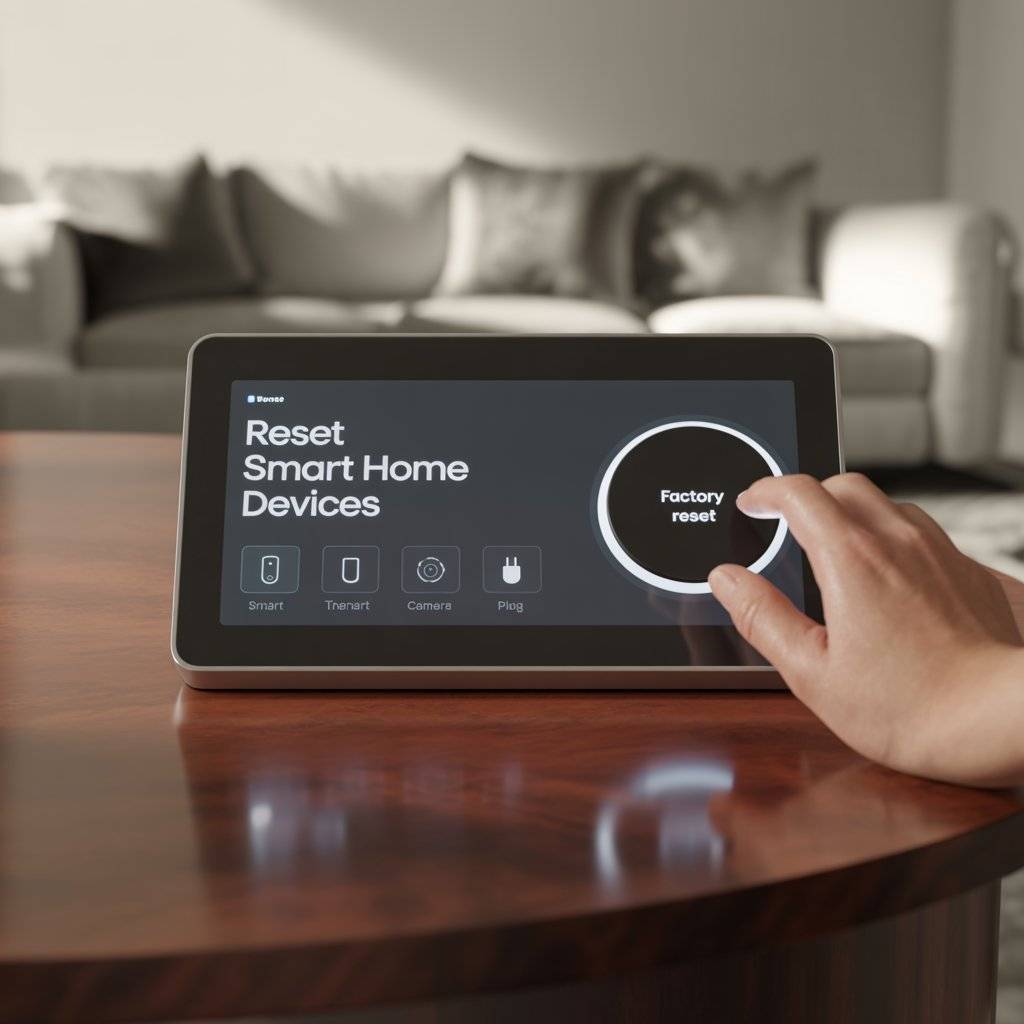
Smart speakers, thermostats, cameras, and plugs often keep your Wi-Fi info and account login details. Each brand has a slightly different reset process.
Common reset method: Hold the power button for 10 seconds until the device flashes or beeps.
🛠️ Real Tip: Search the brand + “factory reset” if you’re unsure how. (Example: “Reset Google Nest Mini.”)

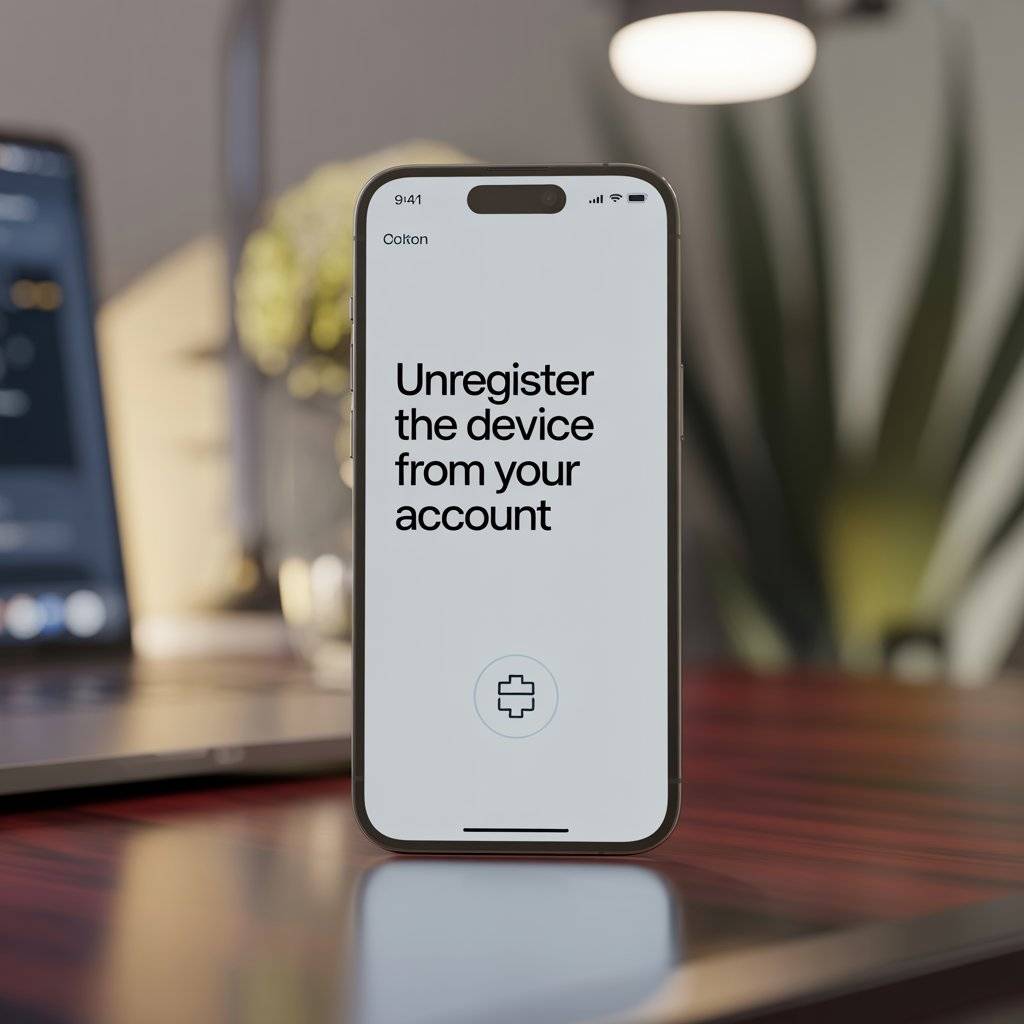
✅ 11. Unregister the Device from Your Account

Go to the website or app for your device’s brand and remove the device from your account.
Examples:
- Apple: appleid.apple.com
- Google: myaccount.google.com
- Amazon: Manage Your Content and Devices
- Microsoft: Devices > Remove Device
🛠️ Real Tip: This helps prevent issues if someone else tries to activate the device in the future.
✅ 12. Destroy Dead Drives or Devices (If Not Working)

If a device is completely dead and you can’t wipe it, it’s best to physically destroy the storage component—especially if it had sensitive info.
- Smash hard drives with a hammer
- Drill holes through the disk
- Remove memory chips from phones
- Break USB drives in half
🛠️ Real Tip: Wear safety glasses, and recycle the parts properly after destruction.

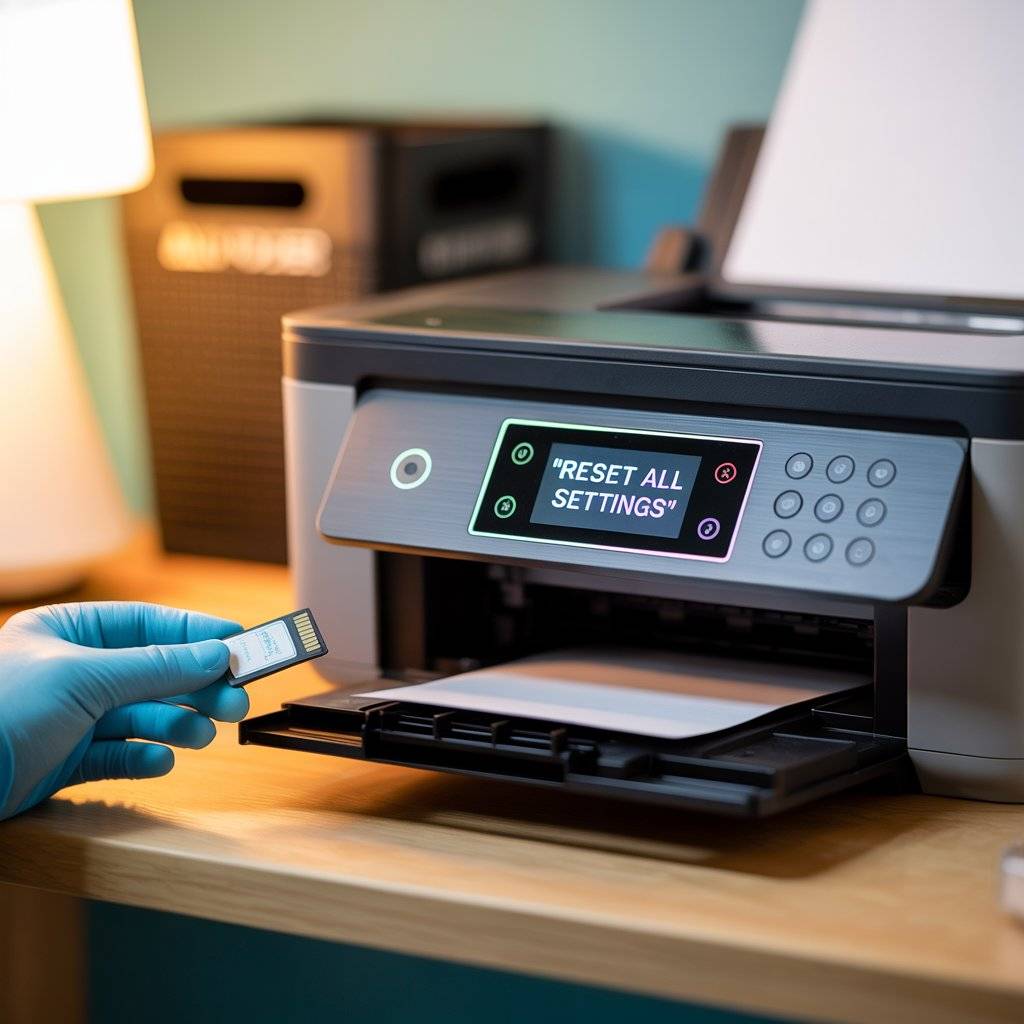
✅ 13. Reset Printers and Remove Stored Data
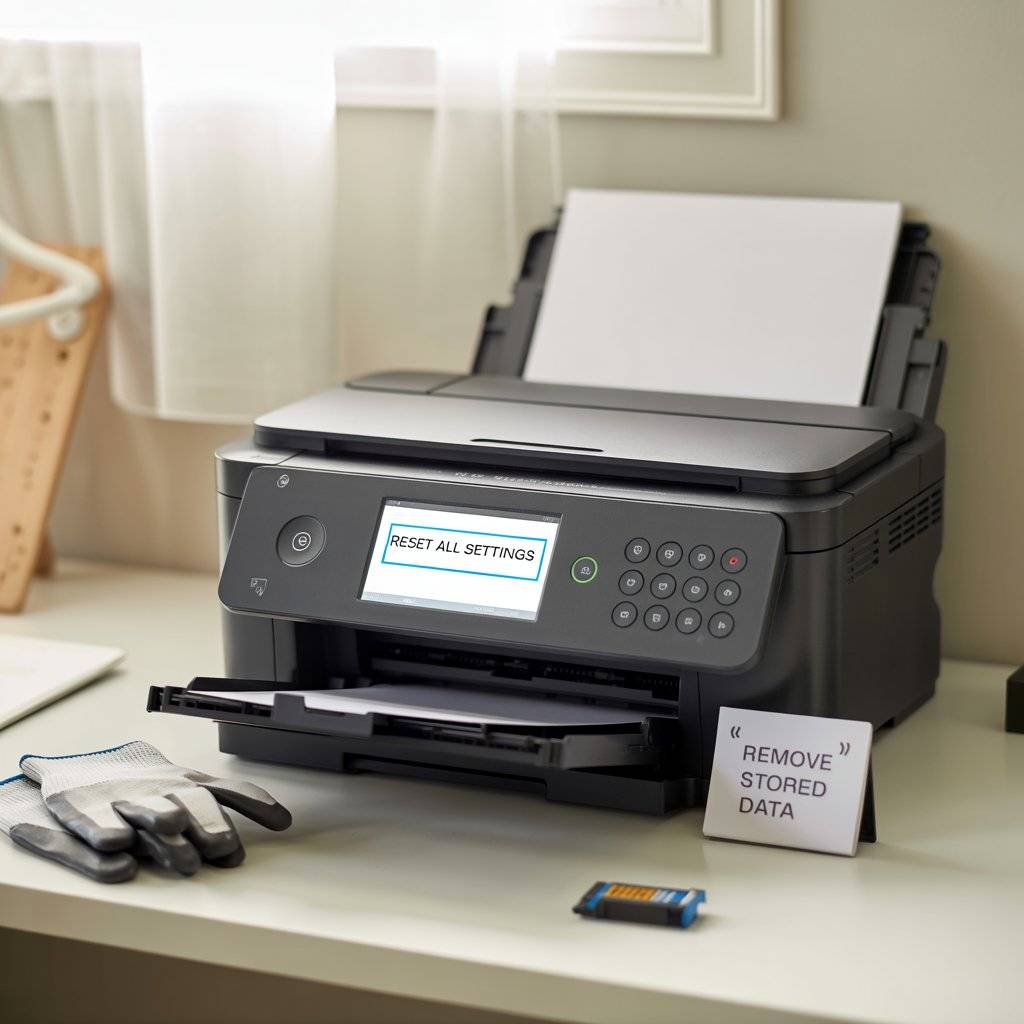
Yes, even printers can hold data like scanned documents, Wi-Fi passwords, and saved email addresses. Look for “Reset All Settings” in the printer’s menu.
🛠️ Real Tip: Also remove any memory cards or USB drives before recycling or donating.
✅ 14. Keep a Record of What You Wiped
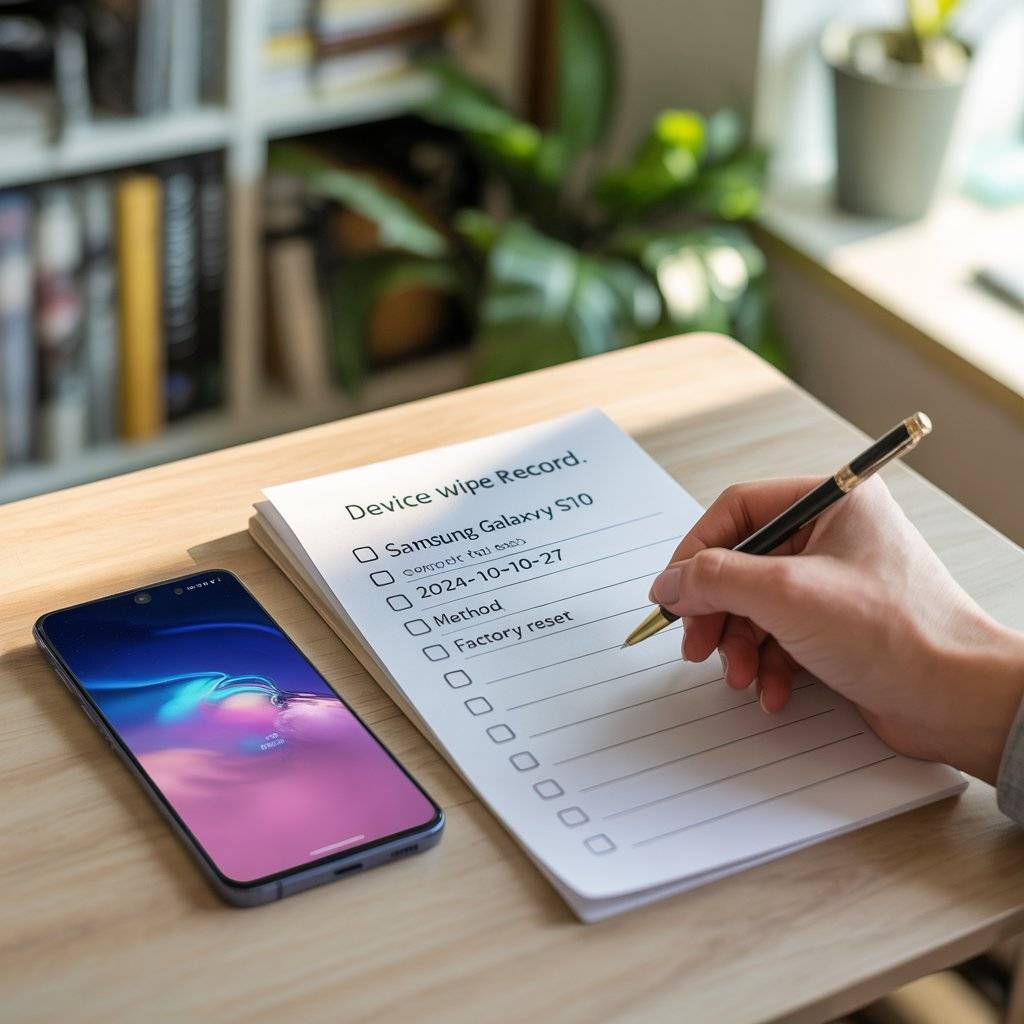
Once you’ve erased the data from your electronics, it’s a smart idea to keep a record of what you did. This is especially useful if you’re recycling multiple items at once—like an old phone, a laptop, and a couple of USB drives.
Make a simple checklist that includes:
- Device name (e.g., “Samsung Galaxy S10”)
- Date you wiped or reset it
- Method used (e.g., factory reset, disk wiping software, physical destruction)
It doesn’t have to be fancy a handwritten list or a quick note on your phone will do. Keeping a record helps you stay organized and gives you peace of mind that nothing was missed.
🛠️ Real Tip: Take a photo of each device after resetting or wiping it this gives you a quick visual record in case any questions come up later.

✅ 15. Recycle Through a Certified E-Waste Center
After you’ve removed all your personal information, the final step is recycling the device the right way. Not all e-waste centers are equal look for ones that are R2-certified or e-Stewards certified. These programs make sure electronics are processed safely, ethically, and without harming the environment.
Some trusted places to recycle electronics include:
- Major retailers like Best Buy, Staples, and Office Depot
- Local government-run recycling events or drop-off points
- Electronic manufacturers’ take-back programs
Always check ahead to see what types of devices they accept, and whether there are any fees. Some locations even offer credit toward a new device, so you might save money while doing good.
🛠️ Real Tip: Keep receipts or confirmation emails if you’re donating or recycling through a program they may be useful for tax purposes or trade-in value.

📌 FAQ
1. When is the best time to wipe data—before or at the recycling center?
Always wipe your data before you leave the house or hand off the device. Never assume the recycling center will do it for you. While certified e-waste facilities may offer secure disposal services, data removal is ultimately your responsibility. Doing it beforehand gives you full control and ensures nothing slips through the cracks.
2. Where can I securely wipe data from a non-working device?
If your device won’t turn on, and you can’t access the software to do a factory reset or data wipe, your best option is physical destruction. You can remove the hard drive or memory chip and smash or drill it to prevent recovery. If you’re unsure how, take the device to a certified e-waste facility that offers secure destruction services many do.
3. Where do I find R2-certified or e-Stewards recycling centers?
Visit the official directories:
- R2 Locator (SERI)
- e-Stewards Recycler Map
These tools let you search by zip code to find reputable recycling centers near you that follow strict environmental and data security guidelines. Many large cities also host e-waste drop-off events, often promoted by local governments or waste management services.
4. When should I destroy a hard drive instead of wiping it?
If the device held sensitive or financial data like business records, tax files, or health information it’s best to physically destroy the drive. This is especially true if:
- The drive is failing or corrupted
- You’re not confident in data-wiping software
- You’re recycling at a general drop-off and not through a certified e-waste company
Destruction is the most secure method when total privacy is non-negotiable.
✍️ 5 Reasons Why I Wrote This Article
✅ Help Everyday People Protect Their Privacy
Many people don’t realize how much personal data is still stored on old electronics. I wrote this article to make data safety simple, even if you’re not tech-savvy.
✅ Encourage Safer Recycling Practices
Electronics are full of harmful materials, and throwing them in the trash is never the right move. I wanted to guide readers toward smarter, safer, and more responsible ways to recycle.
✅ Reduce the Risk of Identity Theft
Leaving personal info on devices even accidentally can lead to serious problems like fraud or stolen identities. My goal is to help you avoid that with clear, step-by-step tips.
✅ Share Real, Doable Actions That Work
There’s a lot of vague or overly technical advice out there. I wanted this article to feel different practical, easy to follow, and something real people can actually do.
✅ Answer the Questions Most People Don’t Know to Ask
When it comes to recycling electronics, people often ask “Where can I drop this off?” but forget to ask, “Is my data gone?” I wrote this article to help answer both.
👋 Final
Thanks for stick with me to the end of this guide. I hope it helped you understand how to remove data from your electronics and why it’s so important before recycling. Whether you’re decluttering a drawer or finally getting rid of that old laptop, you now have the steps you need to do it safely and confidently.
If this helped you, consider checking out my other tech safety or home organization guides. And if you know someone who’s about to toss an old phone send them this article!
Your privacy matters. So does doing the right thing. Let’s keep making smart choices together.