
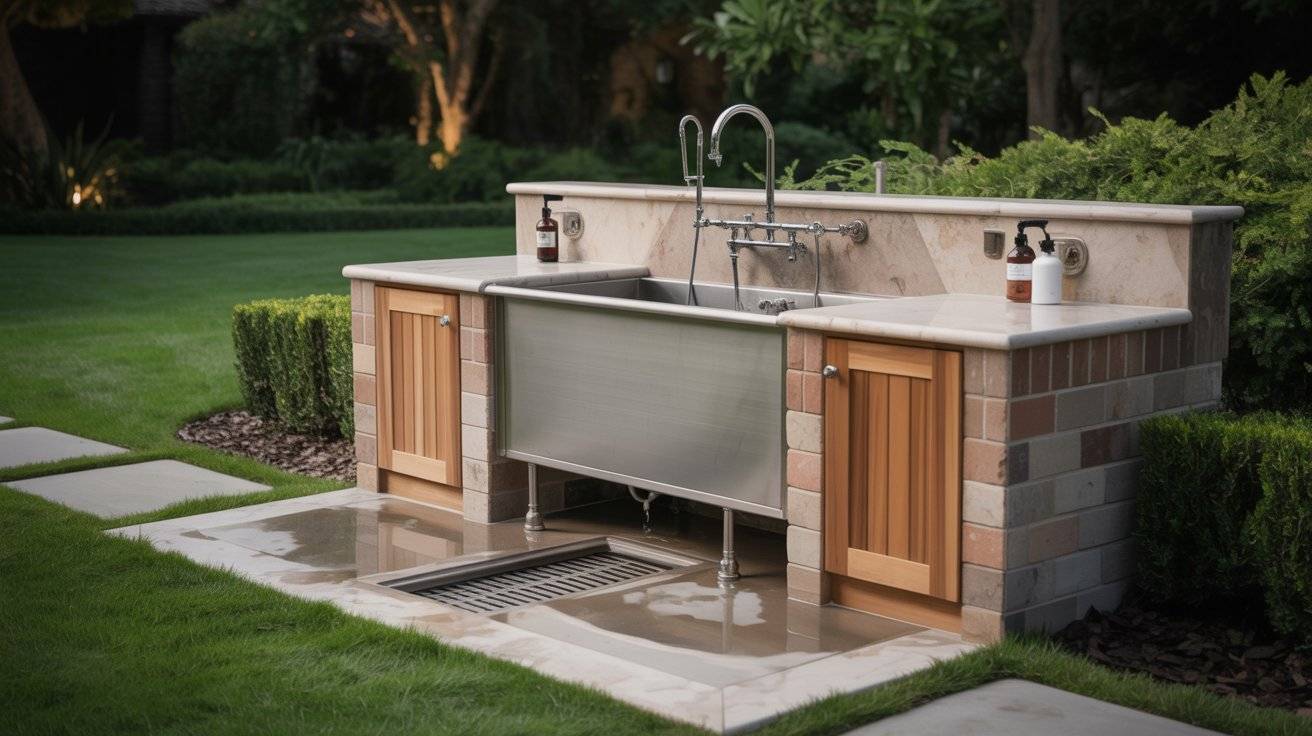
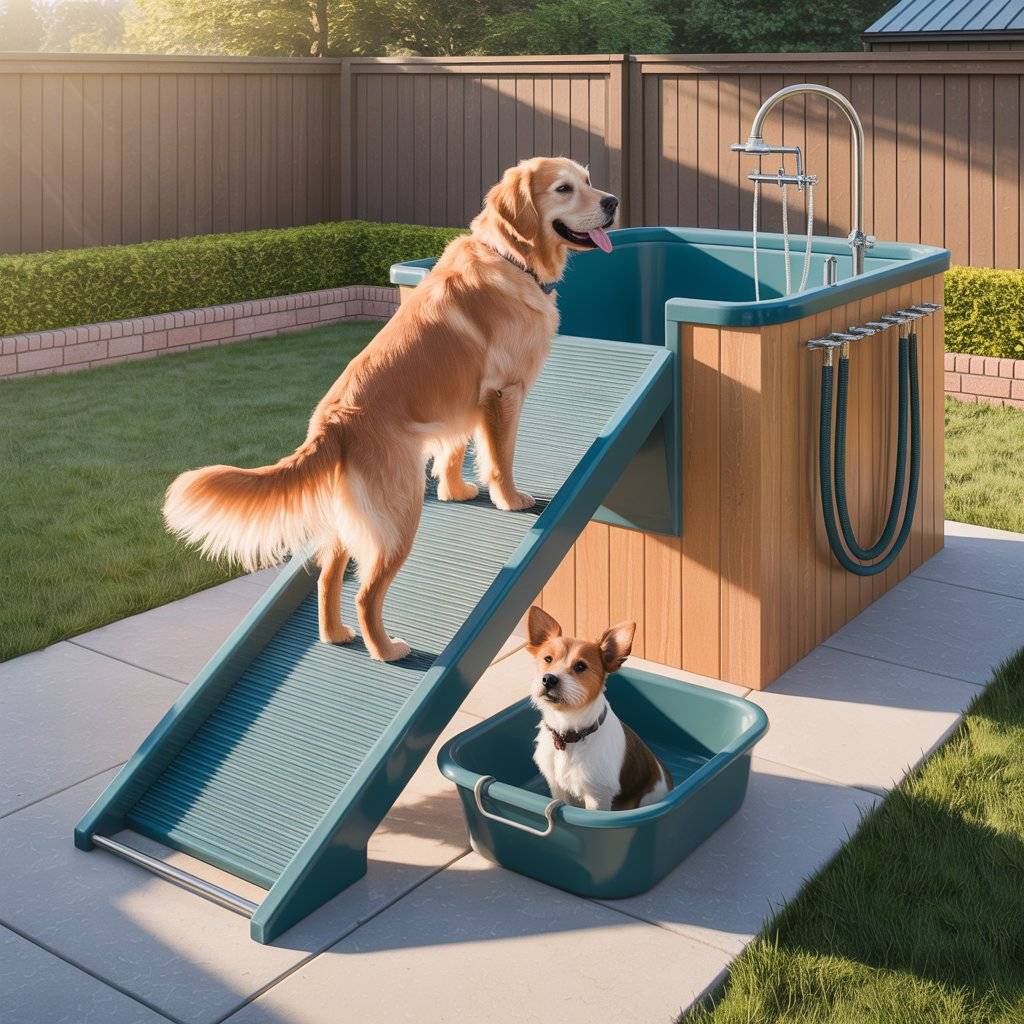
A backyard dog wash station keeps your home cleaner, your pet happier, and grooming quick. Think about outdoor pet shower convenience with the feel of a luxury pet spa at home.
In this guide, you’ll know clear planning steps, utility basics, and a simple build plan. We cover smart upgrades, safety musts, maintenance routines, winter care, and real costs, so you can budget with a confidence.
You’ll get simple steps and pro tips that work in small patios and larger yards. By the end, you’ll know exactly how to create a polished, low-stress wash setup that suits your space and your dog.
Plan the Perfect Spot and Setup for Your Backyard Dog Wash Station
Get the layout right before you buy a single fixture. A smart location, clean water management, and safe power make the station easy to use and easy to maintain. Think like a groomer, then think like a homeowner who hates muddy footprints.
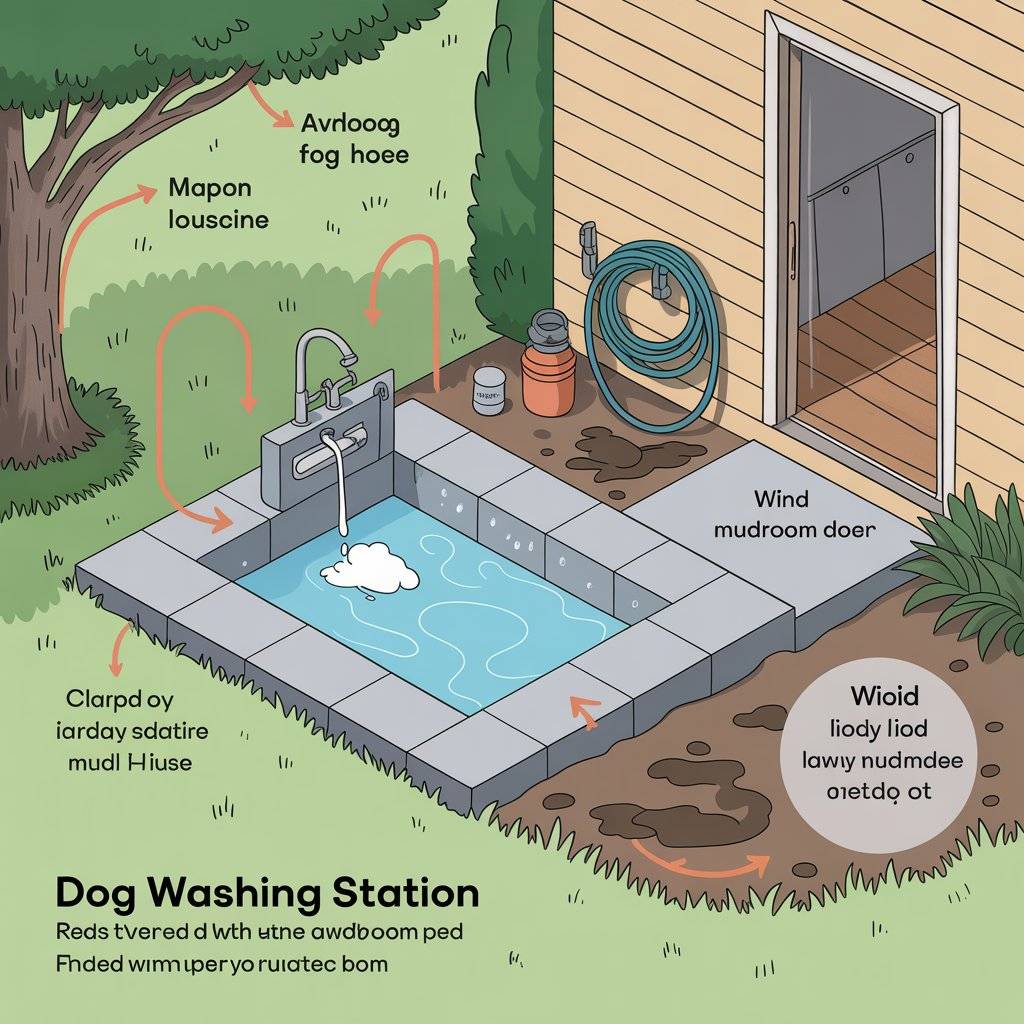
Choose the Right Location for Easy Use and Less Mess

Pick a flat, stable area close to the house. You want short runs to water lines, a nearby door or mudroom, and a path that is easy to walk with a wet dog.
Aim for a spot with light shade. Shade keeps surfaces cooler and helps calm sensitive pets. If your yard gets strong wind, place the station where spray will blow away from doors and seating areas.
Keep it out of low spots that stay muddy. A gentle slope away from the house is ideal. Make sure the hose can reach without dragging across walkways or plants. If you use a wall mount, check that it reaches the bathing area without kinks.
Give yourself room to move around the tub or pad. Plan at least 24 to 36 inches of clearance on the front and one side so you can scrub, rinse, and towel without stepping in puddles. If neighbors are close, add privacy screens or tall planters to block views and reduce stress for your dog.
Think through the exit. Can you guide a damp pup straight to a towel station or inside door without crossing rugs or wood floors? A short, nonslip path saves cleanup every time.
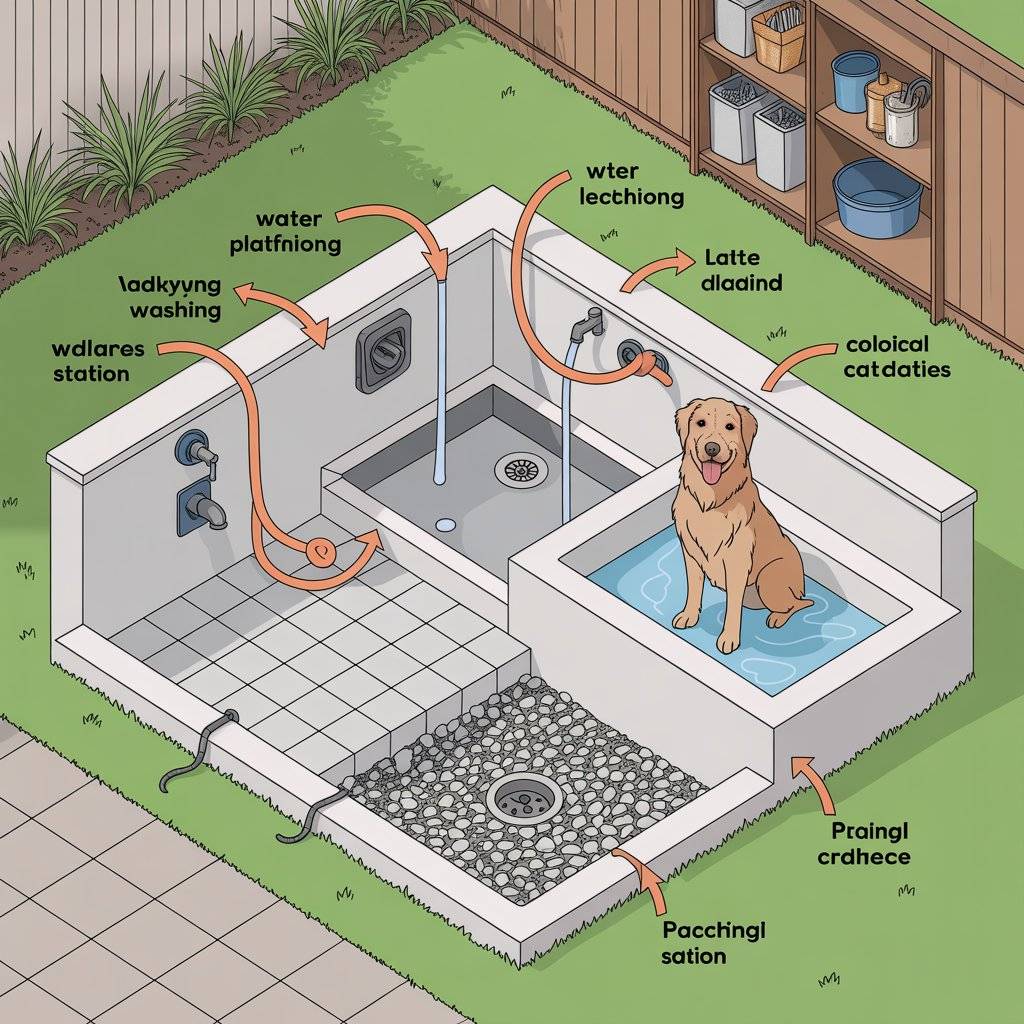
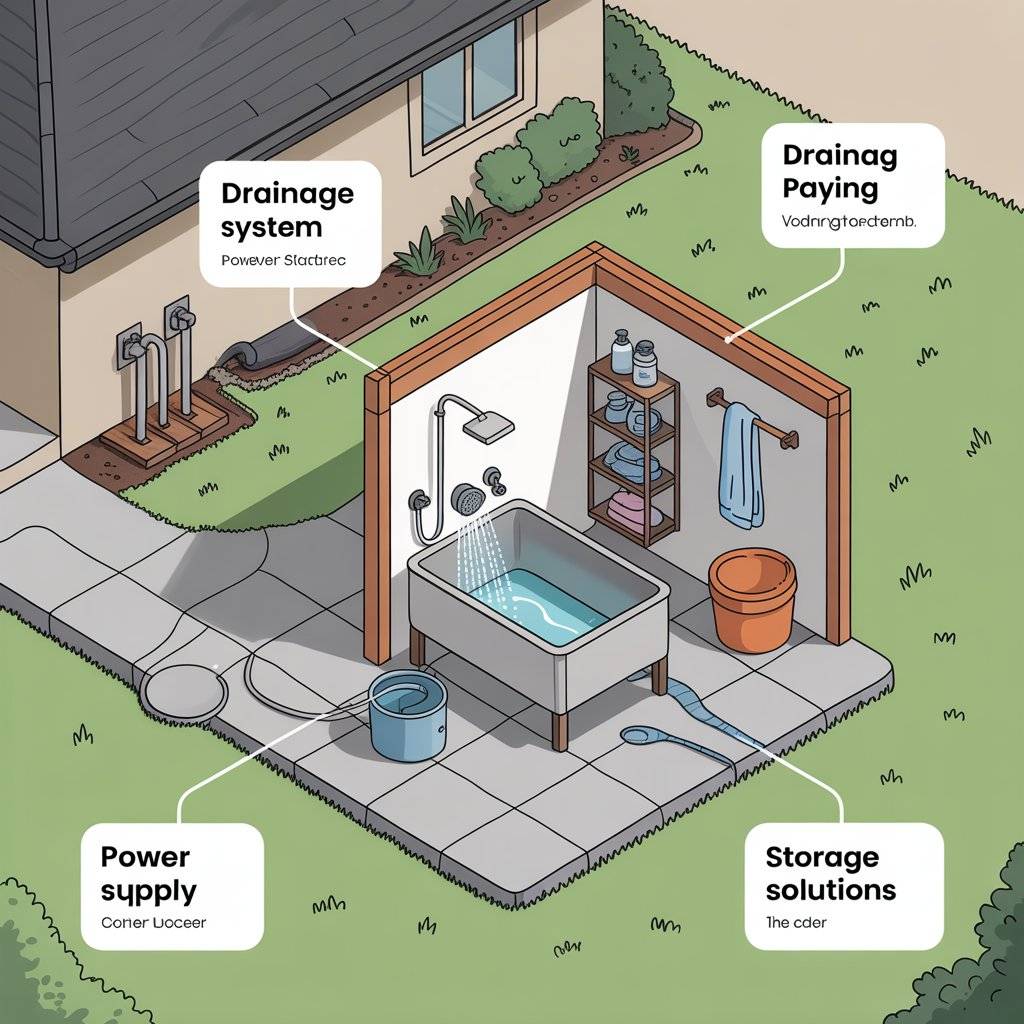
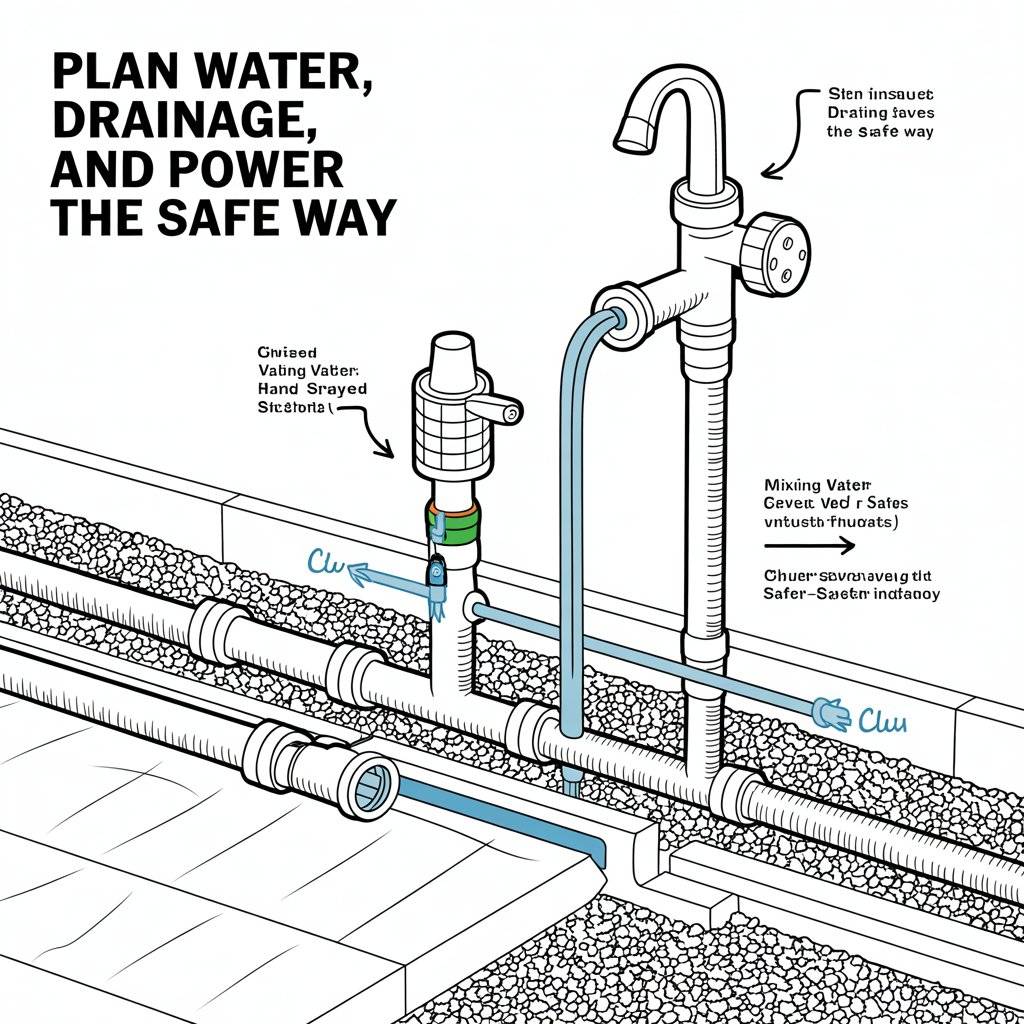
Plan Water, Drainage, and Power the Safe Way

Run both hot and cold water for year-round comfort. Add a mixing valve to prevent hot water burns. A wall or deck mount with a hand sprayer and thumb shutoff gives you control between rinses and saves water.
Set up simple, effective drainage:
- Gravel trench: A narrow trench filled with drain rock that guides water away from the house.
- Dry well: A buried, rock-filled pit that collects and disperses greywater into the soil.
- Tie-in to an existing drain: Connect to a yard drain or sewer where local rules allow.
Keep runoff clean. Use pet-safe shampoos, trap hair with a drain strainer, and avoid sending debris into turf or beds.
Power needs are small but important. Use GFCI outlets for any dryer or clippers, keep cords off wet areas, and add cord hooks near the station. If you need a new outlet, have a licensed electrician install it in a weatherproof box.
Always check local codes before you dig or connect plumbing. Greywater rules vary by city. Call 811 before digging to locate utilities.
Pick Durable, Non-Slip Materials That Look Great
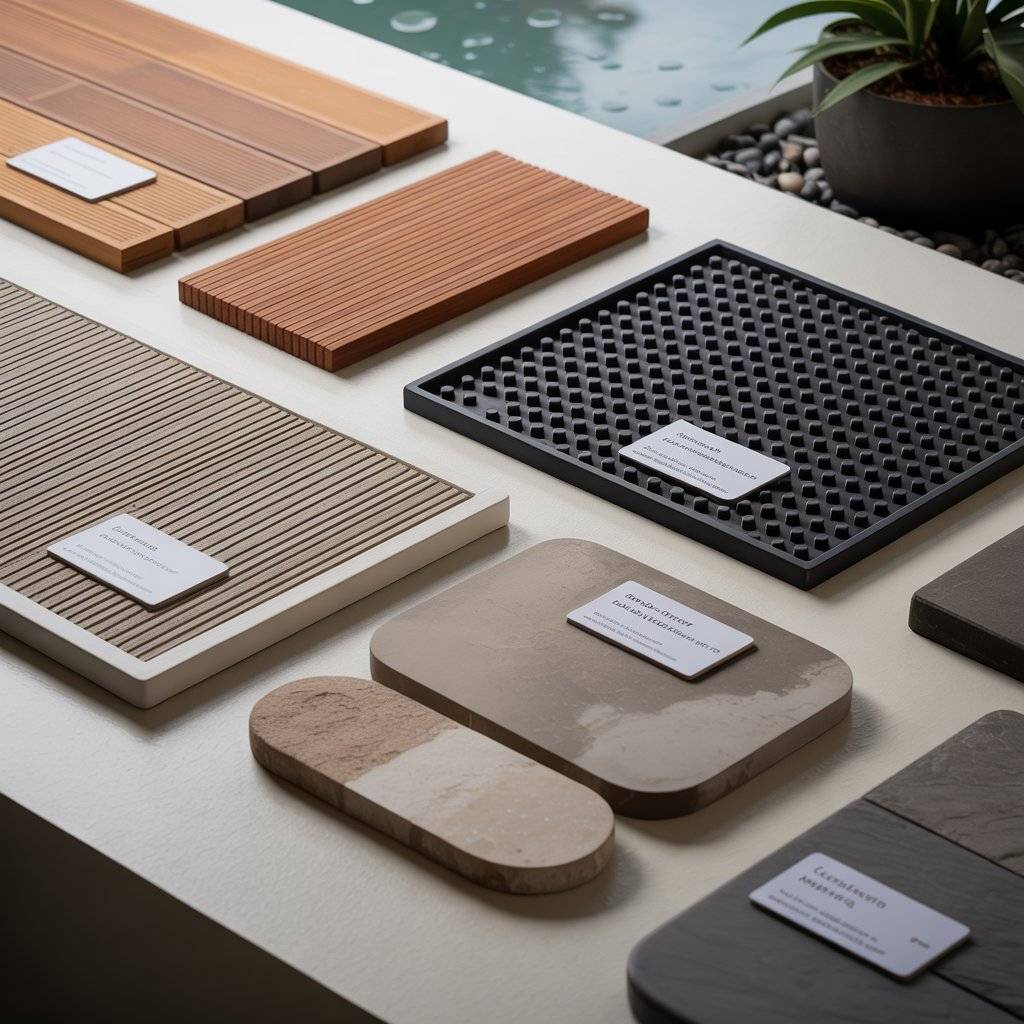
Choose materials that handle water, paws, and sun without fuss. Focus on traction, rounded edges, and easy cleaning.
Good options worth comparing:
- Textured porcelain tile: High style, great traction with matte finishes, low maintenance. Use epoxy grout to resist stains.
- Sealed concrete with grit additive: Budget friendly, tough, custom color. Add a light grit for grip, then reseal as needed.
- Composite decking with traction: Comfortable underfoot, resists rot, quick install. Choose boards with a textured surface.
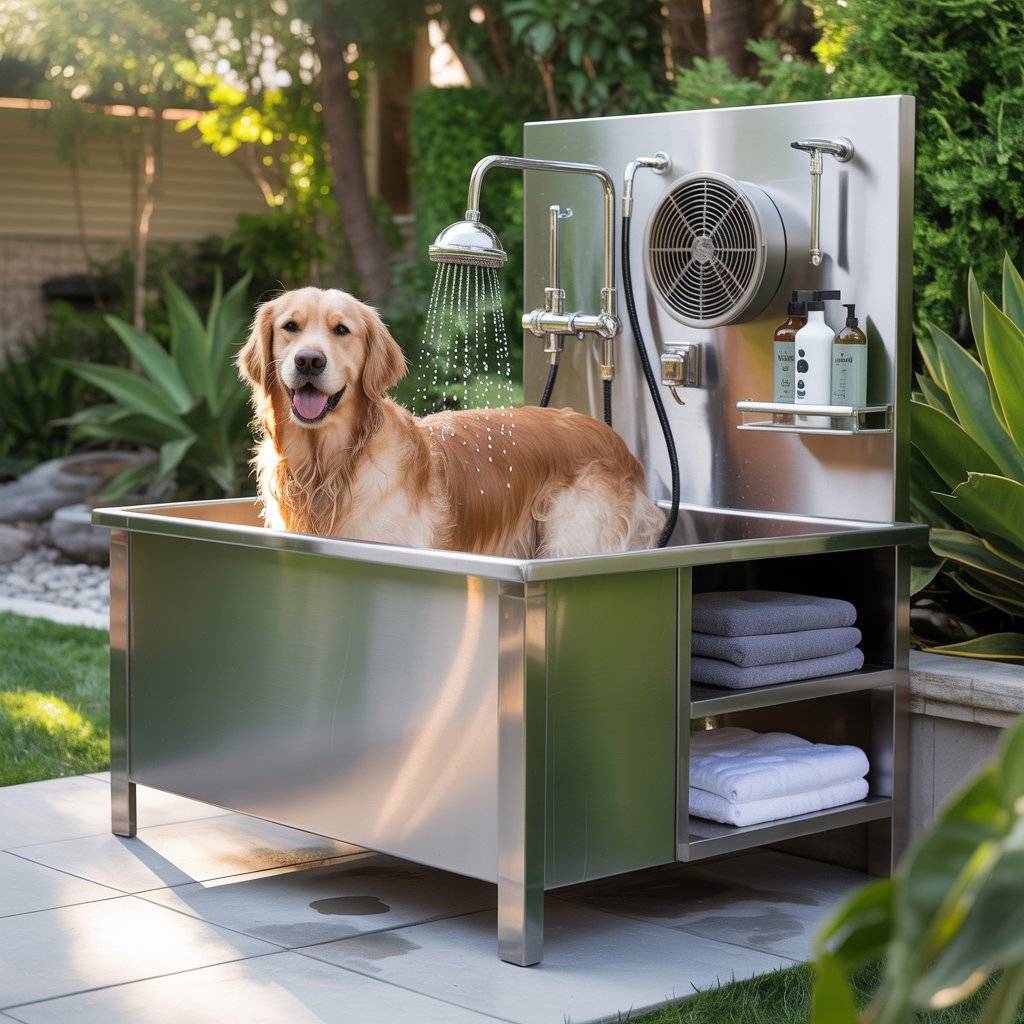
- Stainless or stone tubs: Stainless is durable and sanitary. Stone or cast stone looks premium and holds heat, but weighs more.
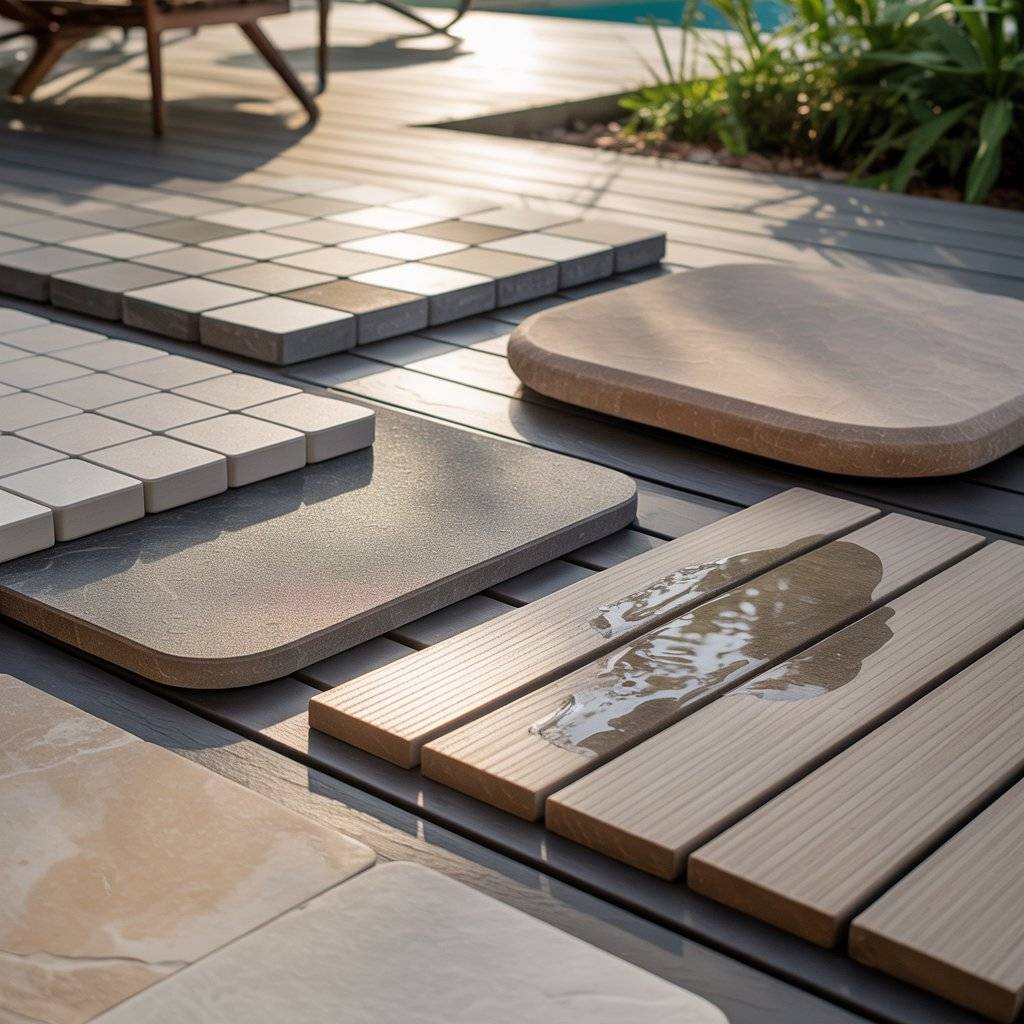
Design tips that elevate the look:
- Non-slip surfaces on floors and ramps to prevent slips.
- Rounded edges on tubs, steps, and ledges to protect paws and shins.
- Easy-to-clean finishes like smooth stainless, sealed stone, or matte tile keep routine cleanup fast.
- Spa palette: Neutral base colors, then warm wood or stone accents. Add a teak mat, cedar screen, or river rock border for a calm, polished feel.
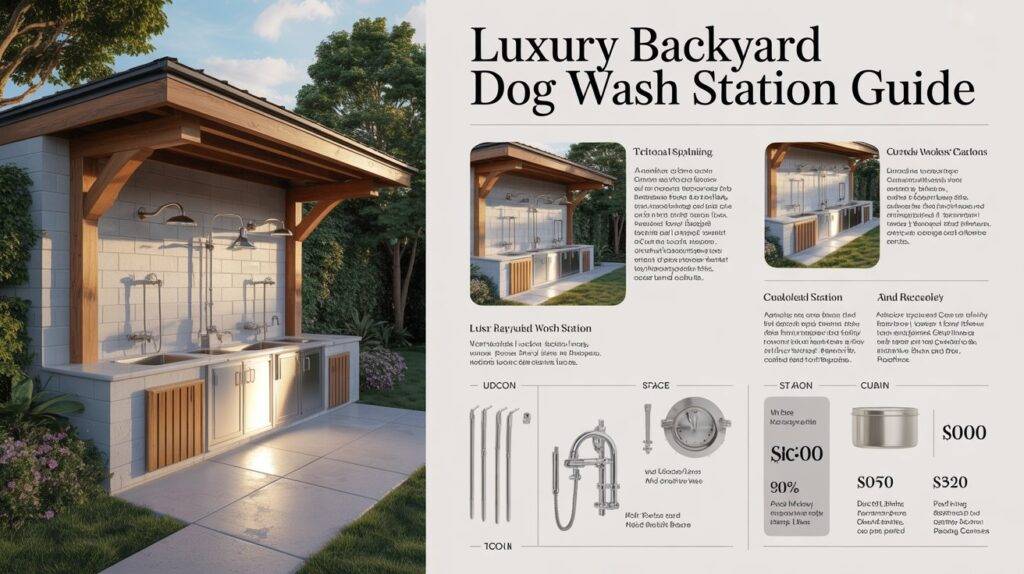
Set a Realistic Budget and Weekend Timeline
Decide where you want to land: simple DIY or high-end finishes. Use the ranges below to sketch your plan.
| Category | Basic DIY Range | Luxury Finish Range |
| Plumbing | $100 to $500 | $700 to $2,000 |
| Base or Pad | $150 to $600 | $800 to $2,500 |
| Fixtures | $80 to $300 | $600 to $2,000 |
| Finishes | $100 to $500 | $1,000 to $3,500 |
| Storage | $50 to $250 | $300 to $1,200 |
| Extras | $50 to $200 | $300 to $1,000 |
- Basic DIY total: $300 to $1,500 if you already have a hose bib and simple drainage.
- Luxury total: $3,000 to $8,000+ with premium tile or stone, a built-in tub, and pro plumbing.
Plan a 1 to 2 weekend build:
- Day 1: Layout, mark slope, trench for drainage, pour or set the base.
- Day 2: Run water lines, install mixing valve and sprayer, set tub or platform, add storage and hooks.
- Buffer: Half day for testing, caulking, sealing, and touch-ups.
Tip: Order fixtures and valves before you start. Dry fit everything on Day 1 so Day 2 goes fast.
Step-by-Step: Build an Outdoor Pet Wash Station That Lasts
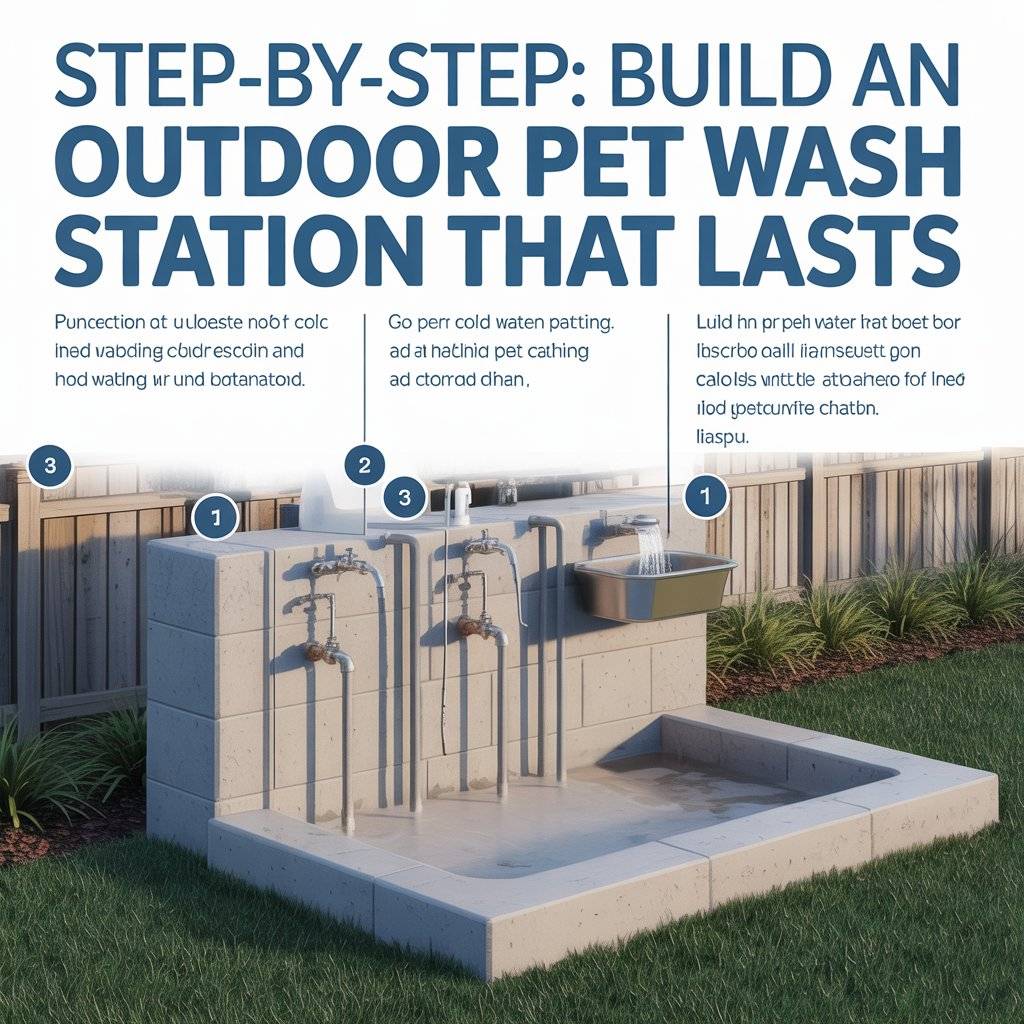
This is the build section you can follow with a weekend plan. You will prep a solid base, add safe hot and cold water, set the tub or pad, then finish with comfort and storage. Keep a bucket and towels nearby. Test as you go and fix small issues before they turn into leaks or puddles.
Prep the Base and Drainage for No-Puddle Washing
Start with a clean, stable base so water flows away and the area stays tidy.
- Remove and level
- Strip sod or mulch to a depth of 4 to 6 inches.
- Level the area with a 1 to 2 percent slope away from the house. That is about 1 to 2 inches of drop over 8 feet.
- Compact the soil with a hand tamper so it does not sink later.
- Add gravel sub-base
- Spread 3 to 4 inches of 3/4 inch crushed gravel.
- Mist with water, then compact in two lifts for a firm base.
- Choose your drainage approach
- Concrete pad with drain path: Form a 3 to 4 inch slab. Trowel a slight slope toward a gravel trench or yard drain. Tool control joints to reduce cracking.
- Gravel bed with dry well: Set a 2 to 3 inch layer of pea gravel over the base. Dig a dry well hole nearby, 2 to 3 feet deep, and fill with drain rock. Run a short gravel trench from the wash area to the well.
- Add edging and keep it clean
- Install paver edging, pressure-treated bender board, or metal edging to hold gravel.
- Keep the top of the edging slightly above grade. This stops soil from washing into your clean area.
Pro tip: Use a hair and debris strainer at the low point. It keeps dogs’ hair out of your drain path.
Call a pro if you plan to tie into a storm drain or sewer. Local rules may require a permit.
Run Hot and Cold Lines with a Safe Mixing Valve
Warm water keeps wash time calm and quick. A simple setup avoids scalds and hose bursts.
- Source options
- From inside: Tee into indoor hot and cold lines near a laundry or utility sink. Run lines through the wall to the exterior.
- Outdoor hot-cold hose bib: Install a dual-temp hose faucet on an exterior wall, then connect your sprayer.
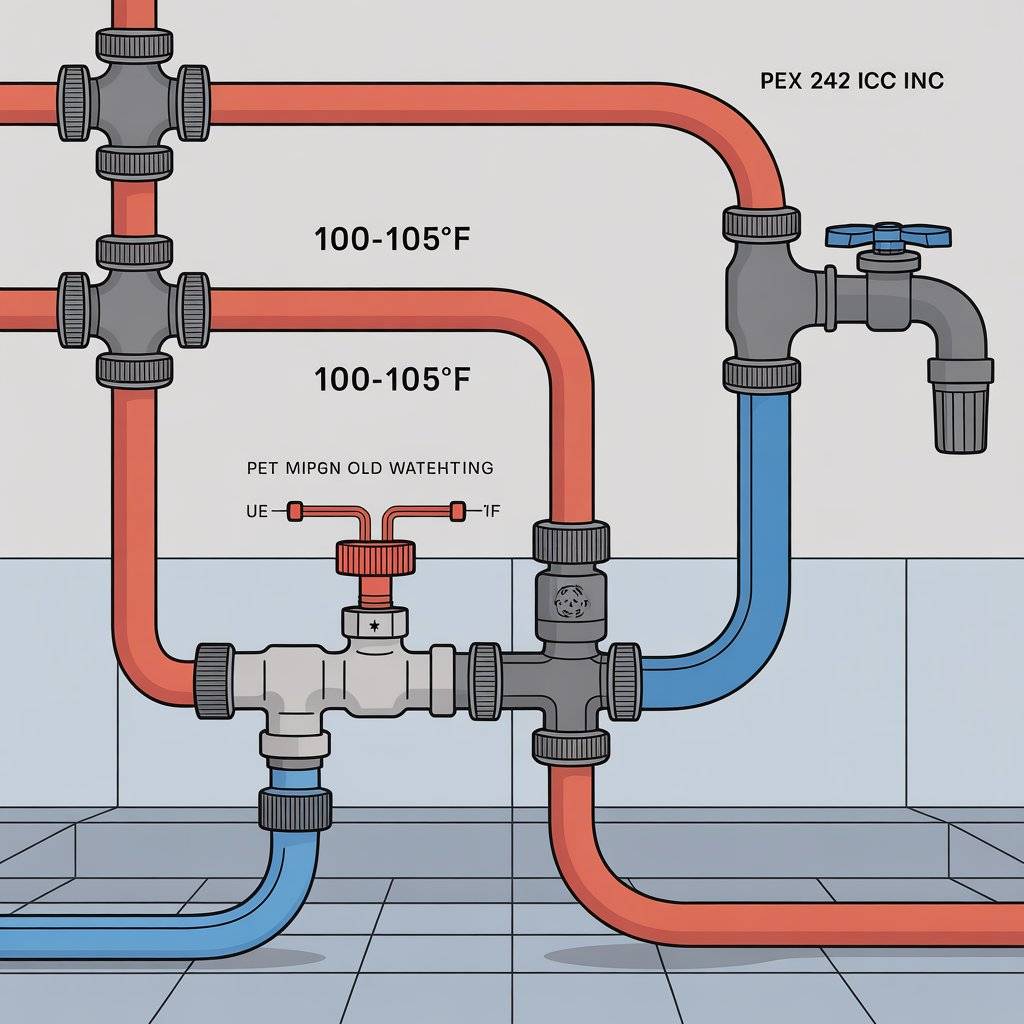
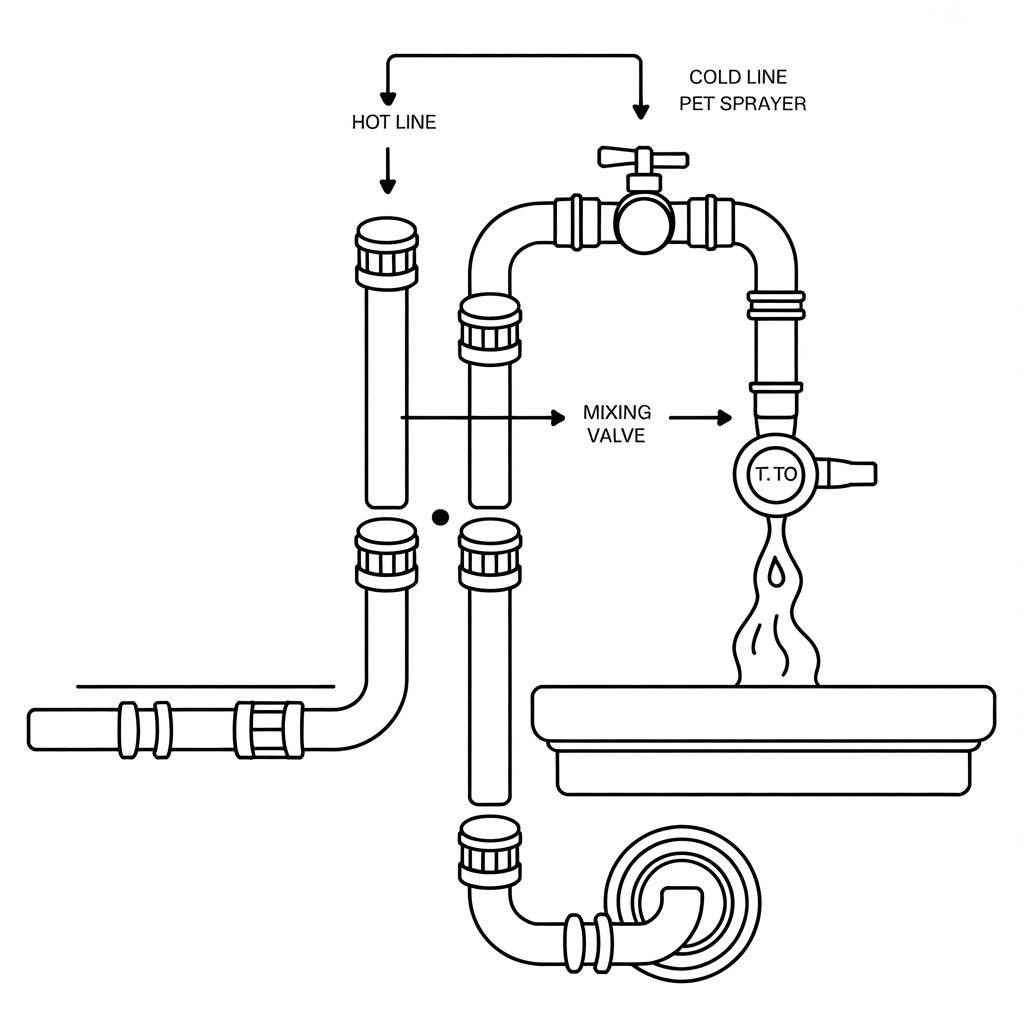
- Mixing valve
- Add a thermostatic mixing valve between hot and cold. Set max at 100 to 105°F for safe pet bathing.
- Place shutoff valves on both hot and cold before the mixer for easy service.
- Materials and routing
- Use PEX with UV-resistant sleeve, copper, or stainless braided hose rated for outdoor use.
- Anchor lines every 24 to 32 inches with clamps. Keep runs neat and protected from sun and paws.
- Seal wall penetrations with exterior silicone or a proper wall boot. Label valves so you can shut them off fast.
- Final checks
- Pressure test before closing any wall or covering lines.
- Add a vacuum breaker or backflow preventer if codes require it.
Call a licensed plumber if you are unsure about tapping indoor lines, if you need a new gas water heater loop, or if your city requires inspections.
Install the Tub or Wash Pad, Walls, and Non-Slip Surface
Pick the platform that fits your dog size and your back. Keep surfaces grippy and joints sealed.
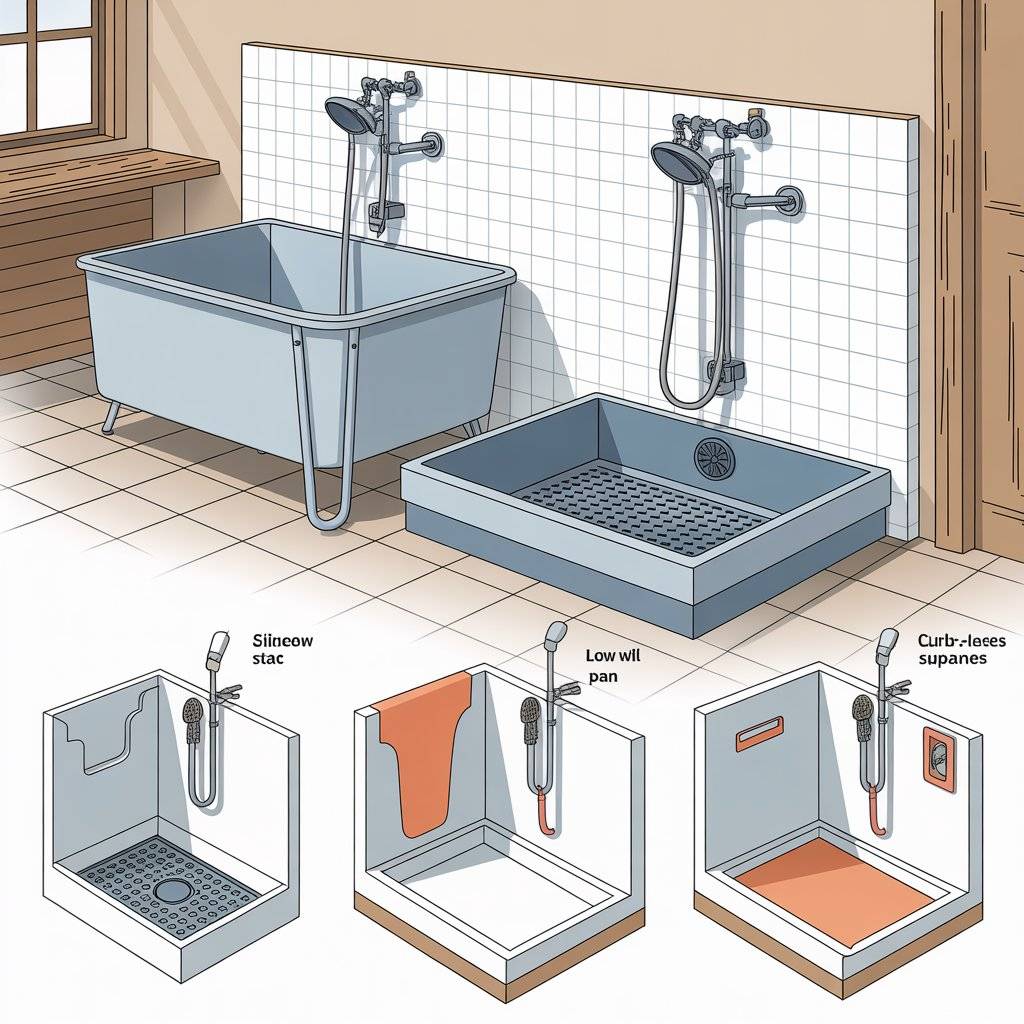
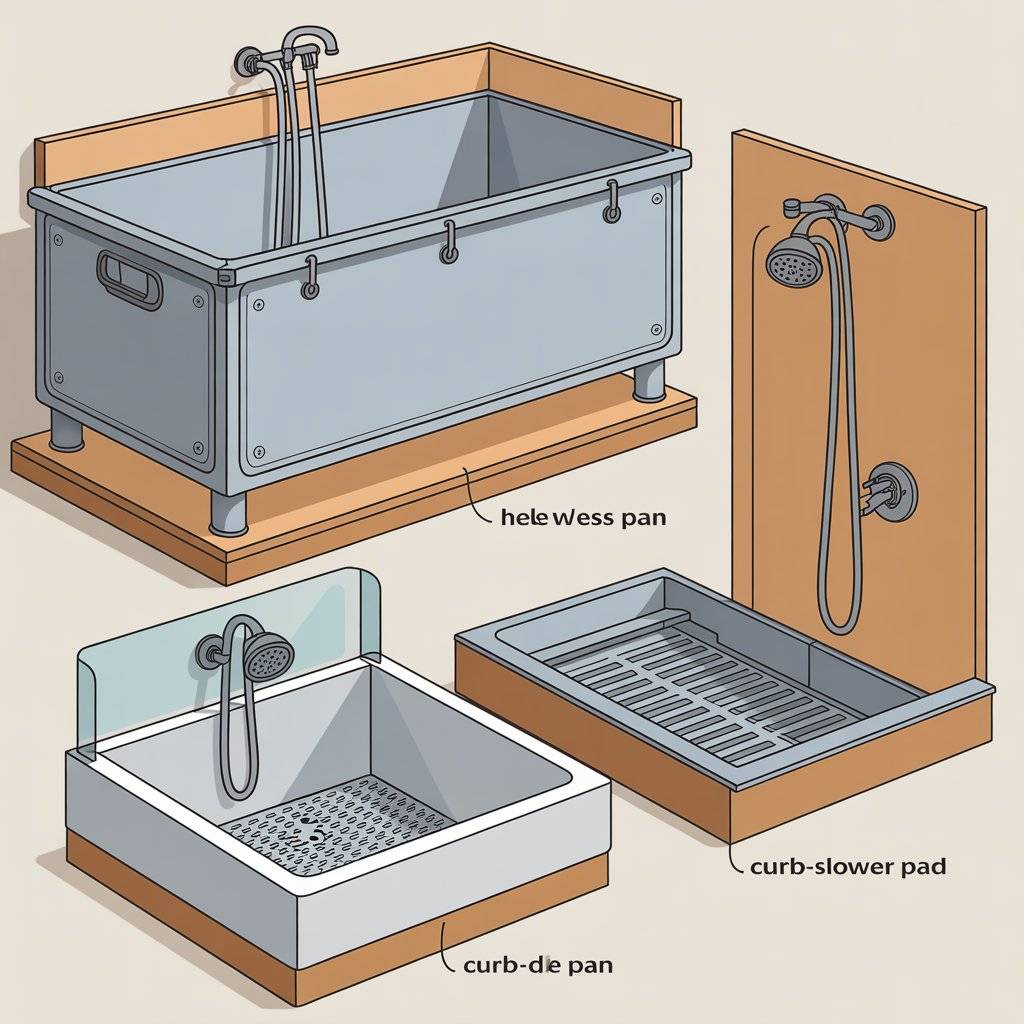
- Tub or pad choices
- Raised stainless tub: Great for small to medium dogs. Look for welded seams, a center drain, and tie-down loops.
- Low shower pan: Easy step-in height, works with a wall sprayer. Choose a pan with a textured base.
- Curb-less pad: Ideal for large breeds. Build a gently sloped pad that drains to your trench or dry well.
- Set and secure
- Place the tub or pan on the leveled base. Shim as needed to maintain slope to the drain.
- Anchor legs or frames to the slab or a treated platform so nothing shifts during bath time.
- Splash control
- Add knee walls or clear splash panels on the back and one side if overspray bothers nearby spaces.
- Seal all seams with 100 percent silicone. Tool a smooth bead at corners, wall joints, and around penetrations.
- Traction under paws and feet
- Use non-slip tile with a matte finish or textured rubber mats on pads.
- Place a simple leash hook at chest height for your dog, about 24 to 36 inches above the floor, away from the sprayer arc.
- Drain protection
- Fit a removable hair strainer. Clean it after each use to keep flow steady.
Test the sprayer and watch where water goes. Adjust mats and splash panels until spray stays inside the wash zone.
Add Lighting, Shade, and Smart Storage
Comfort and organization save time and reduce stress for both of you.
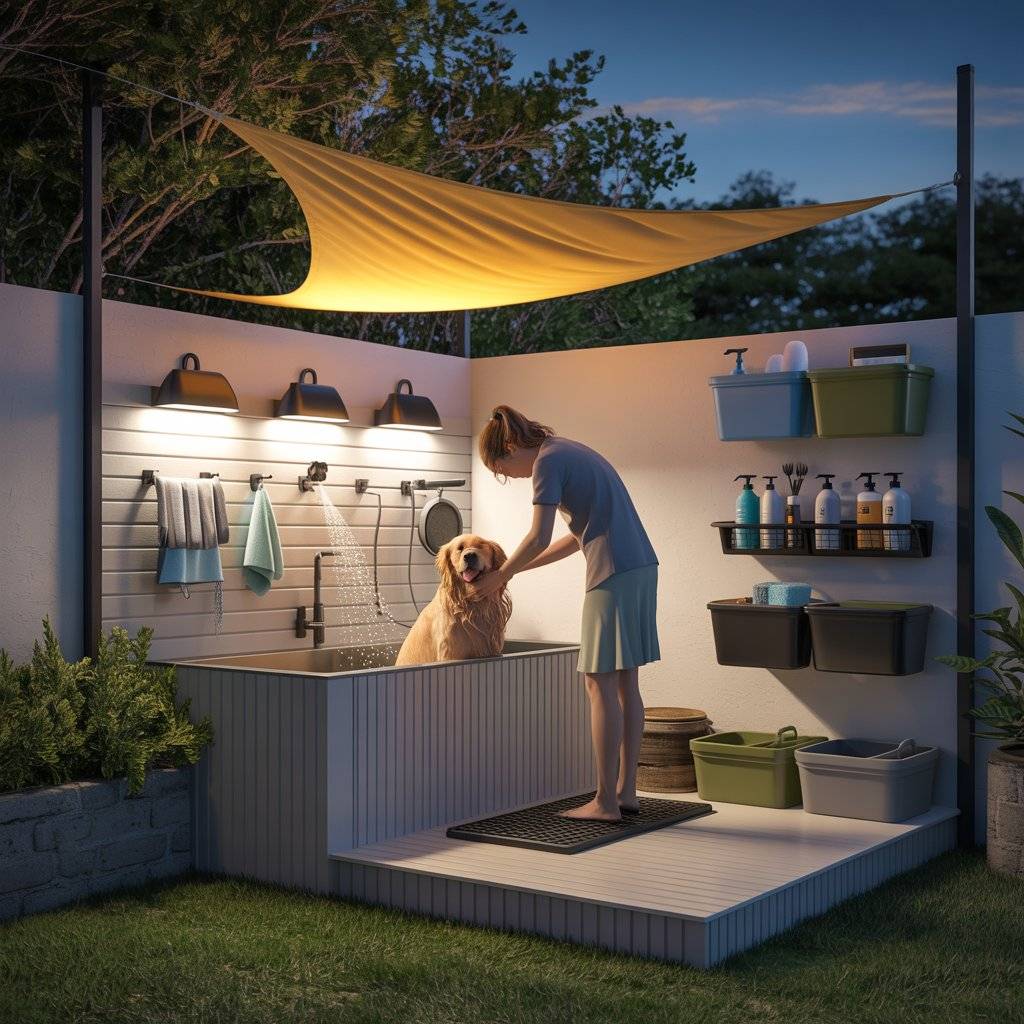
- Lighting
- Install solar or low-voltage task lights aimed at the tub or pad. Choose warm white for better visibility without glare.
- Use weather-rated fixtures with sealed connections. Add a simple timer or dusk sensor.
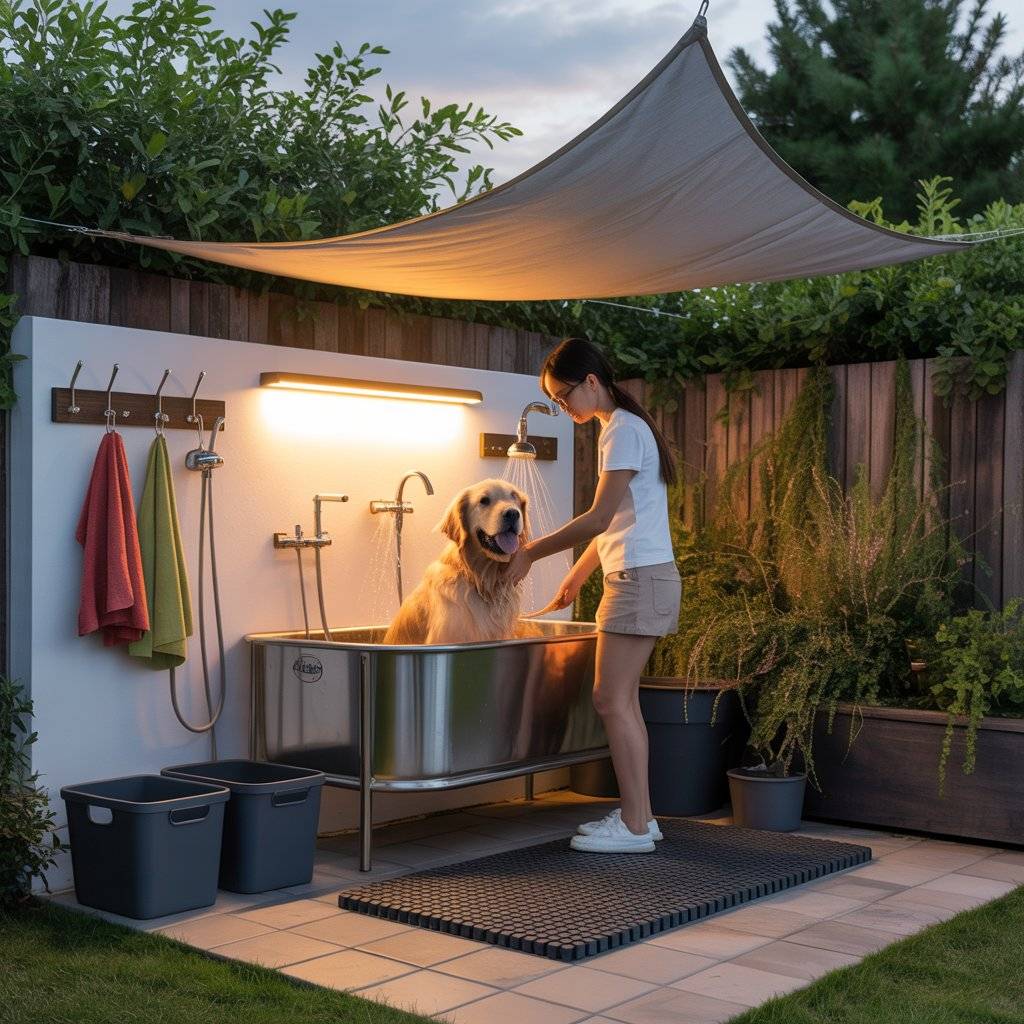
- Shade
- A shade sail or small canopy keeps surfaces cool and helps calm anxious pets.
- Tension hardware should fasten to studs or posts, not fascia alone.
- Storage and comfort
- Mount wall hooks for sprayers, towels, and a squeegee. Keep them within arm’s reach.
- Use a compact, weatherproof cabinet or sealed bins for shampoos and brushes. Keep storage off the ground to avoid splash and ants.
- Stand on a rubber anti-fatigue mat to protect your knees and back.
Quick wrap-up checklist:
- Valves labeled and accessible.
- All penetrations sealed.
- Slope verified and no standing water after a 2-minute hose test.
- GFCI nearby for any dryer, cords routed high and dry.
If anything leaks or backs up during testing, stop and fix it now. A tight, sloped, and organized station will serve you for years.
Luxury Features That Make It a True Backyard Pet Spa
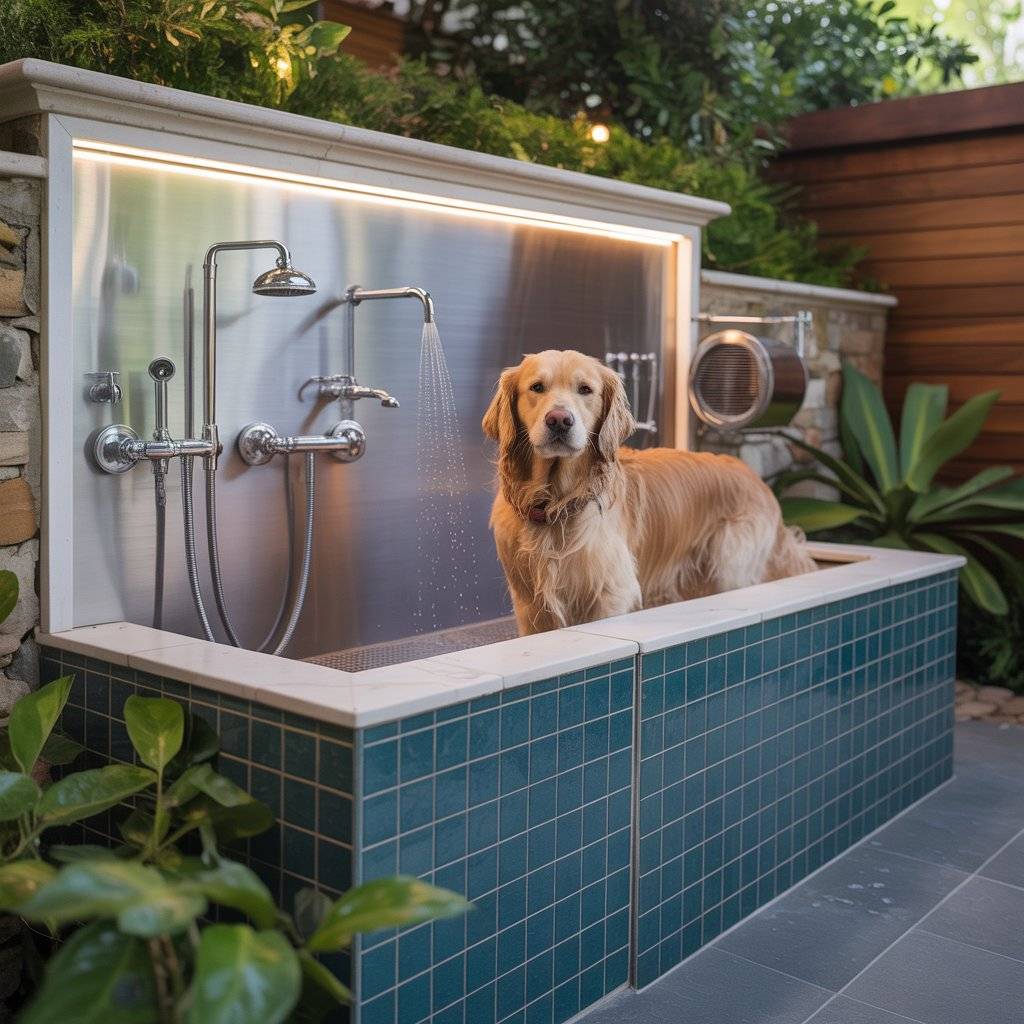
Turn routine baths into calm, quick sessions with a few thoughtful upgrades. These features look high end and work hard. They reduce strain, shorten dry times, and keep the space fresh so you actually enjoy using it.
Premium Fixtures and Groomer-Grade Tools
Quality fixtures give you control, speed, and a better clean. Aim for pro-level function without the fuss.
- Multi-spray handheld wand: Choose a wand with rinse, gentle rain, and targeted jet. A thumb shutoff saves water between lathers.
- Gentle grooming nozzle: A soft, low-pressure head lifts dirt from undercoats without hot spots on skin.
- Thermostatic mixer: Set a safe max and stop guessing. Lock in your water at 95 to 102°F for calm, consistent baths.
- High-flow drain strainer: A wide basket or dome-style catcher traps hair before it clogs the line. Empty it after each wash.
- Fast, quiet drying: Mount a quiet, low-heat pet dryer on a wall away from splash. Or add a secure clip point near the station for a portable dryer. Use flexible hose guides and cord hooks to keep the area tidy.
Pro tip: Place the sprayer dock at chest height so you can grab and park it fast.
Comfort Features for Pets and People
Small comforts make a big difference on your back, knees, and your dog’s stress level.
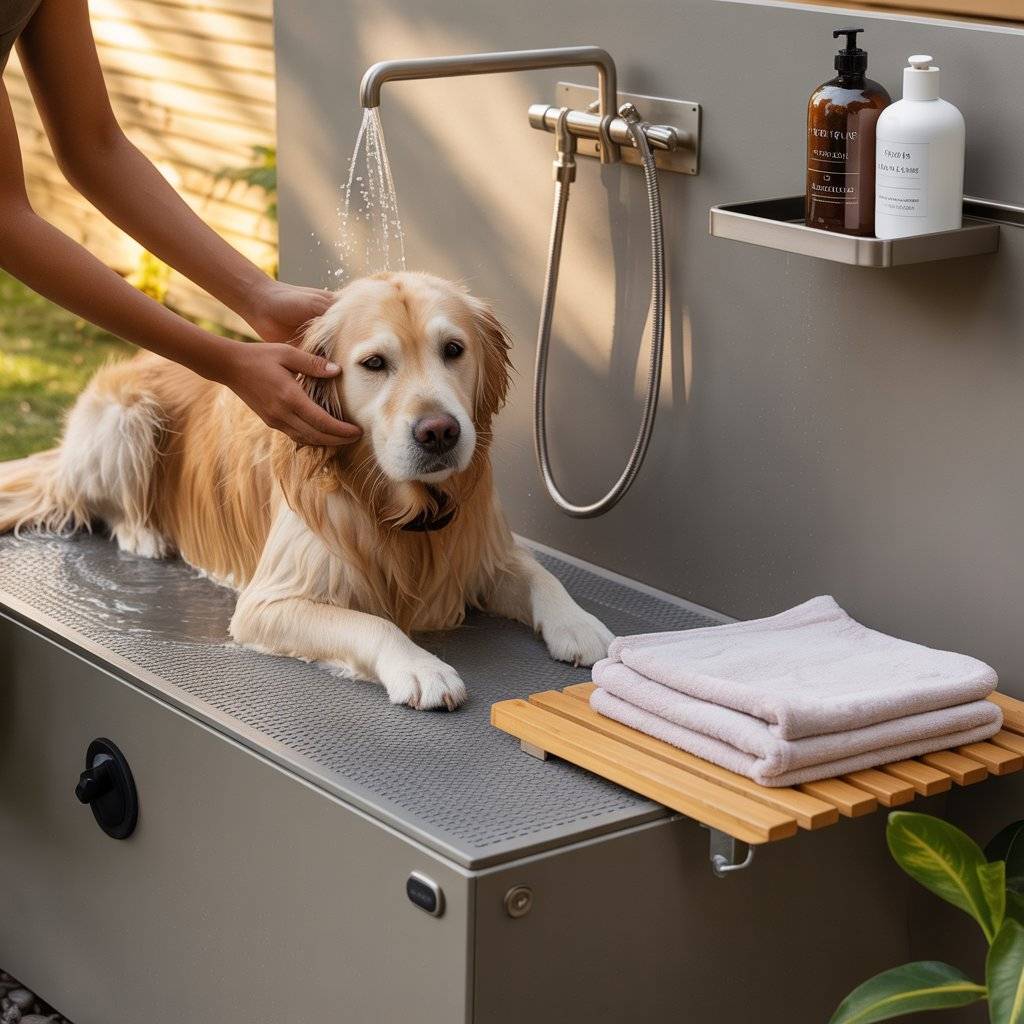
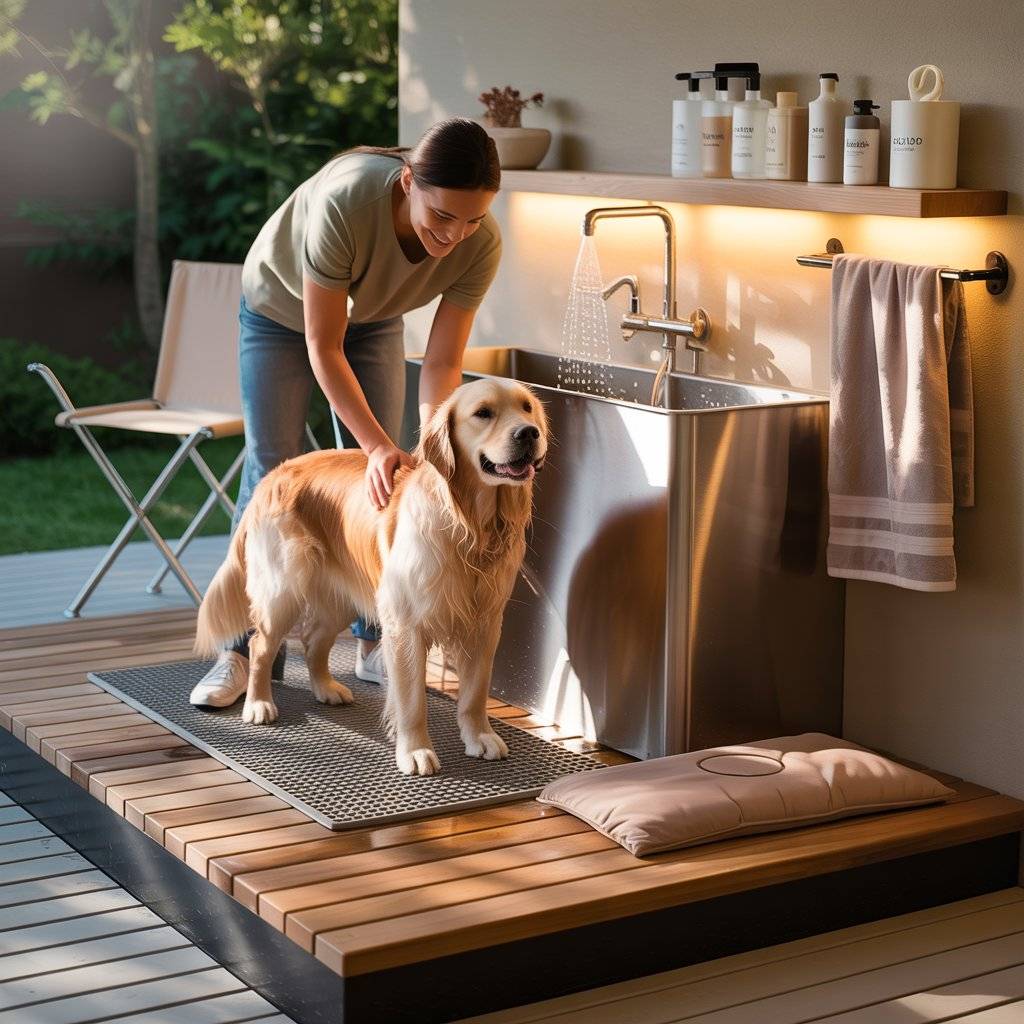
- Raised tub or platform: Lift the work zone to waist height. Less bending means longer, easier sessions.
- Padded floor mat: Use a textured, cushioned mat inside the tub or on the pad. It boosts traction and calms shaky paws.
- Warm water, always: Keep the mixer set to a safe range, 95 to 102°F. Warm water loosens grime and speeds rinsing.
- Owner support: Add a fold-away seat for brushing and nail trims. A thick knee pad helps when you need to get close.
- Low-scent shampoo shelf: Mount a narrow shelf at arm height for shampoo, conditioner, and a dip cup. Low-odor products reduce sniffing and sneezing.
- Heated towel rack: If power and weather allow, a small, weather-rated rack dries towels fast and adds a spa touch.
Nice-to-have upgrade: Install a foot-operated valve so you can change flow without letting go of the leash.
Safe, Easy Access for All Sizes and Senior Pets
Safe access cuts slips, balking, and lift strain. Build the approach as carefully as the tub.
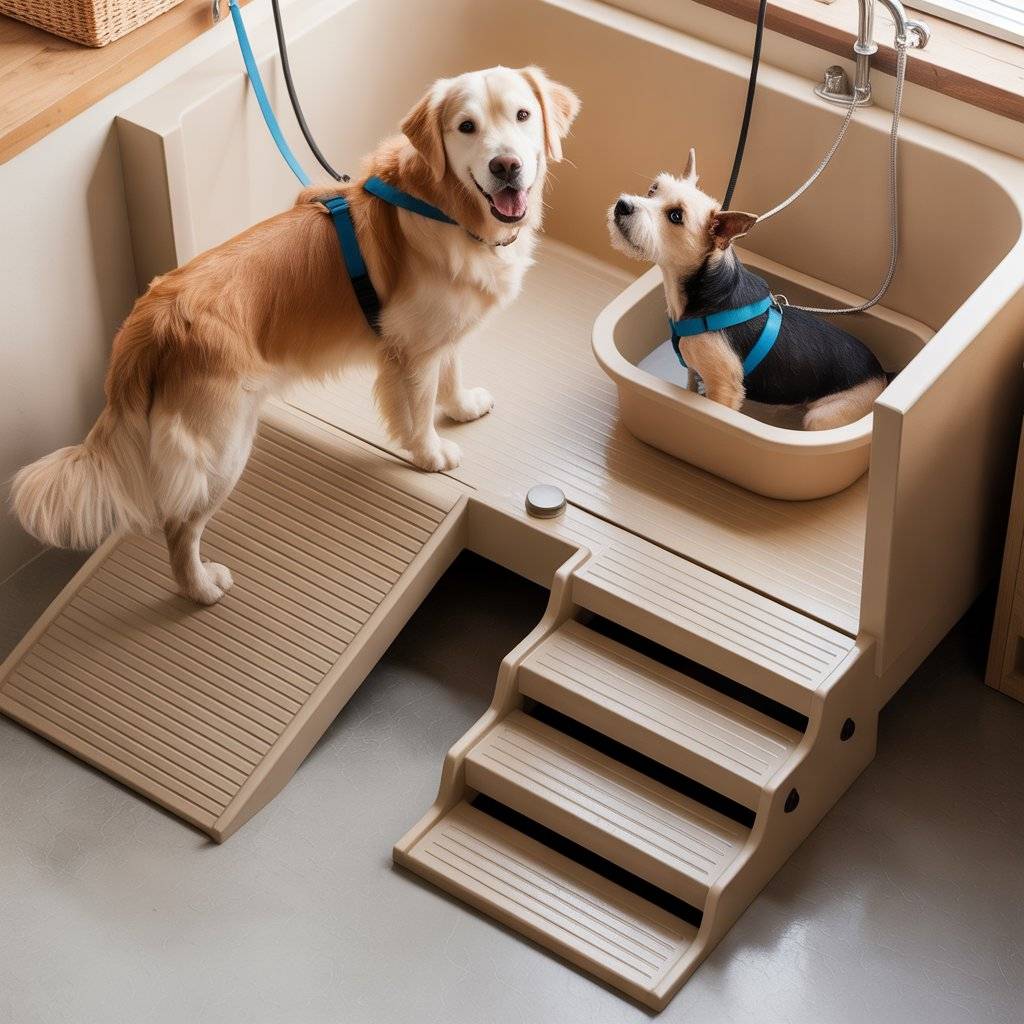
- Wide, non-slip ramp: Choose a gentle slope with grip strips or textured rubber. Shallow steps with side rails work if space is tight.
- Removable safety tether: Clip to a harness, not a collar. Position the tether point to the side so your dog can stand naturally.
- Rounded edges: Soften all corners on tubs, steps, and shelves. Keep pathways clear of cords and clutter.
- Lift-out basin for small pets: A light, handled basin fits inside the main tub. Lift it out for quick rinses or winter use indoors.
Check the ramp width against your largest dog’s stance. Wider feels safer and reduces hesitation.
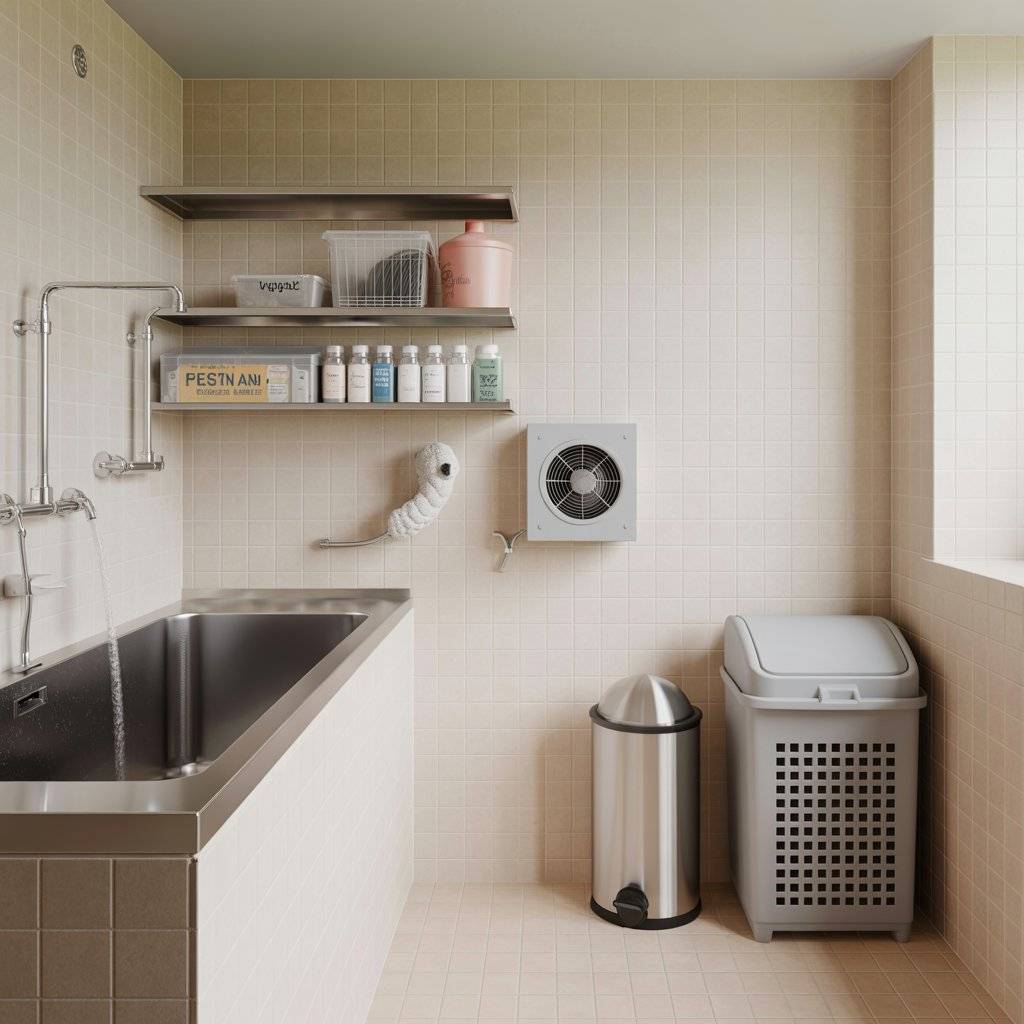
Hygiene, Odor Control, and Pest-Smart Details
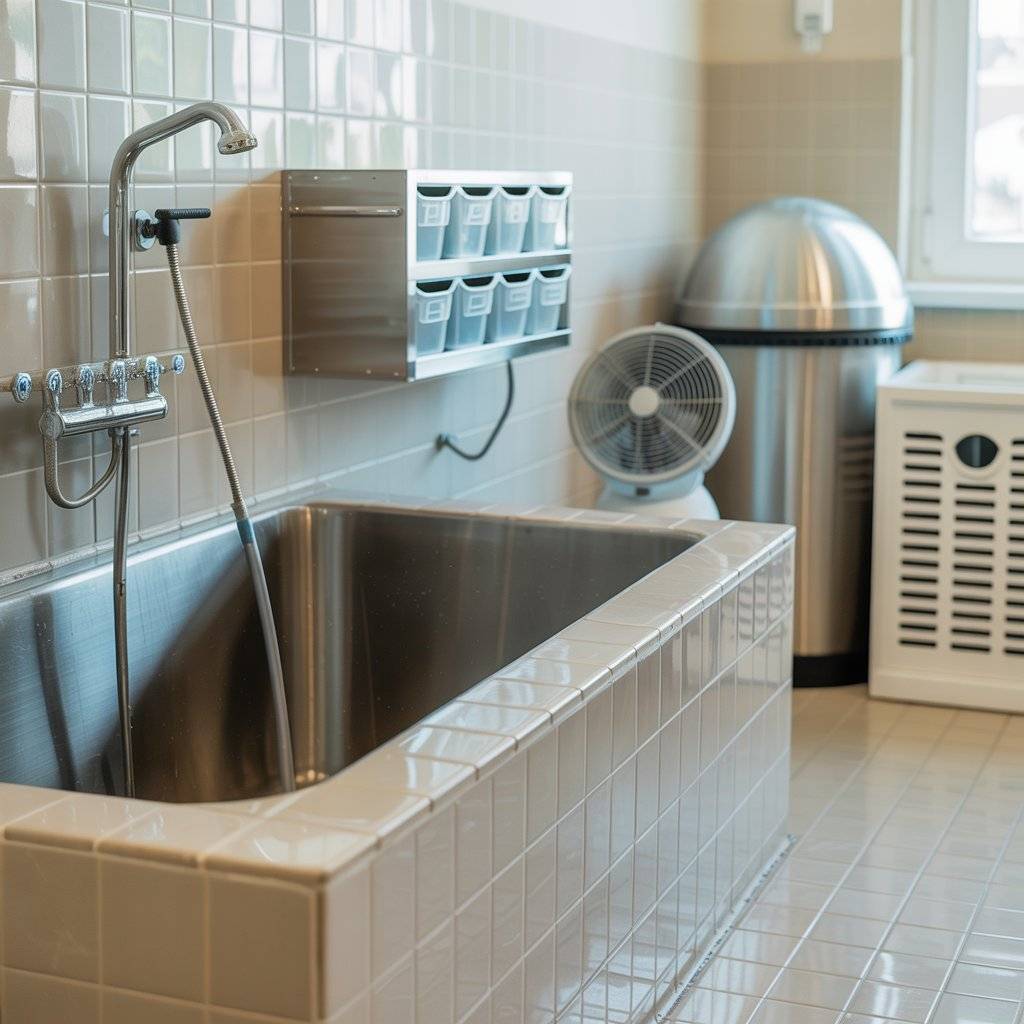
Clean gear and smart airflow keep the station fresh and ready for next time.
- Smooth, sealed surfaces: Use sealed tile, stainless, or coated concrete. Wipe down after each session. Reseal grout annually if needed.
- Hair trap + spray-down routine: Fit a hair trap at the drain. Post-wash, do a 30-second rinse of walls, floor, and mats.
- Safe pest storage: Keep flea combs, tick tools, and repellents in a latched, labeled bin away from shampoos.
- Airflow that works: A small, quiet fan moves moisture out and speeds dry times. Aim it across, not into, the tub.
- Covered trash and laundry: Use a lidded bin for used wipes and a vented hamper for damp towels.
- Natural deodorizer: Sprinkle baking soda into the drain, then flush with warm water after wash day to cut odors.
Quick reset checklist: empty the strainer, hang mats to dry, crack the fan for 10 minutes, restock towels and treats.
Related Post: