
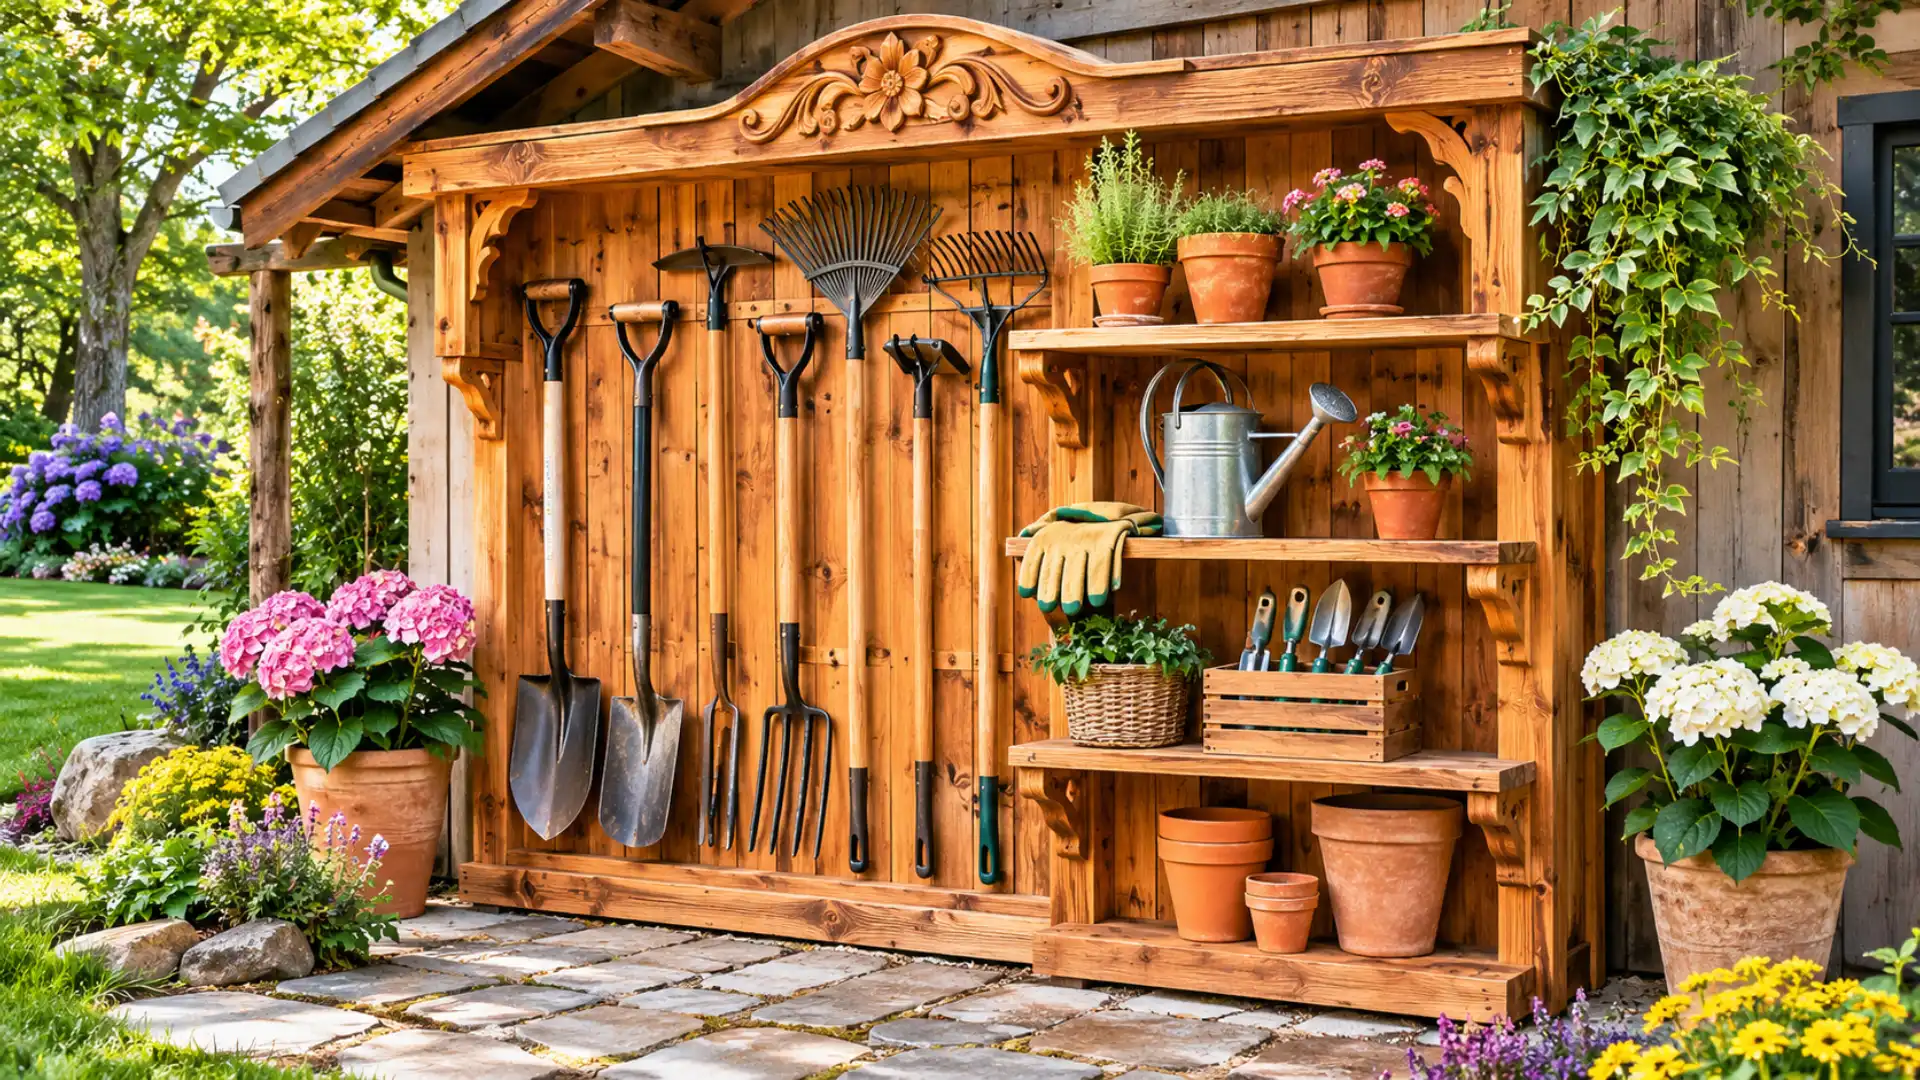
A messy garden shed can make even simple gardening tasks feel like hard work.
Rakes, shovels, watering cans, and hand tools often end up leaning against walls or scattered around the yard.
A DIY outdoor garden tool storage station offers a practical way to bring everything together.
With a few wooden boards, sturdy hooks, and simple shelves, you can create a rustic organizer that looks attractive and keeps everyday gardening essentials within easy reach.
1. Rustic Wooden Garden Tool Wall Organizer
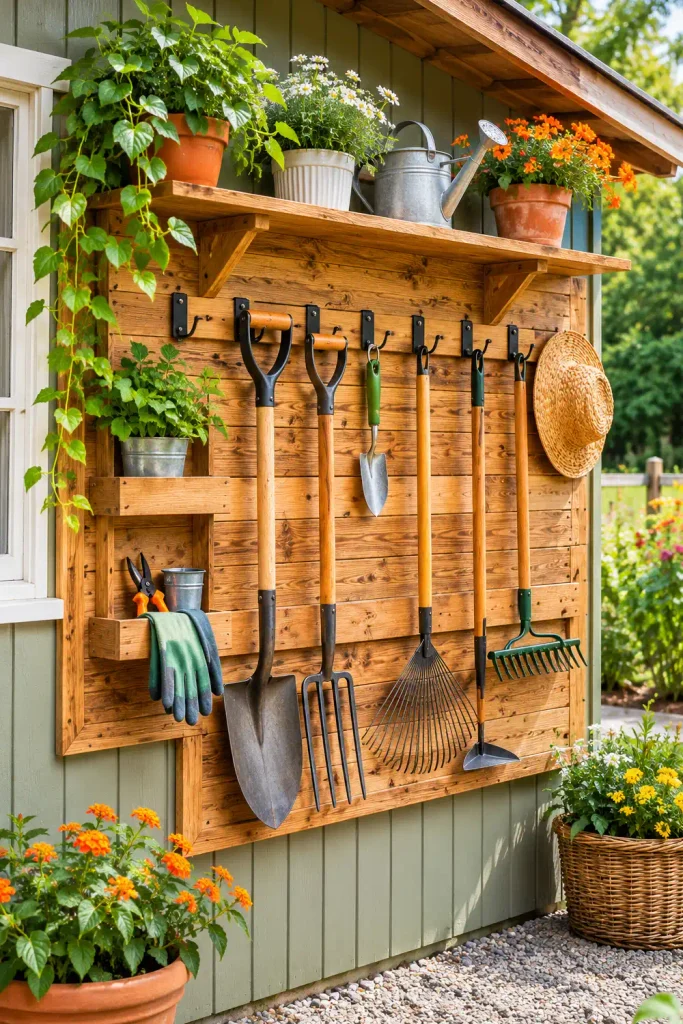
A rustic wooden wall organizer is a lovely starting point for an outdoor garden tool storage station. It uses vertical wall space instead of taking up valuable floor space.
Reclaimed timber or simple pine boards can give the organizer a natural farmhouse appearance.
Simple steps:
- Measure the available wall space in your garden shed or covered outdoor area.
- Cut wooden boards to your preferred dimensions.
- Sand the edges to remove rough surfaces.
- Attach horizontal support boards to the wall.
- Install strong hooks and tool holders.
- Arrange garden tools by size and purpose.
One helpful tip:
– Use different hook sizes to accommodate everything from small hand trowels to larger garden rakes.
2. DIY Garden Tool Storage Station with Shelves
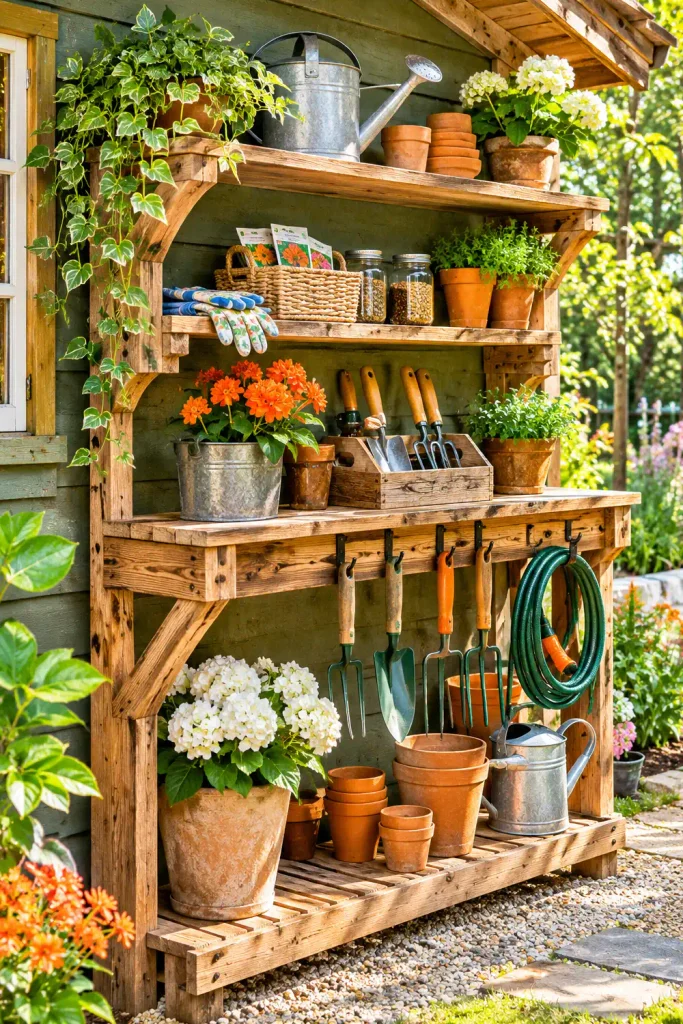
If you have more than just long-handled tools to organize, add a few wooden shelves.
This design creates room for gardening gloves, seed packets, small pots, watering accessories, and other supplies.
The combination of open shelves and hanging storage makes the station useful without looking overcrowded.
Simple steps:
- Build a rectangular wooden frame.
- Attach two or three shelves at comfortable heights.
- Add a lower section for hanging larger tools.
- Install small storage baskets on the shelves.
- Label containers to make supplies easier to find.
One helpful tip:
– Keep frequently used items on the middle shelves so they are easy to reach.
3. Pallet Wood Garden Tool Organizer
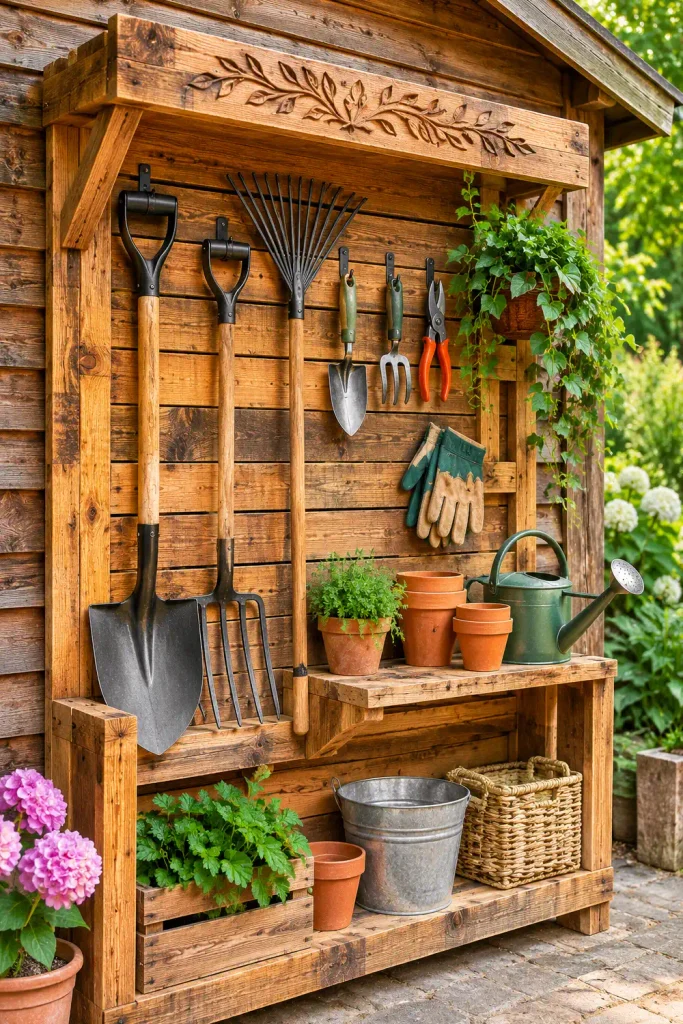
Old wooden pallets can provide useful material for a budget-friendly garden organizer.
Their existing wooden slats make it easier to create a rustic storage arrangement with separate spaces for different tools.
Choose clean, sound pallet wood that is suitable for reuse. Avoid wood with chemical contamination or signs of rot.
Simple steps:
- Inspect the pallet and select suitable boards.
- Remove loose nails and damaged sections.
- Sand the wood carefully.
- Secure the pallet to a suitable supporting structure.
- Add hooks or holders for garden tools.
- Finish with an outdoor-appropriate wood treatment.
One helpful tip:
– Apply a suitable weather-resistant finish to help protect the wood from moisture.
4. Wooden Garden Tool Rack with Individual Holders
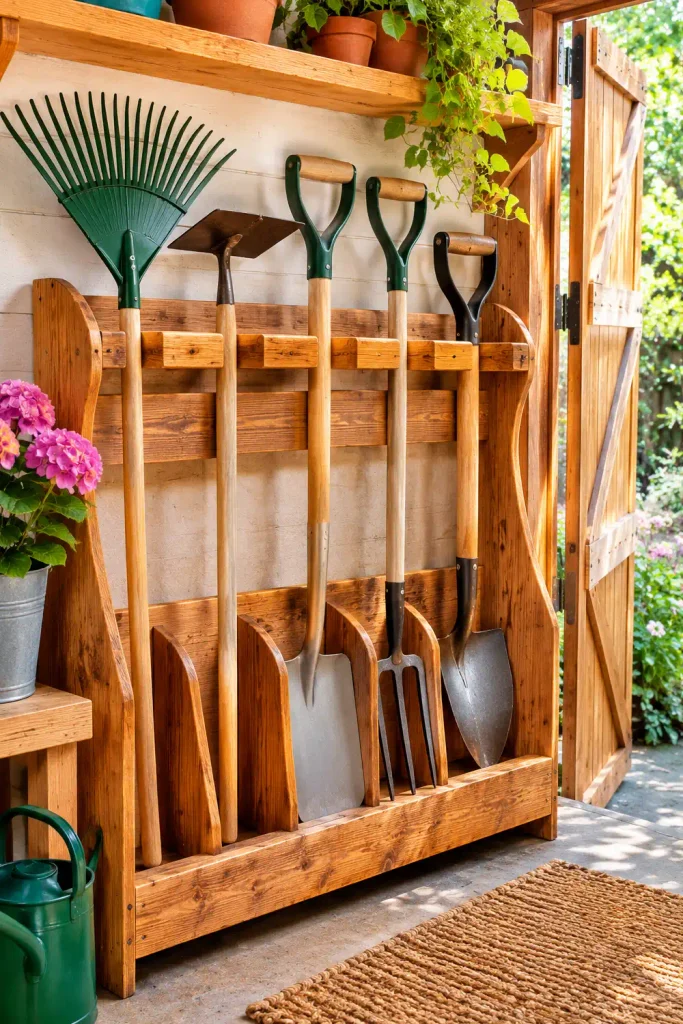
A wooden tool rack with individual holders is a practical choice for anyone who wants a tidy storage area. Instead of placing every tool on one hook, this design gives each item its own space.
It also makes it easier to notice when a tool has not been returned to its proper place.
Simple steps:
- Choose a sturdy wooden board.
- Measure the handles of your gardening tools.
- Mark evenly spaced positions for the holders.
- Install suitable tool clips or wooden brackets.
- Secure the rack firmly to a supporting wall.
- Arrange tools according to their size.
One helpful tip:
– Leave enough space between holders so larger tools do not overlap.
5. DIY Garden Tool Storage Cabinet
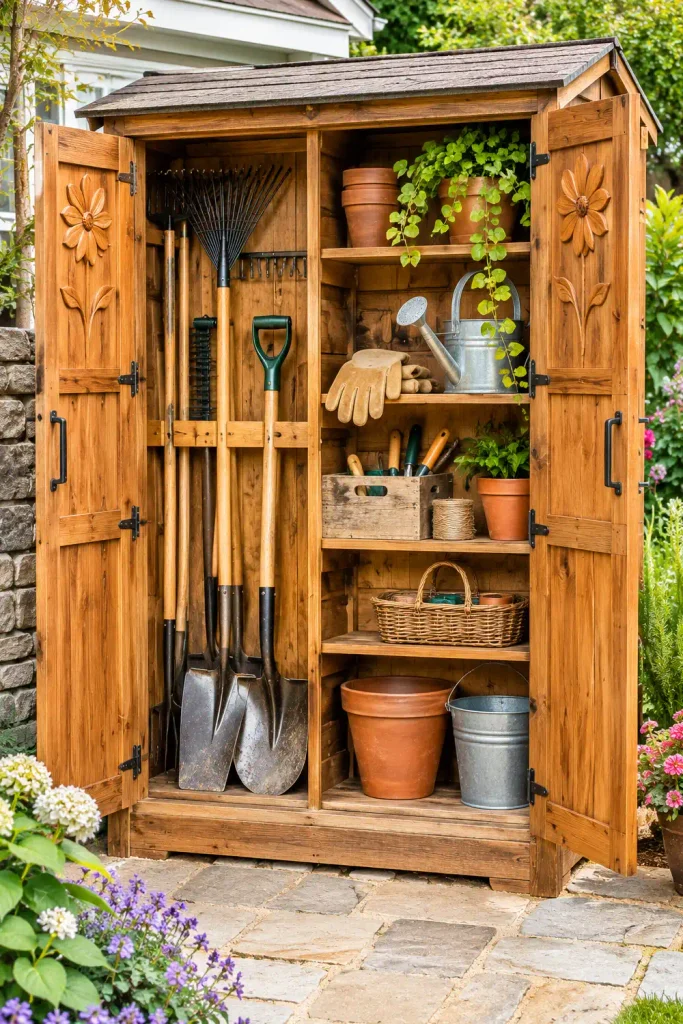
An outdoor wooden storage cabinet is ideal when you want to keep gardening supplies protected and out of sight.
Unlike an open wall rack, a cabinet can help shield tools from dust and direct sunlight.
A simple design with double doors, internal shelves, and a tall tool compartment offers plenty of useful storage.
Simple steps:
- Build a strong wooden cabinet frame.
- Add a tall compartment for long-handled tools.
- Install shelves for smaller gardening supplies.
- Attach two cabinet doors with suitable hinges.
- Add a secure handle and weather-resistant finish.
- Position the cabinet on a stable, level surface.
One helpful tip:
– Include ventilation openings to help reduce trapped moisture inside the cabinet.
6. Garden Tool Storage Station with Hanging Hooks
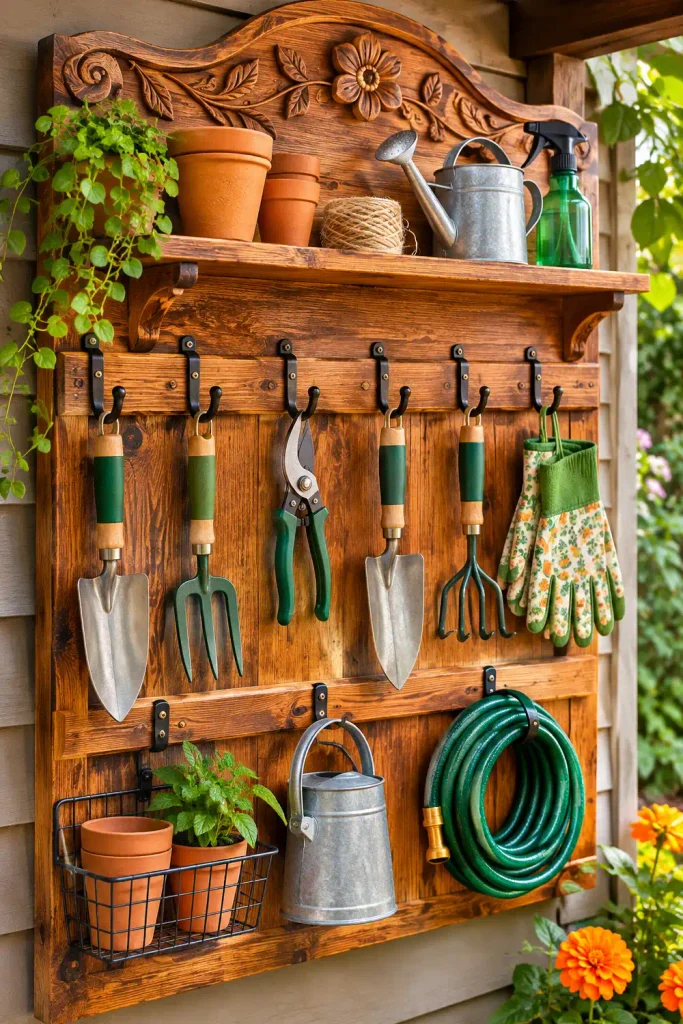
Sometimes, a simple arrangement of hooks is all you need to improve garden storage. A wooden backing board with metal hooks creates an attractive place for frequently used accessories.
This idea works particularly well beside a potting bench or near a garden shed entrance.
Simple steps:
- Select a wooden board that fits your available space.
- Sand and finish the surface.
- Mark positions for the hooks.
- Attach suitable hooks using the correct fixings.
- Mount the board securely.
- Hang lightweight gardening accessories.
One helpful tip:
– Use corrosion-resistant hooks designed for outdoor conditions.
7. Rustic Garden Tool Organizer with a Potting Bench

Combining a potting bench with a garden tool organizer creates a useful gardening corner. You get a comfortable surface for planting and repotting while keeping tools and supplies nearby.
A wooden bench with a raised backsplash, shelves, and hanging hooks makes the space both attractive and practical.
Simple steps:
- Build or select a sturdy outdoor potting bench.
- Attach a wooden backing panel.
- Install hooks for frequently used tools.
- Add shelves for pots and gardening supplies.
- Include a lower storage area for larger containers.
- Arrange the worktop with everyday essentials.
One helpful tip:
– Choose a worktop material that is easy to wipe clean after planting.
8. Vertical Garden Tool Storage Station
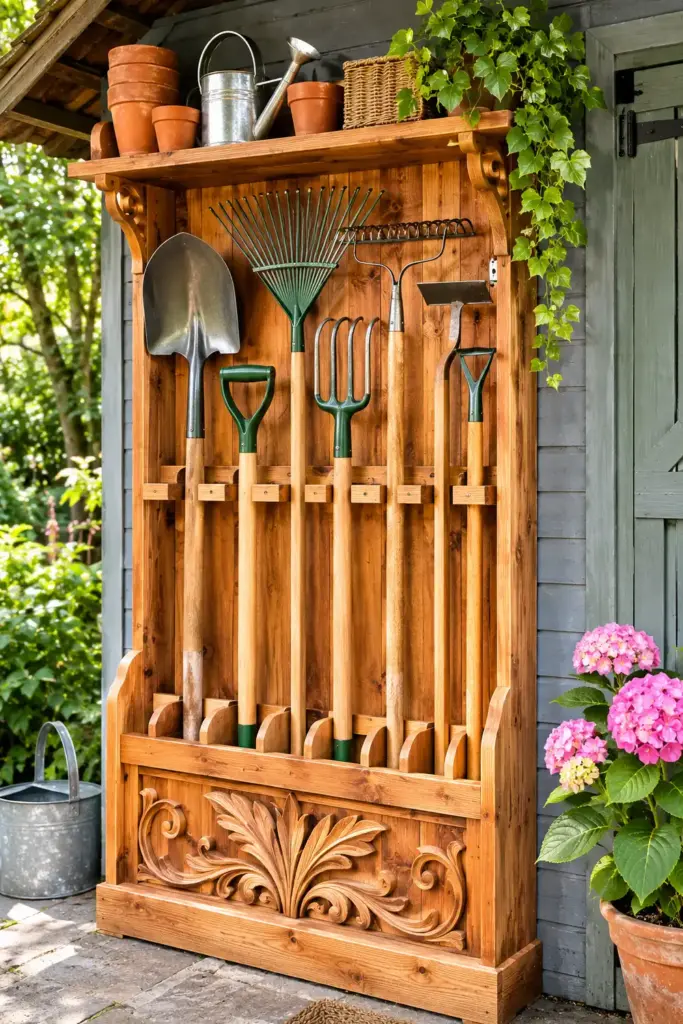
When floor space is limited, vertical storage makes excellent use of the available wall area. A tall wooden organizer can hold several garden tools without requiring a large footprint.
It is especially useful for narrow garden sheds and small outdoor workspaces.
Simple steps:
- Measure the height and width of your available wall.
- Build a tall wooden frame.
- Install tool holders at different heights.
- Add a small upper shelf for lightweight supplies.
- Secure the structure to suitable wall supports.
- Arrange tools with heavier items stored securely at accessible heights.
One helpful tip:
– Keep the tallest tools in a designated section to prevent handles from getting tangled.
9. Outdoor Garden Tool Storage Station with a Rustic Roof
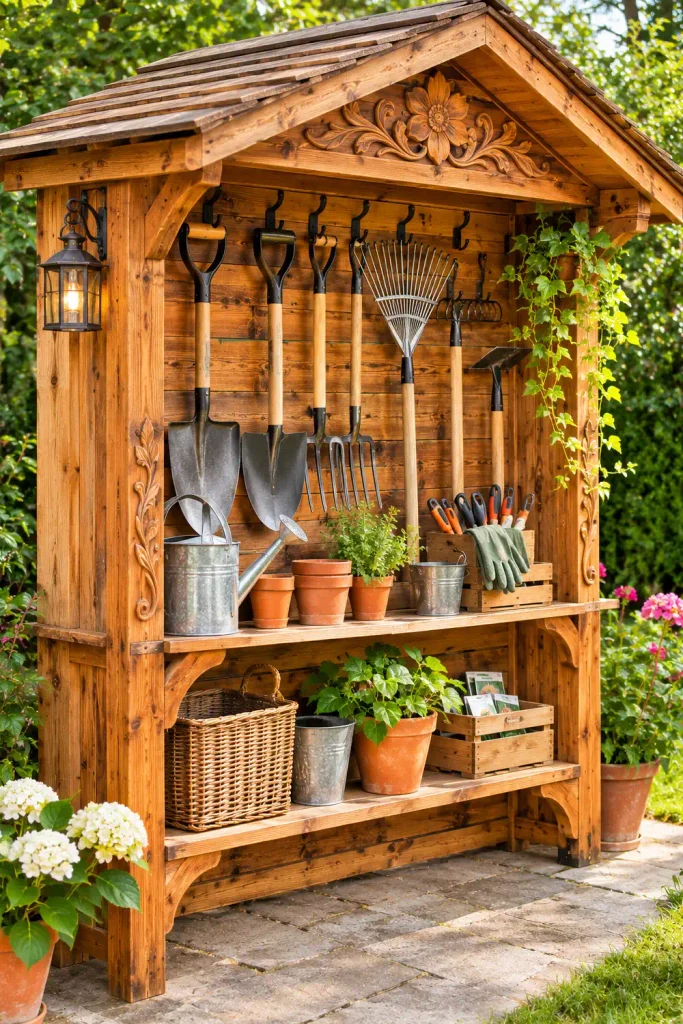
A freestanding wooden garden tool station with a small roof creates a charming storage feature for an outdoor space.
The roof provides some protection from rain and direct sunlight, while the open front keeps tools accessible.
This design can work beside a garden shed, along a fence, or near a covered gardening area.
Simple steps:
- Build a stable wooden base.
- Construct two strong side supports.
- Connect the supports with horizontal wooden boards.
- Install tool hooks and storage shelves.
- Add a small sloping roof.
- Secure the station against movement and weather exposure.
One helpful tip:
– Extend the roof slightly beyond the storage area to improve rain protection
10. Small DIY Garden Tool Storage Station with Baskets
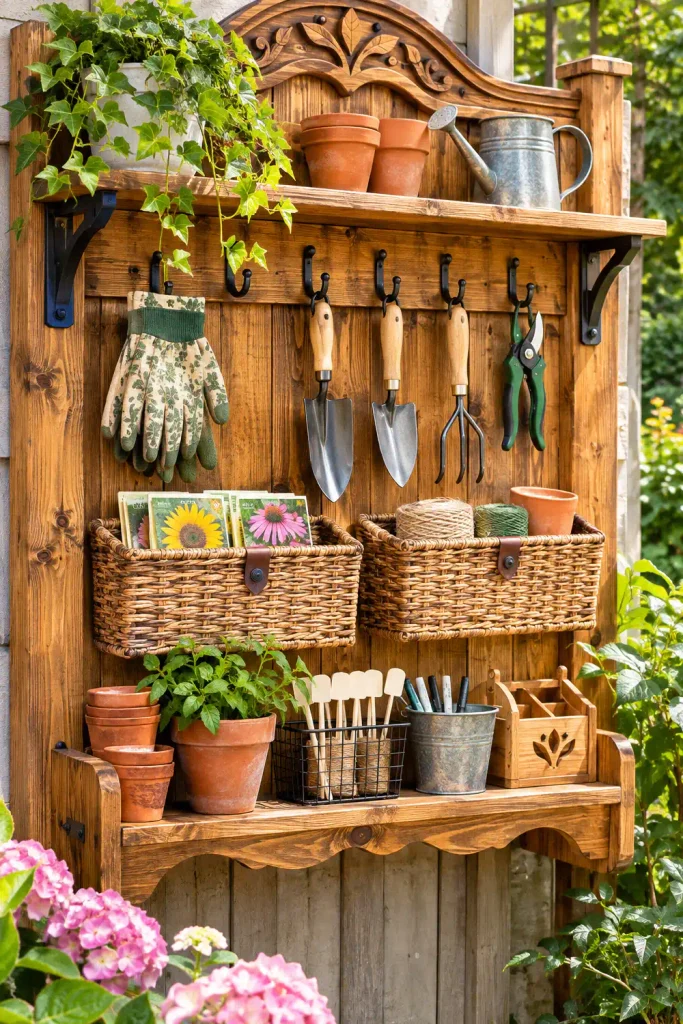
Small gardening accessories can easily become scattered around a shed.
Adding baskets to a wooden wall organizer creates convenient storage for gloves, plant labels, seed packets, twine, and other essentials.
The baskets also add texture and warmth to a rustic outdoor storage station.
Simple steps:
- Install a wooden backing board.
- Attach small shelves or basket holders.
- Add suitable hooks underneath.
- Place gardening accessories into separate baskets.
- Label each basket according to its contents.
- Keep frequently used supplies within easy reach.
One helpful tip:
– Choose weather-resistant baskets or keep natural woven baskets in a sheltered area.
Common Mistakes to Avoid When Building a Garden Tool Storage Station
A DIY wooden garden organizer does not need complicated construction, but a few mistakes can affect its durability and usefulness.
Watch out for these common problems:
- Using untreated wood outdoors: Ordinary wood can deteriorate when regularly exposed to moisture. Choose suitable outdoor timber and protective finishes.
- Overloading wall hooks: Make sure hooks and fixings are rated for the tools they will support.
- Ignoring wall support: Heavy garden tools need a secure mounting surface.
- Making shelves too narrow: Measure your storage containers before building the shelves.
- Leaving tools wet: Clean and dry tools before putting them away to reduce rust and deterioration.
- Blocking access: Avoid placing frequently used tools behind larger equipment.
- Forgetting drainage: Outdoor storage areas should not collect standing water.
FAQs
1. What is the best wood for an outdoor garden tool storage station?
Naturally durable timber or properly treated outdoor wood is a good choice. Cedar and pressure-treated timber are popular options, depending on the project and intended location.
2. Can I make a garden tool organizer using pallet wood?
Yes. Clean, structurally sound pallet wood can be reused for rustic organizers, shelves, and simple storage racks. Inspect it carefully before use.
3. How do I organize long-handled garden tools?
Use strong wall-mounted holders, individual clips, or a dedicated vertical rack. Keep similar tools together and leave enough space between handles.
4. How can I protect a wooden garden storage station from rain?
Use an appropriate exterior wood finish, provide a small roof where practical, and position the station in a sheltered area. Good drainage and ventilation are also important.
5. What should I store in a garden tool storage station?
You can store rakes, shovels, hoes, hand trowels, pruning shears, gardening gloves, watering accessories, plant labels, and other everyday gardening supplies.
Final Thoughts
A DIY outdoor garden tool storage station is a practical addition to any gardening space.
From a simple pallet wood organizer to a complete rustic wooden storage cabinet, there are plenty of ways to create a setup that suits your available space and storage needs.
Start with a design that solves your biggest storage problem. Add sturdy hooks, useful shelves, and weather-resistant finishes to make the organizer last longer.
With a little planning, an unused wall or small outdoor corner can become a neat and attractive place for all your gardening essentials.
Related post: