
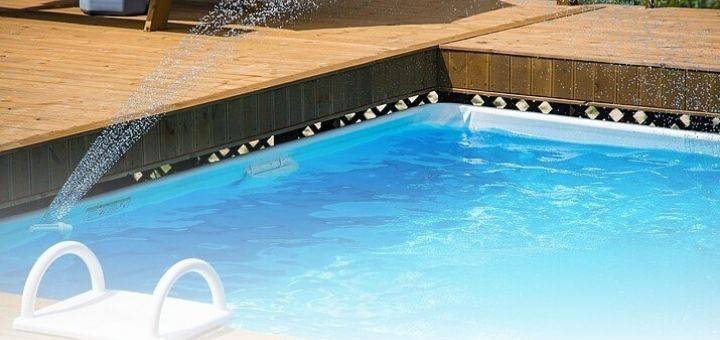
Water always finds its level. This saying always comes off straight away with above-ground pools that are out of level by more than 2 inches.
The pattern liners or tiles lines on above-ground pools installed on the unlevel ground will look off level with the naked eye if compared with the waterline. And since water can only be level, an off-level swimming pool will cave in and will look bad when you fill it.
Or even in the worst-case scenario, the off-level pool might give out, and your pool gets destroyed.
Read this article for thorough research on how to level ground for the above-ground pool. We have chronologically broken down the 7 D-I-Y steps that will set your pool structure in line with the pool waterline.
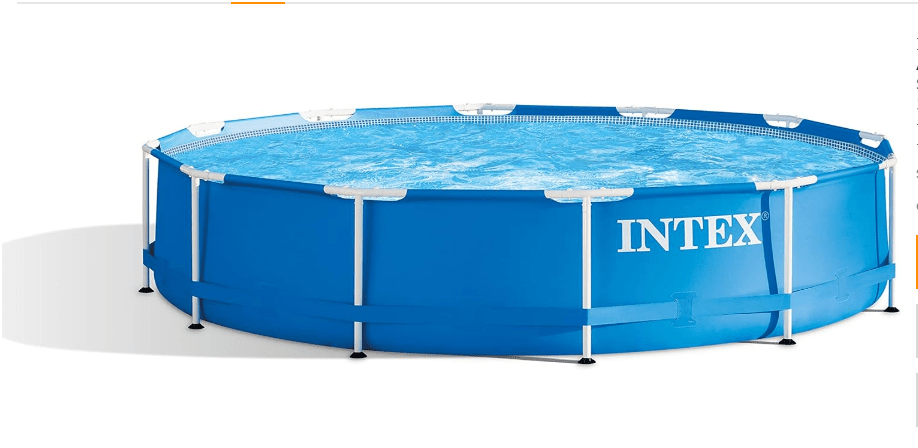
Intex 12ft x 30in Metal Frame Pool

[su_button url=”https://amzn.to/32CyNeW” target=”blank” background=”#dd3a1e” color=”#ffffff” size=”5″ center=”yes”radius=”0″ icon=”icon: arrow-circle-right” icon_color=”#fdfaf9″ text_shadow=”1px 0px 0px #000000″ rel=”nofollow”] Check Price on Amazon [/su_button]
How to Level Ground For Above Ground Pools
Step
1: What You’ll Need To Level The Ground
In your backyard, front yard, or any spot you have found as the most ideal to put up your above-ground pool, leveling isn’t tricky if you have the right equipment with you.
Itemizing the equipment that one needs;
[su_list icon=”icon: check” icon_color=”#449e13″]
- Rot tiller; which will be used to clear the grass and chomp through clods of soil off the spanned radius of the pool’s size.
- A builder’s level or a makeshift long leveling device; for a more accurate leveling off the bottom track, you can use the builder’s level tool. With this equipment, once you lay it on the ground it’ll become immediately apparent which particular areas need to be flattened out. But in case it’s not readily available you can also use a makeshift leveling device made from two-by-four wood nailed together according to the length needed.
- A wide shovel; for removing rocks, grass, and other debris underneath which can damage the liner; perhaps even destroy your pool.
- Lawn roller; for distributing the sand across lower areas.
[/su_list]
Step 2: Preparing the Site
Clearing the site is essential. Using a wide shovel removes the big rocks and underneath debris which have the potential danger to the pool liner.
Secondly, remove the grass using a rot tiller. This device works more quickly.
Thirdly, you need a leveling device such as the builder’s level or the makeshift leveling tool. Use the easiest and most convenient tool available.
Drill a hole through at the very middle of the spanned pool size and drive a metal rod through the hole. Then use a tightened string across the intended site for your pool to get how flat it is. This will be used to swivel sand in 360 degrees to level the ground.
Or if you are using a builder’s level, you can begin by extending the legs of the tripod until it’s in stable condition. Then take the measurements with the rod to determine how off-level the ground is.
Recommended: Best Above Ground Pool for unlevel Ground Review
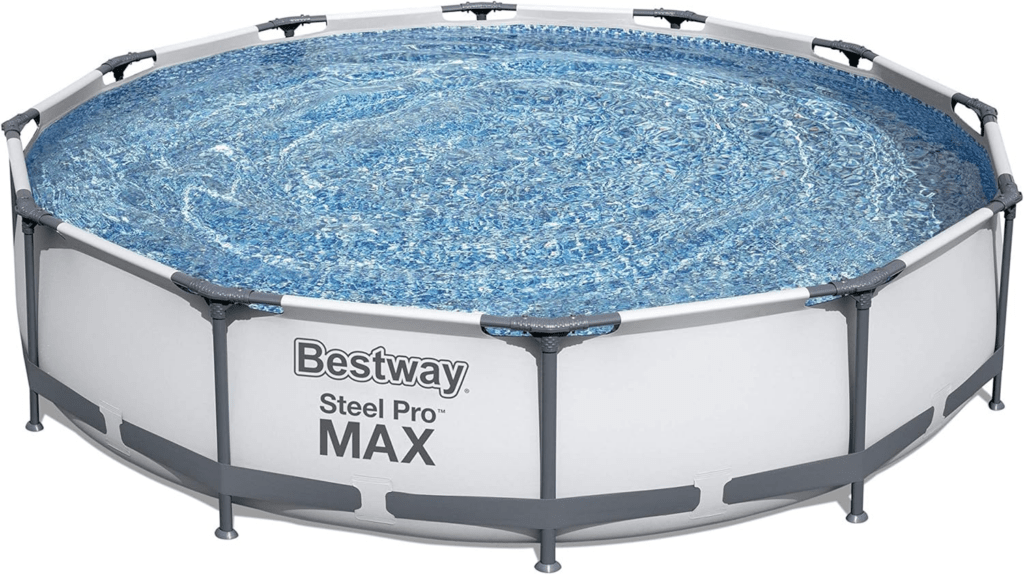
Steel Pro 12 x 30 Inch Frame Above Ground Swimming Pool

[su_button url=”https://amzn.to/2WA2V6w” target=”blank” background=”#dd3a1e” color=”#ffffff” size=”8″ center=”yes”radius=”0″ icon=”icon: arrow-circle-right” icon_color=”#fdfaf9″ text_shadow=”1px 0px 0px #000000″ rel=”nofollow”] Check Price on Amazon [/su_button]
Step 3; Leveling the Ground
Now we come to the point of how to level the entire bottom track area of the pool. Using the rot tiller, level the ground, particularly in the areas that are out of level.
With a steady grip on the handlers, pull the machine along to thoroughly break up the soil. The goal of this activity is for the pool’s bottom to be smooth.
Dish out the soil that appears off level gradually until it is all levels.
Step 4; overbuild or Smooth it out with Sand
After clearing the ground and the only thing left is to lay out the lire, one could opt to overbuild the yard. This is also another way of leveling the ground by the use of six by six-inch standard thickness square pavers blocks.
The major drawback of this method is it’s quite time-consuming and it can result in the blocks not being all at the same level.
Alternatively, you could bring in a truckload of sand which will be used as a base then pour sand over the lower areas with the majority of the sand. This is also more accurate as you are now leveling the actual track and not the blocks. Use a minimum of a 2-inch thick layer of sand across the whole area of your pool site.
Step 5; Spread the Sand Out
Placing the tightened string across the extended site, hold it and spin it on its axis. Add more sand as necessary and keep rotating the string until the level indicates the area is perfectly level. Use also a rake to spread the sand evenly, then sprinkle some water, and leave it to flatten and dry out.
After you’ve let the sand come to rest, it should be compacted into a solid base for your pool. The best tool to use is a lawn roller to pack it down firmly and make a stable base. Use it to tamp the down till it’s compact. Work your way over the whole circle until you barely leave impressions on the ground as you beat it.
Step 6; Lay the pool bottom Protector
A base protector is further protection which is typically an outsized foam or tarp base that goes under your above-ground pool as another layer of protection for the vinyl of your pool.
The layer serves not only to scale back the dangers of a puncture to the liner but to raise insulation and stop heat loss from the water.
Step 7; Using the Above Ground Installation Manual
Most above-ground installation manuals have quite a similar installation procedure with slight variations. Installing is sort of easy and it can take but an hour before you start having fun with your kids. ways to level a pool.
Conclusion
Above-ground, pools are the ideal choice if you do not want to undergo the stresses and expenses of renovation to get an in-ground pool installed in your backyard.
By getting that bottom track level and the right shape you are ready for fun, convenient, and certainly enjoyable as in-ground pools. The entire pool will look good and last longer.
Related Post