
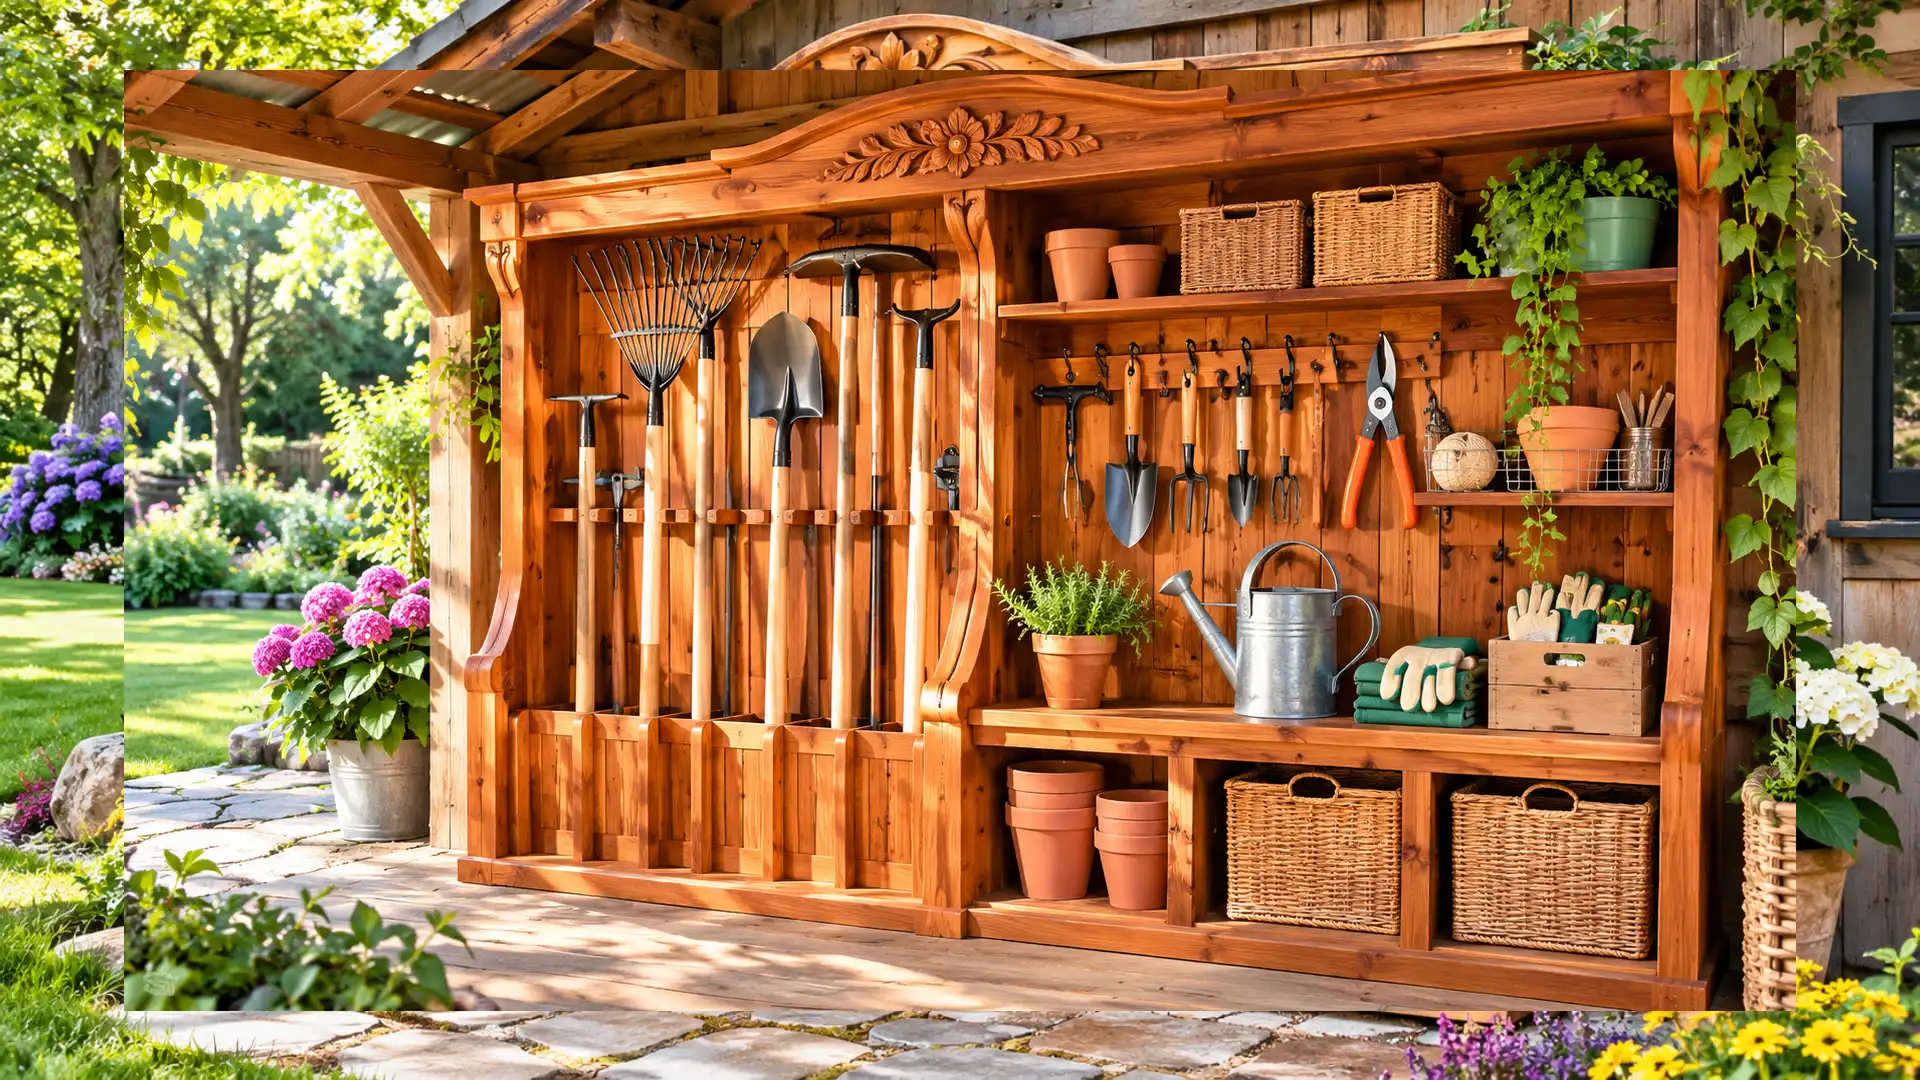
Keeping garden tools organized can make everyday gardening much easier.
A dedicated garden tool storage station gives everything its own place, from long-handled shovels and rakes to smaller hand tools and watering accessories.
A wooden garden tool rack is a practical choice because it combines storage with a natural rustic look.
With a little planning, you can create an attractive storage area that keeps your garden equipment together while making your shed, garage, or backyard feel less cluttered.
1. Rustic Wooden Garden Tool Storage Rack
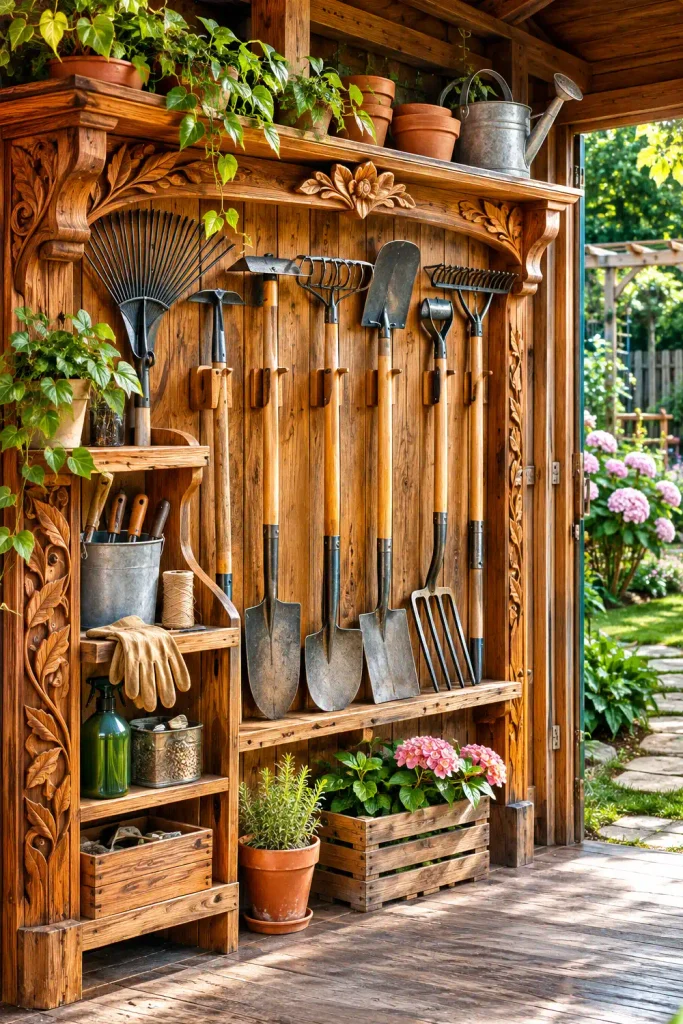
A rustic wooden garden tool storage rack is a simple way to bring order to a busy gardening space.
Its natural wood finish blends beautifully with outdoor surroundings, making it suitable for a garden shed, covered patio, or backyard workspace.
Separate openings can hold rakes, spades, hoes, and other long-handled equipment.
Simple Steps:
- Choose a sturdy wooden board or frame for the rack.
- Measure and mark individual spaces for your garden tools.
- Add suitable holders to keep the handles upright.
- Secure the rack against a stable wall.
- Arrange tools according to their size and purpose.
Helpful Tip:
- Apply an outdoor wood finish to help protect the rack from moisture and everyday wear.
2. Wall-Mounted Wooden Garden Tool Organizer
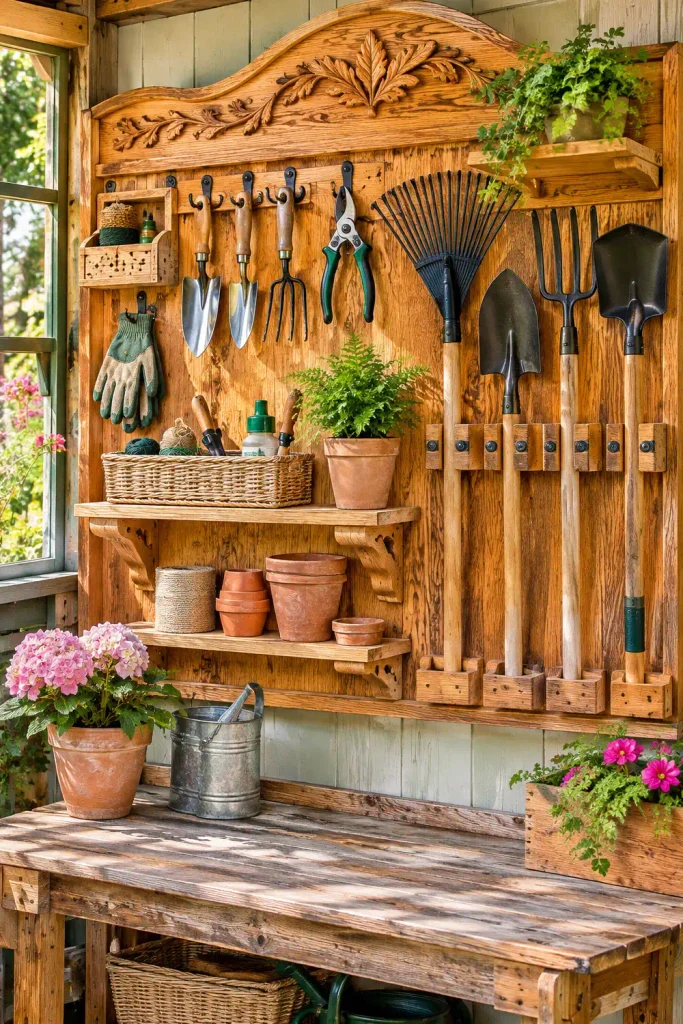
A wall-mounted wooden organizer is a smart solution for small sheds and compact gardening areas.
Instead of leaving equipment on the floor, you can use available wall space to store frequently used tools.
A combination of hooks, wooden slots, and small shelves creates a practical storage station without taking up much room.
Simple Steps:
- Select an accessible wall in your shed or garage.
- Install a sturdy wooden backing board.
- Add appropriately sized hooks for hand tools.
- Include holders for long-handled garden equipment.
- Arrange smaller accessories on a narrow shelf.
Helpful Tip:
- Place frequently used tools within easy reach and keep heavier equipment in secure lower storage positions.
3. DIY Wooden Garden Tool Storage Station with Shelves
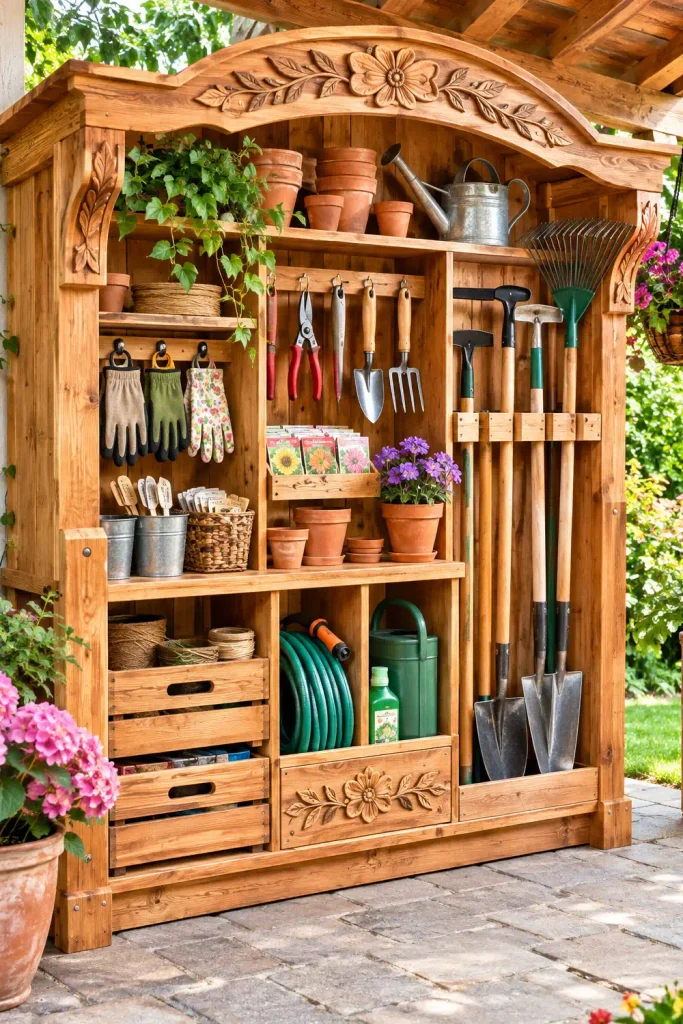
A wooden garden tool station with shelves offers more than basic tool storage. It provides room for gloves, seed packets, plant labels, watering accessories, and small gardening containers.
This design works particularly well for gardeners who want everything organized in one convenient location.
Simple Steps:
- Build or choose a wooden frame with several storage levels.
- Add shelves for small gardening supplies.
- Create a separate section for long-handled tools.
- Include hooks for gloves and lightweight accessories.
- Label storage areas to make items easier to find.
Helpful Tip:
- Use small baskets or containers to prevent loose accessories from becoming mixed together.
4. Garden Tool Storage Bench with Hidden Compartments
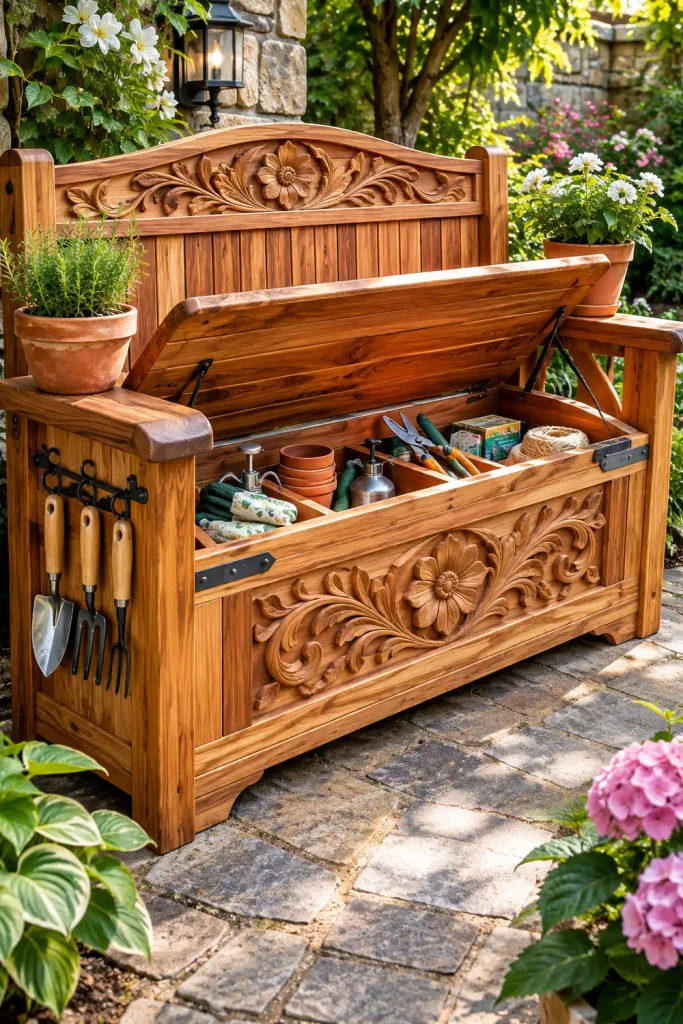
A storage bench combines useful seating with practical outdoor organization.
The interior compartment can hold smaller gardening accessories, while the sides or back can accommodate selected tools.
It is especially useful near a vegetable garden, potting area, or backyard workspace.
Simple Steps:
- Choose a weather-resistant wooden bench design.
- Create a storage compartment beneath the seat.
- Add a secure lid with suitable hinges.
- Use removable containers to organize smaller supplies.
- Position the bench in a convenient covered area.
Helpful Tip:
- Choose a design with ventilation to help prevent moisture from collecting inside the storage compartment.
5. Vertical Wooden Garden Tool Rack
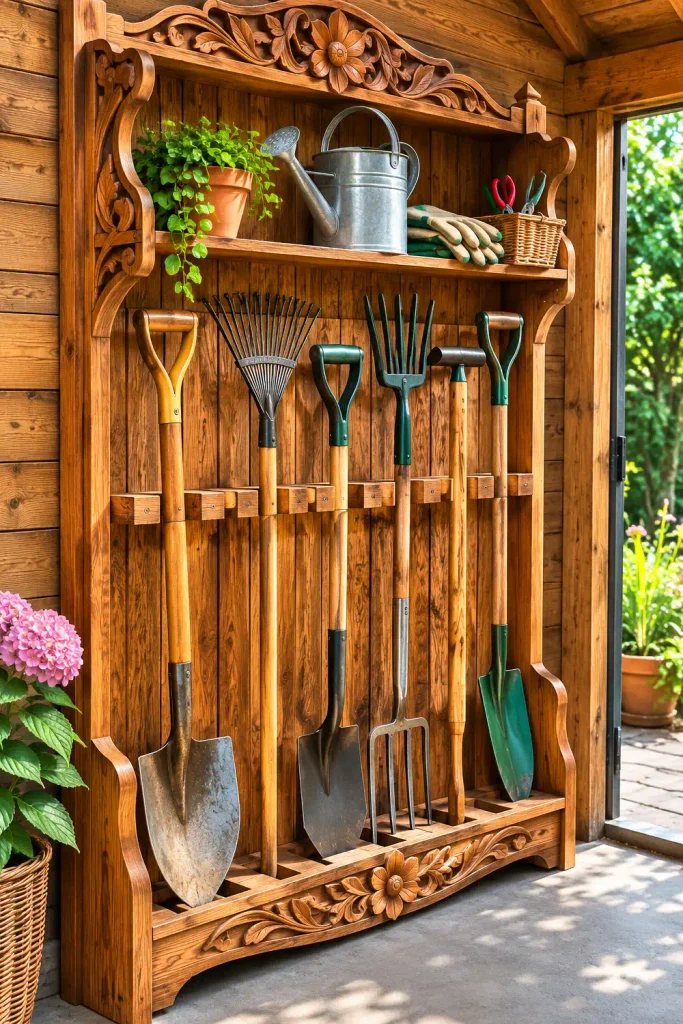
A vertical wooden garden tool rack makes excellent use of limited storage space.
Instead of spreading equipment across the floor, it keeps long-handled tools standing upright in separate sections.
This arrangement also makes it easier to see which tools are available.
Simple Steps:
- Measure the available height and width.
- Prepare a stable wooden rack.
- Create individual spaces for tool handles.
- Add a supporting section to prevent tools from falling.
- Place the rack on a level surface or secure it to a wall.
Helpful Tip:
- Leave enough space between tools so handles can be removed without disturbing the others.
6. Wooden Garden Tool Organizer with Hooks and Baskets
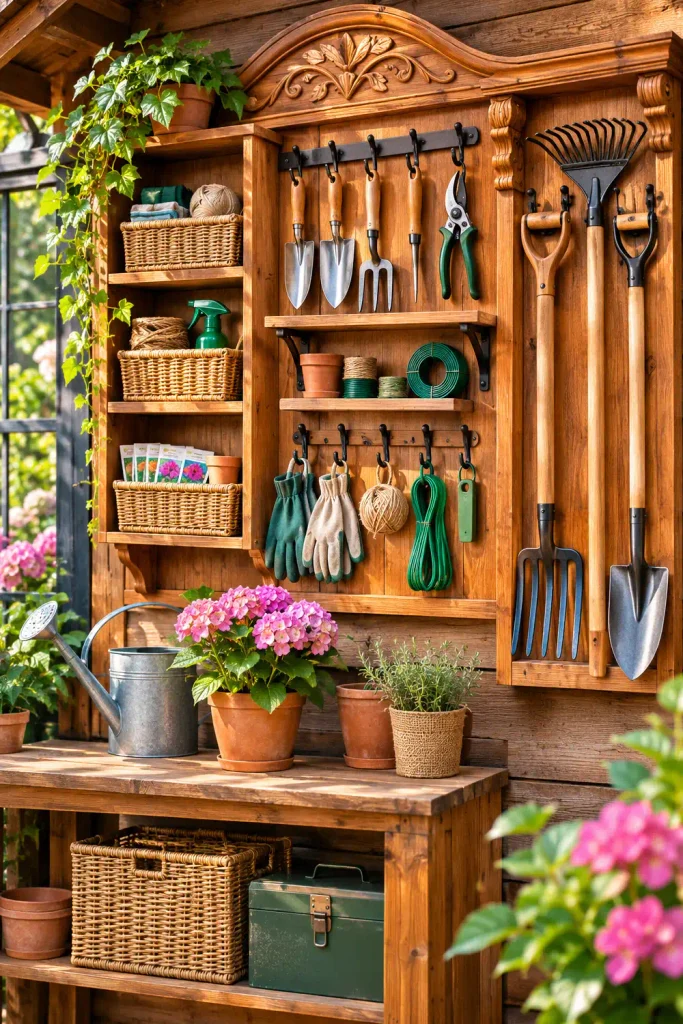
Combining hooks and baskets creates a flexible storage solution for different types of garden equipment. Hooks can hold lightweight hand tools, while baskets provide space for gloves, plant ties, small pots, and other accessories.
Simple Steps:
- Install a wooden backing panel.
- Attach sturdy hooks at convenient intervals.
- Add baskets for small gardening supplies.
- Include a dedicated section for frequently used accessories.
- Arrange everything according to its purpose.
Helpful Tip:
- Choose removable baskets so they can be taken outside when working in the garden.
7. Repurposed Wooden Pallet Garden Tool Rack
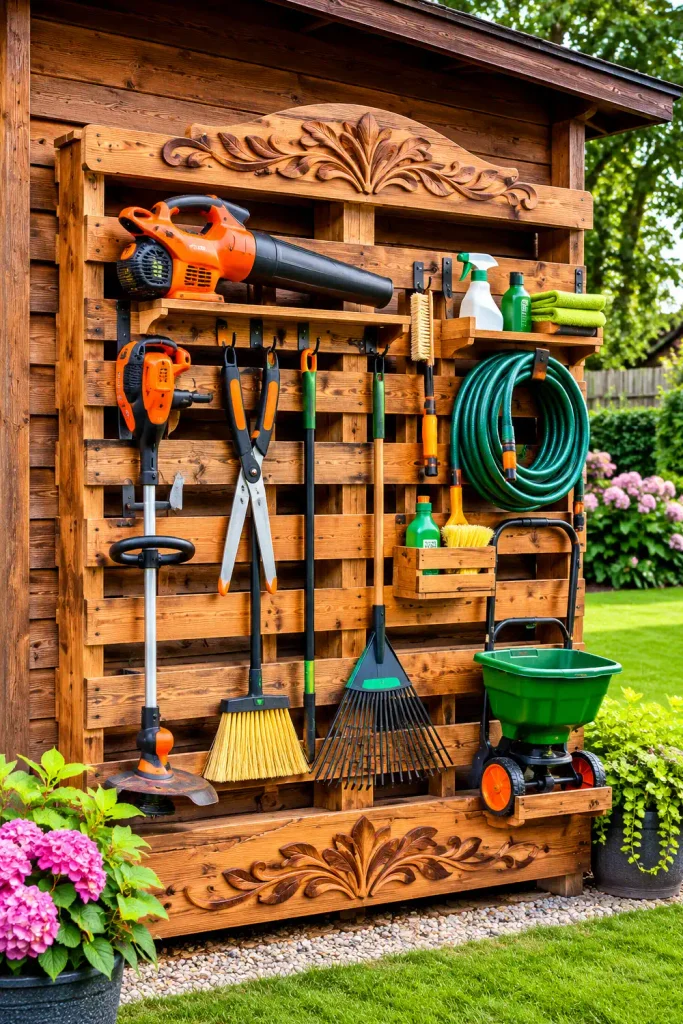
A wooden pallet can become a useful garden tool organizer when properly inspected and prepared.
Its existing structure offers several spaces for arranging equipment, making it an interesting option for rustic backyard storage.
Simple Steps:
- Choose a clean pallet in good structural condition.
- Inspect it for damage, loose boards, and exposed nails.
- Sand rough areas and prepare the surface.
- Add suitable supports for garden tool handles.
- Secure the finished organizer in a protected location.
Helpful Tip:
- Check that the pallet is suitable for reuse and avoid wood with unknown chemical contamination.
8. Compact Wooden Garden Tool Station for Small Spaces
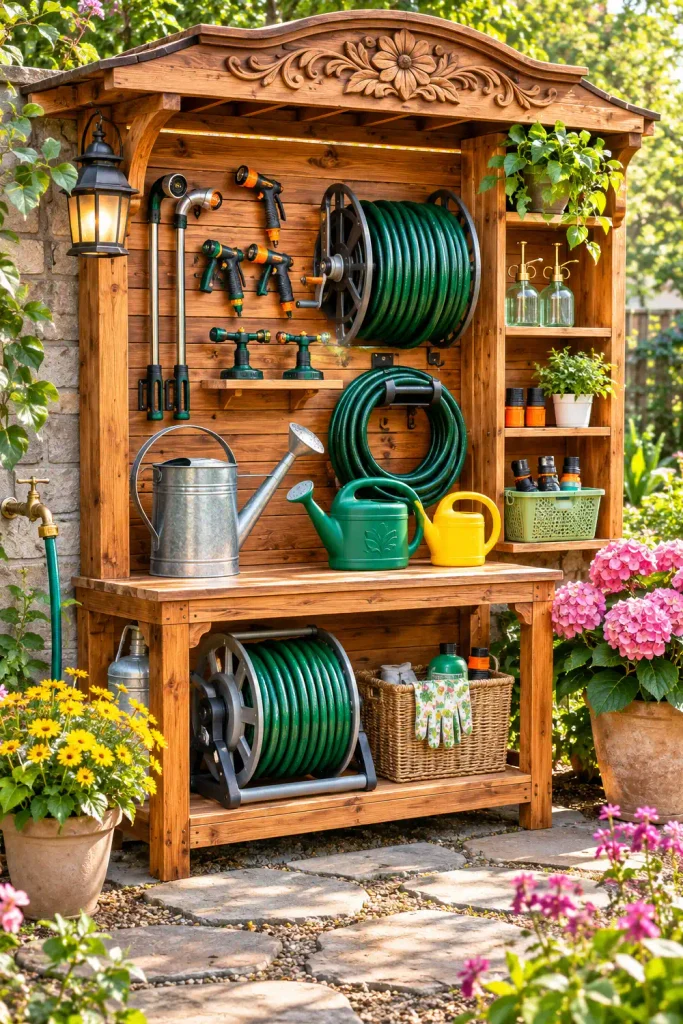
Not every garden has room for a large storage shed. A compact wooden garden tool station can fit against an exterior wall, beside a potting bench, or inside a small garage.
Its design should focus on vertical storage and a few useful compartments.
Simple Steps:
- Measure the available storage area.
- Choose a narrow wooden frame.
- Add holders for essential long-handled tools.
- Include a small shelf for gloves and hand tools.
- Keep the layout simple and easy to access.
Helpful Tip:
- Store only regularly used gardening equipment in this station to prevent overcrowding.
9. Wooden Garden Tool Rack with a Potting Station
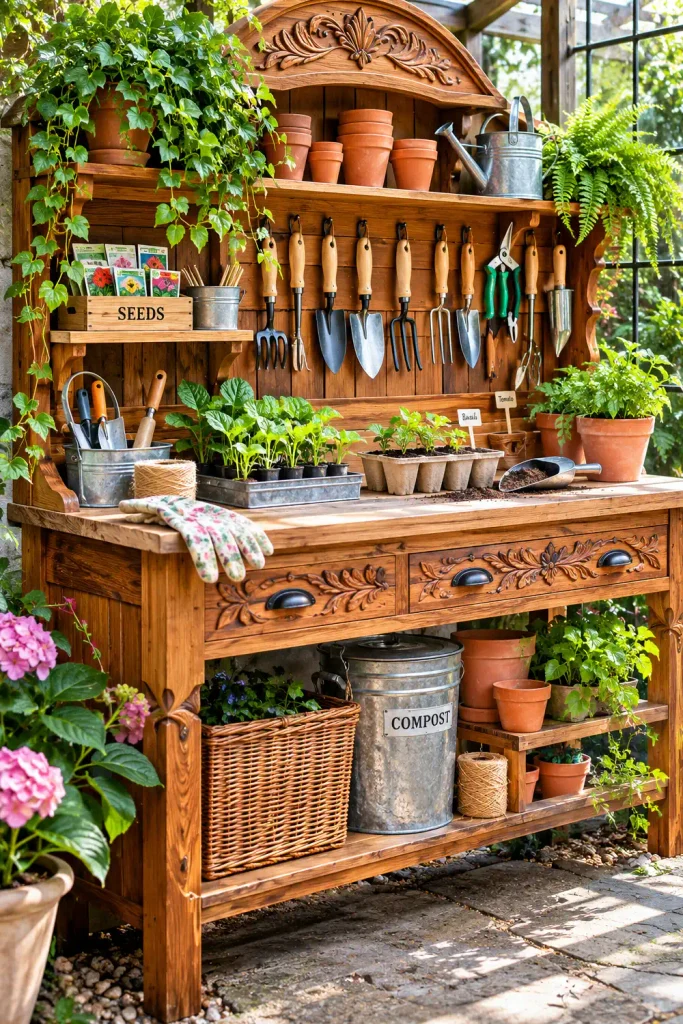
Combining a garden tool rack with a potting station creates a convenient outdoor gardening workspace.
One section can hold long-handled equipment, while the work surface provides room for preparing pots, arranging seedlings, and organizing planting supplies.
Simple Steps:
- Build a sturdy wooden workbench with storage underneath.
- Add a vertical tool rack along one side.
- Install hooks for lightweight accessories.
- Place small containers on the work surface.
- Keep planting supplies in labeled storage boxes.
Helpful Tip:
- Position the station near a water source if possible, while protecting the wooden structure from constant moisture.
10. Weather-Resistant Wooden Garden Tool Storage Cabinet
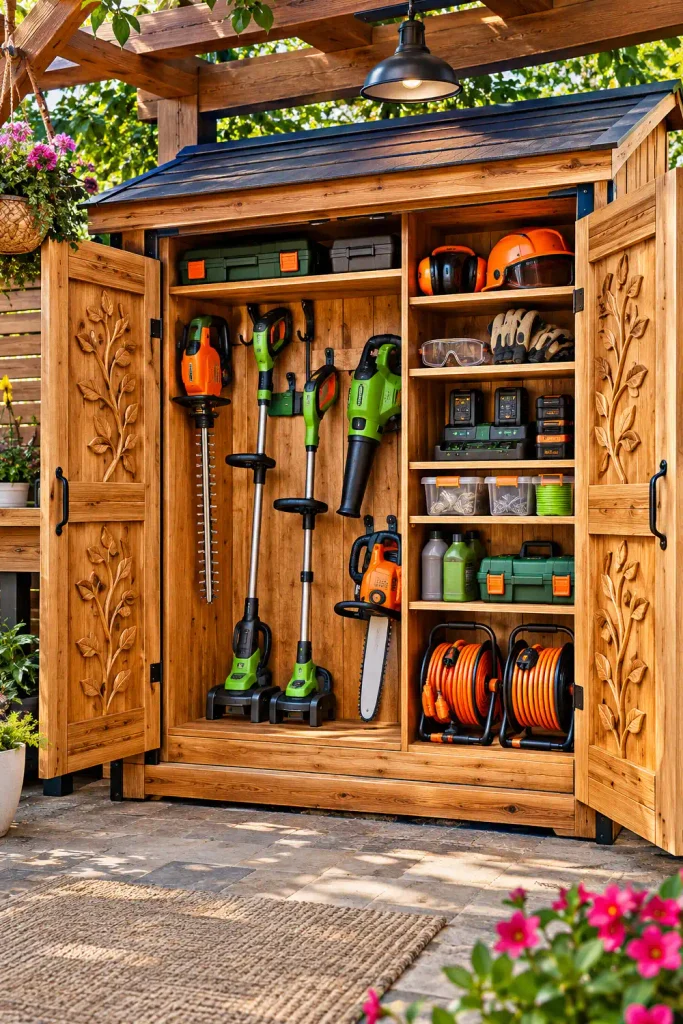
A wooden storage cabinet provides a more enclosed solution for outdoor gardening equipment. Doors help keep supplies together and offer some protection from dust and changing weather conditions.
Shelves and vertical holders can make the interior more useful.
Simple Steps:
- Select suitable outdoor-grade timber.
- Build a stable cabinet with a weather-resistant roof.
- Add shelves for smaller gardening supplies.
- Include vertical holders for long-handled tools.
- Fit secure doors and suitable hardware.
Helpful Tip:
- Raise the cabinet slightly above ground level and provide ventilation to help reduce moisture problems.
Common Mistakes to Avoid When Building a Garden Tool Storage Station
A good garden tool storage station should be practical, safe, and easy to maintain. Avoid these common mistakes when planning your wooden garden tool rack.
- Choosing weak materials: Use suitable, sturdy timber that can support the weight of your equipment.
- Ignoring measurements: Measure long-handled tools before deciding how large the storage compartments should be.
- Overcrowding the rack: Leave enough room to remove tools without moving everything else.
- Leaving wood unprotected: Outdoor timber needs suitable protection against moisture and weather exposure.
- Ignoring stability: Secure wall-mounted racks properly and make sure freestanding organizers cannot easily tip over.
- Storing wet tools: Allow equipment to dry before placing it in enclosed storage.
- Forgetting small accessories: Include baskets, hooks, or containers for gloves, hand tools, and other gardening supplies.
FAQs
1. What is the best way to store long-handled garden tools?
A vertical wooden garden tool rack is a practical option. It keeps equipment upright, organized, and easy to access. Individual holders also help prevent tools from falling over.
2. What wood is suitable for an outdoor garden tool rack?
Naturally durable or properly treated outdoor timber is suitable for many garden storage projects. Cedar and other weather-resistant wood options are worth considering.
3. How do you organize a small garden shed?
Use vertical wall storage, wooden racks, hooks, and compact shelves. Group similar equipment together and keep frequently used items within easy reach.
4. Can you make a garden tool organizer from a wooden pallet?
Yes. A suitable, clean pallet can be adapted into a rustic garden tool rack. Inspect the wood carefully, remove hazards, and make sure the finished structure is stable.
5. How do you protect a wooden garden tool storage station?
Use an appropriate outdoor wood finish, position the station away from standing water, and check the structure regularly for signs of damage or moisture.
6. Where should a garden tool storage station be placed?
A covered garden shed, garage, or sheltered backyard workspace is usually a good location. Choose somewhere accessible but protected from excessive rain and moisture.
Final Thoughts
An organized wooden garden tool storage station can make a backyard more functional without sacrificing its natural charm.
From simple vertical racks to larger storage cabinets and potting station combinations, there are plenty of ways to create a setup that suits your available space.
Start with the tools you use most often, measure your storage area, and choose a design that provides enough room for everything.
A well-planned wooden garden tool rack keeps equipment together, reduces clutter, and makes your gardening workspace easier to maintain.
Sometimes, a simple storage improvement can make the whole garden feel more organized.
Related post: