
When I first started setting up an outdoor kitchen, I realized it’s easy to make mistakes with space. You can have all the best appliances, but if the layout is off, you’re constantly bumping into things or running back and forth. A good layout isn’t about following trends it’s about making your backyard feel open, keeping everything within reach, and making cooking and hosting easy.
Over the years, I’ve tried and tested a few layouts myself and helped friends organize theirs. Some worked perfectly, others were frustrating. What I’ve learned is that the right design depends on your space, how you cook, and how you entertain. You don’t need a massive backyard just a plan that makes sense for how you actually use it.
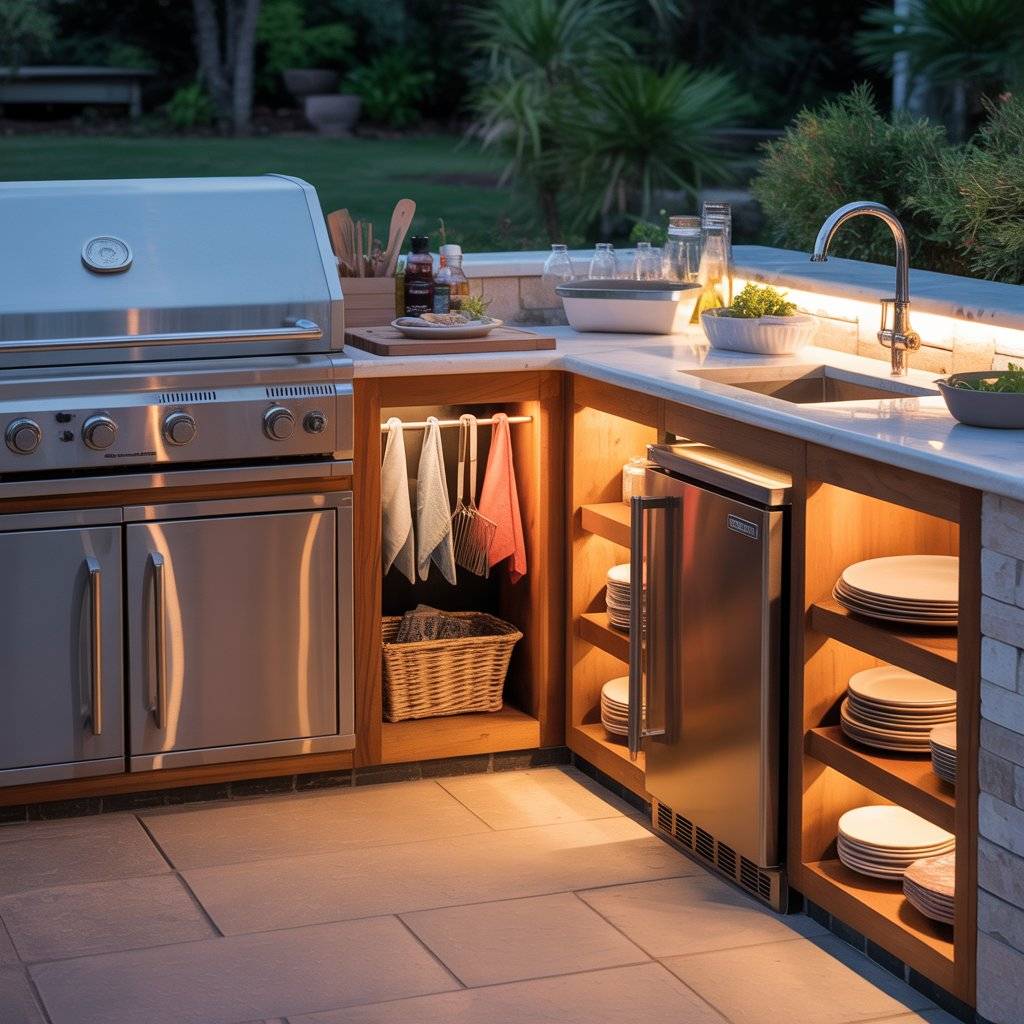
1. The “Corner Workhorse” Layout
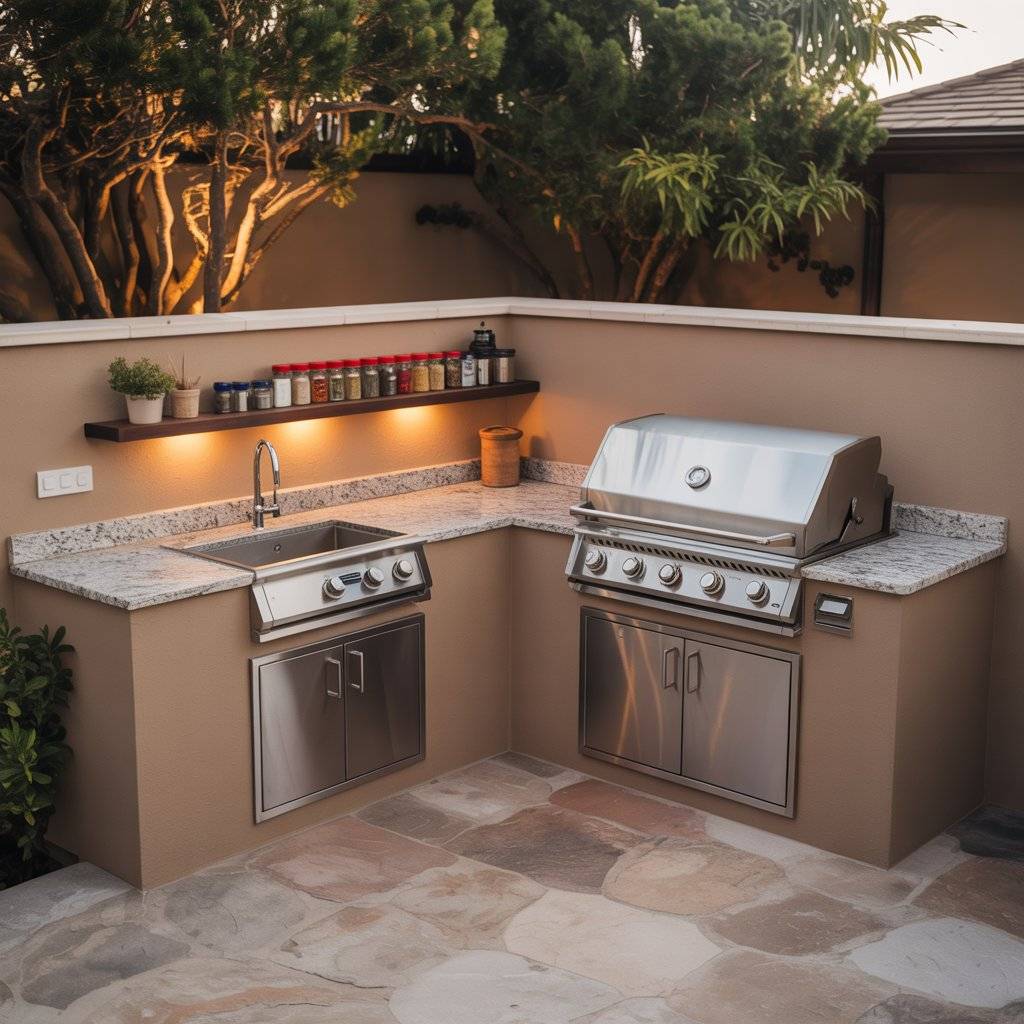
One of the first layouts I tried was basically an L-shape in a corner of my backyard. I placed the grill on one side and a prep sink in the corner, with counters running along the two walls.
It worked because everything felt within reach I didn’t have to carry a pan across the yard or zigzag between prep and cooking areas. I also left the open side free for moving around, so guests weren’t in my way while I cooked. Small tweaks made it better too:
I added a narrow shelf above the counter for spices and utensils. That little addition saved me trips back inside the house and kept the space from feeling cramped.
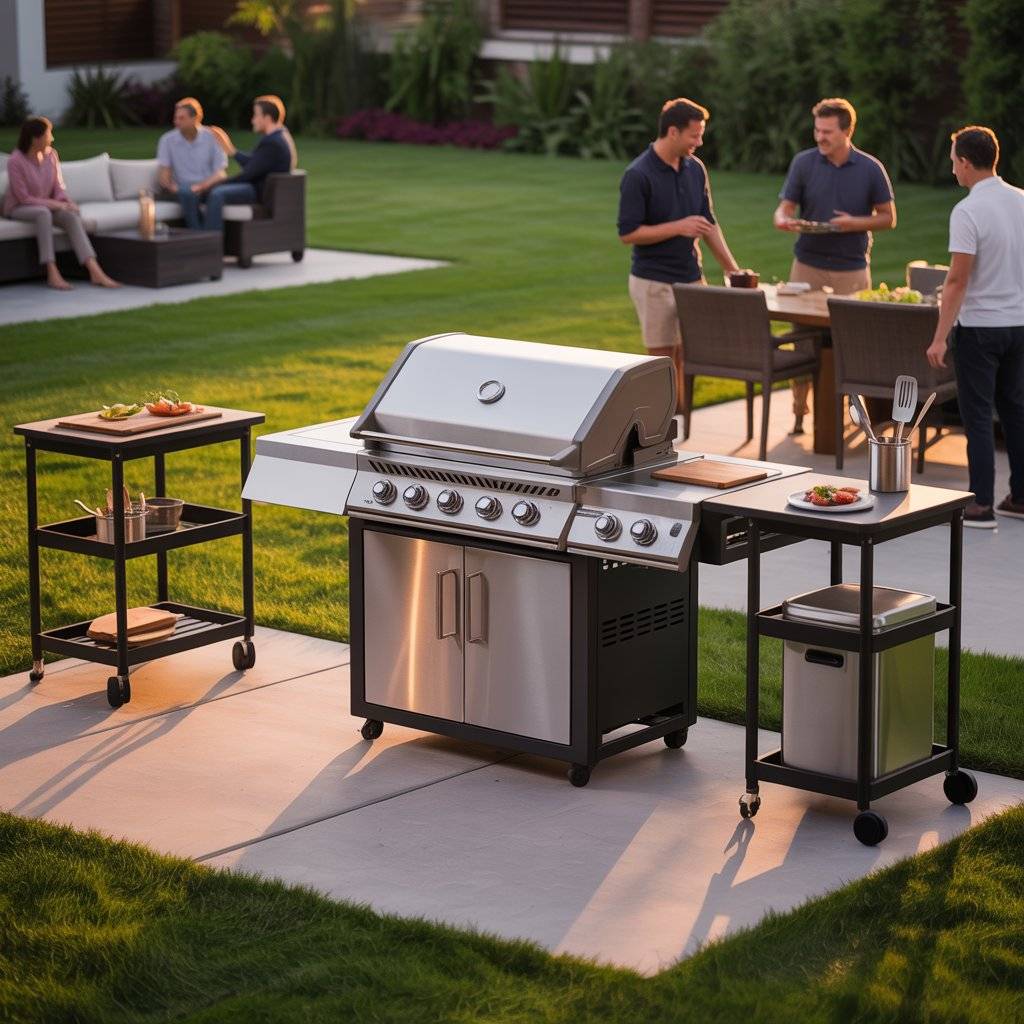
2. The “Island Hangout” Layout
For a more open backyard, I set up a central island with a grill on one side and a prep area on the other.
The main thing I noticed is that people naturally gather around islands, so it doubled as a social spot while I cooked. I kept at least 3–4 feet of walking space on all sides, which made moving around easy. On the island, I added a small under-counter fridge and a drawer for tools.
This layout worked best for casual weekend grilling and parties because I could prep, cook, and serve without leaving the area. Guests could even grab drinks from the fridge while I handled the cooking, which kept traffic smooth.
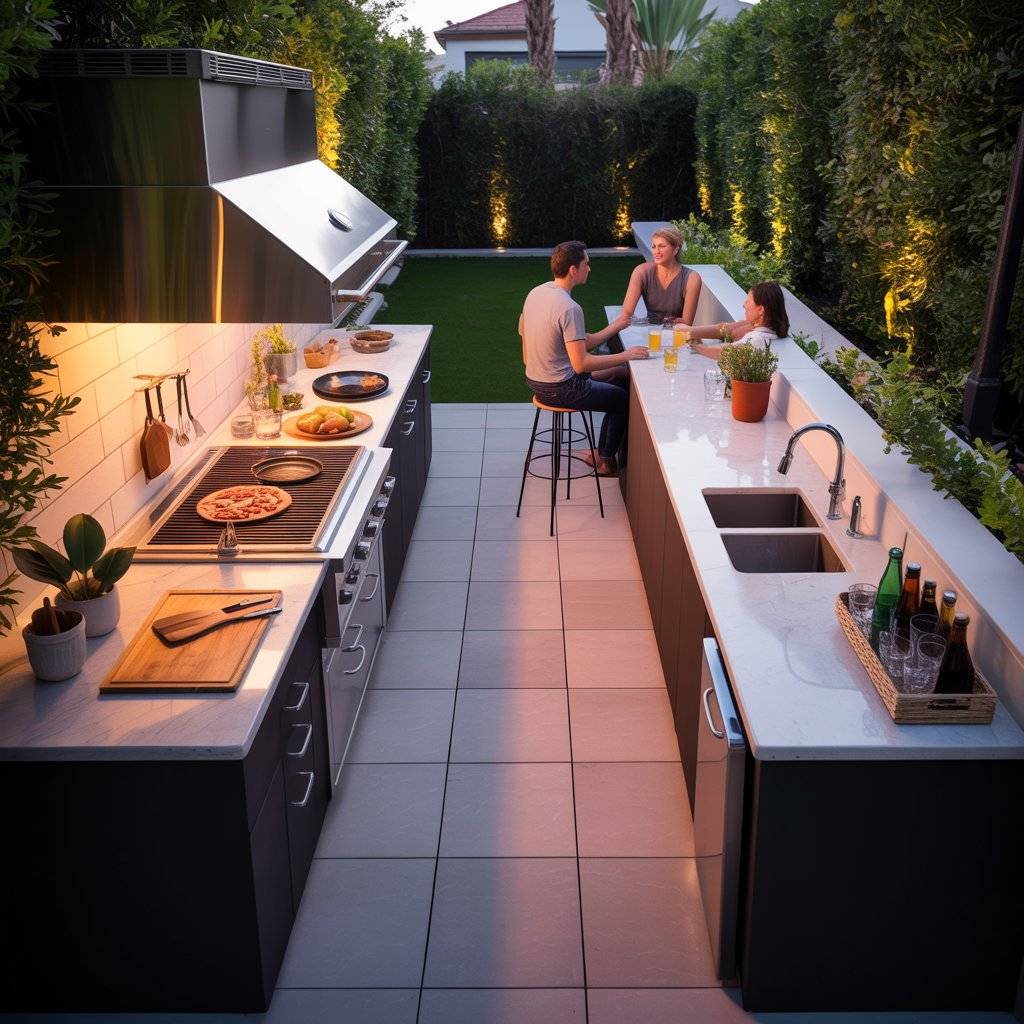
3. The “Galley Style” Layout
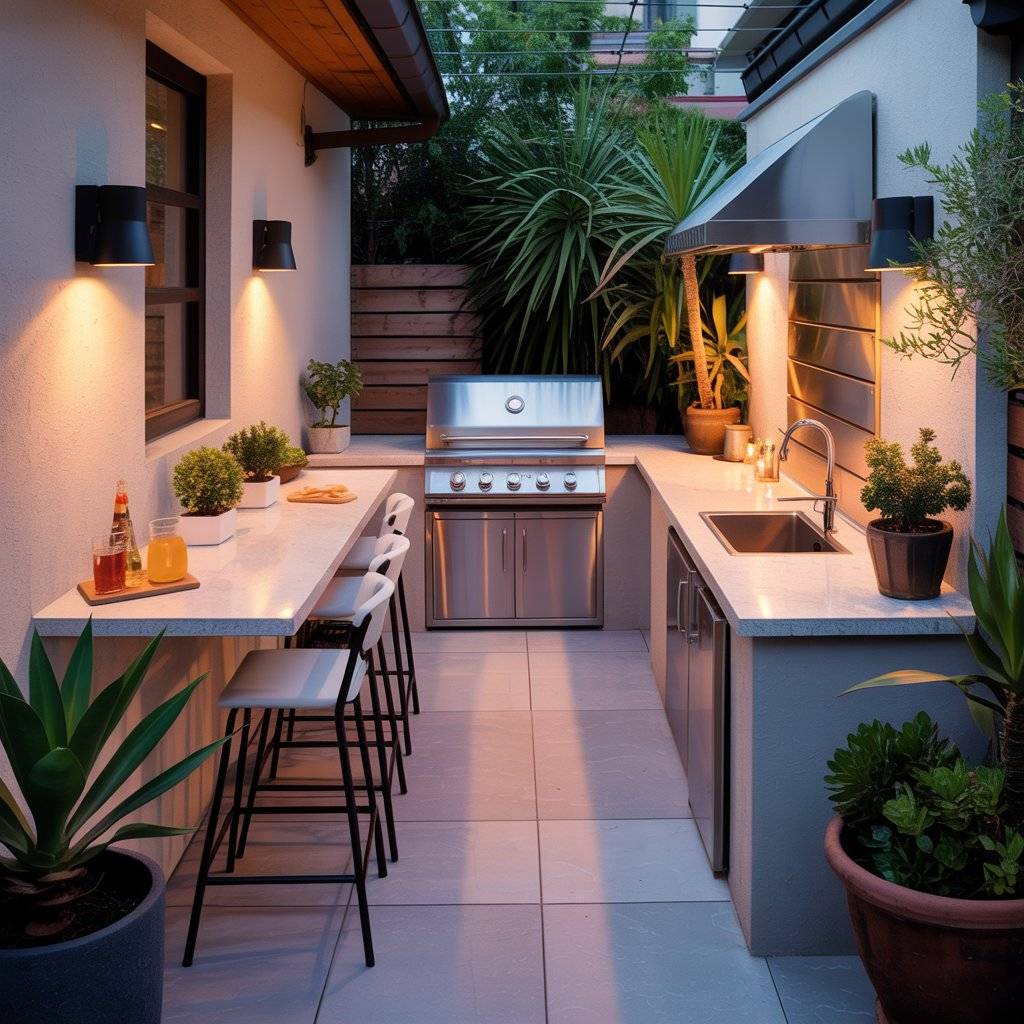
I used a parallel layout when my backyard was narrow, with two counters facing each other. On one side I placed the grill and prep space, and on the other, a sink and mini fridge.
It felt like a kitchen inside the house but outdoors. The trick here is to keep at least three feet of space in between so you don’t feel trapped. I also added a few bar stools along one side so friends could hang out without getting in the way.
This setup made cooking with someone else easier too one person could handle the grill while another prepped salads or drinks. It’s simple, efficient, and works for small patios.

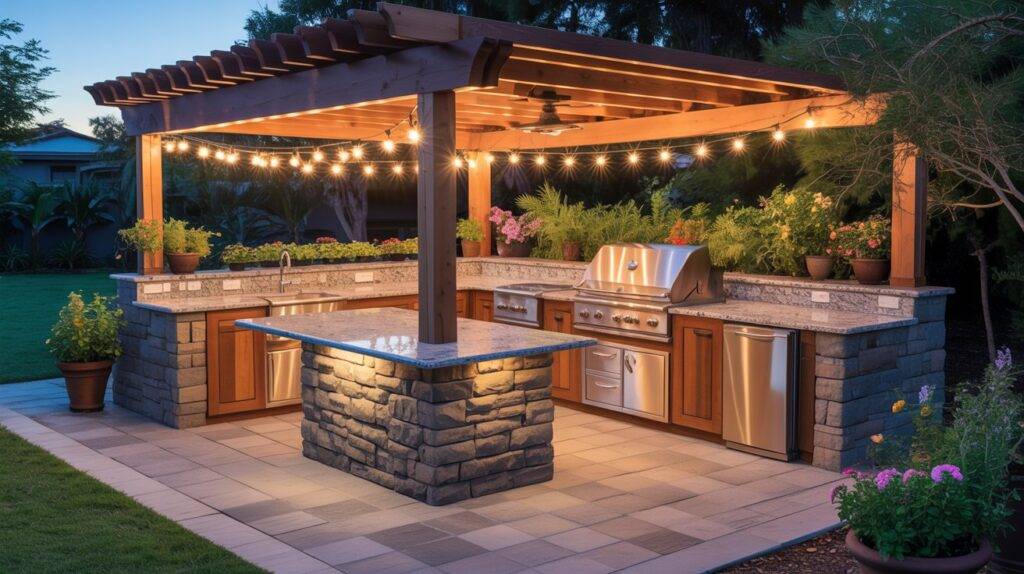
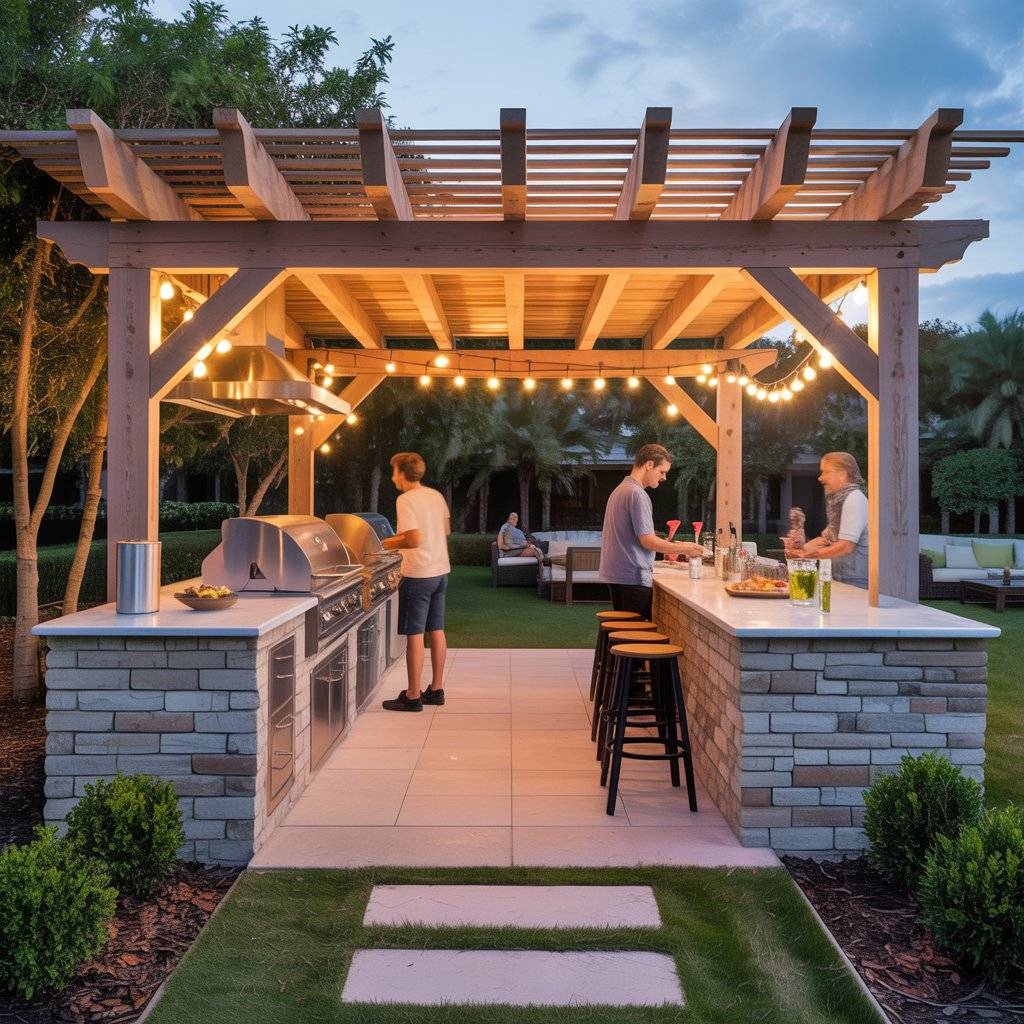
4. The “Prep and Party” Layout
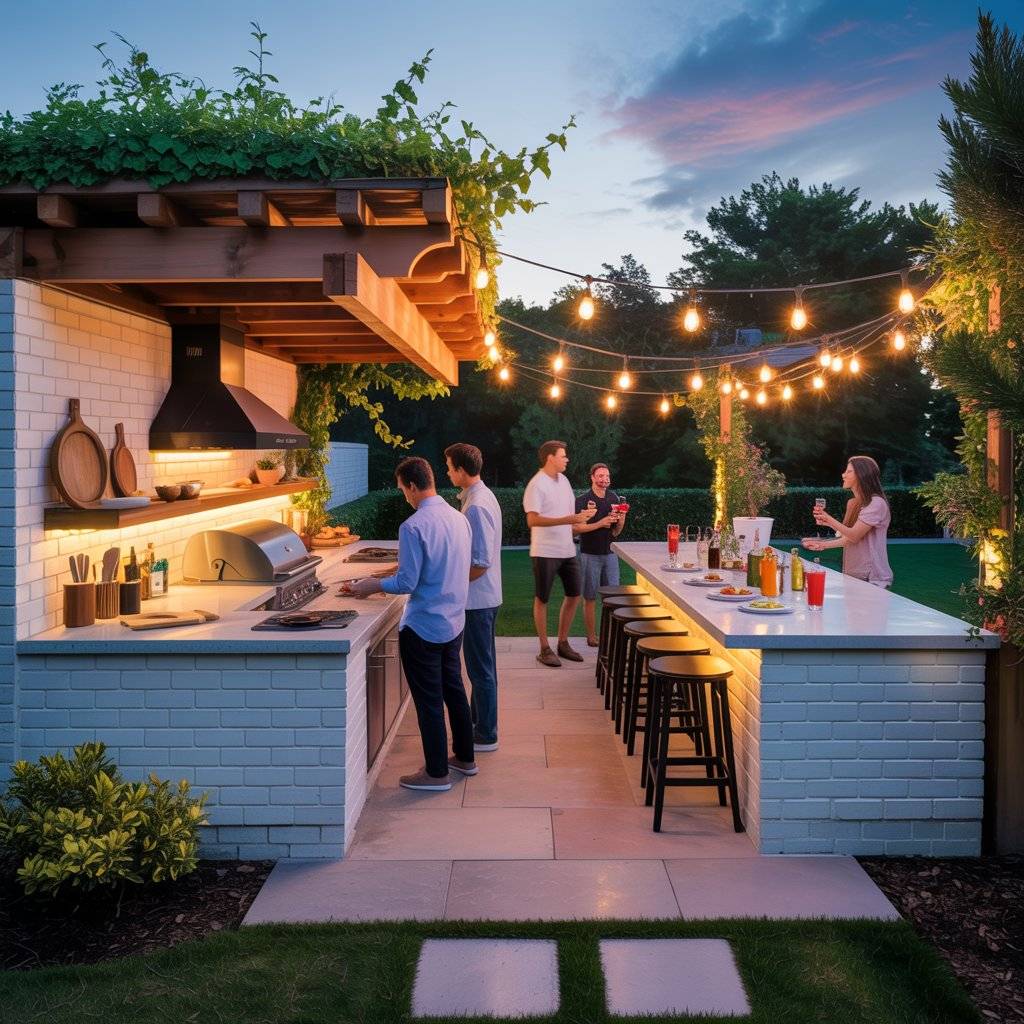
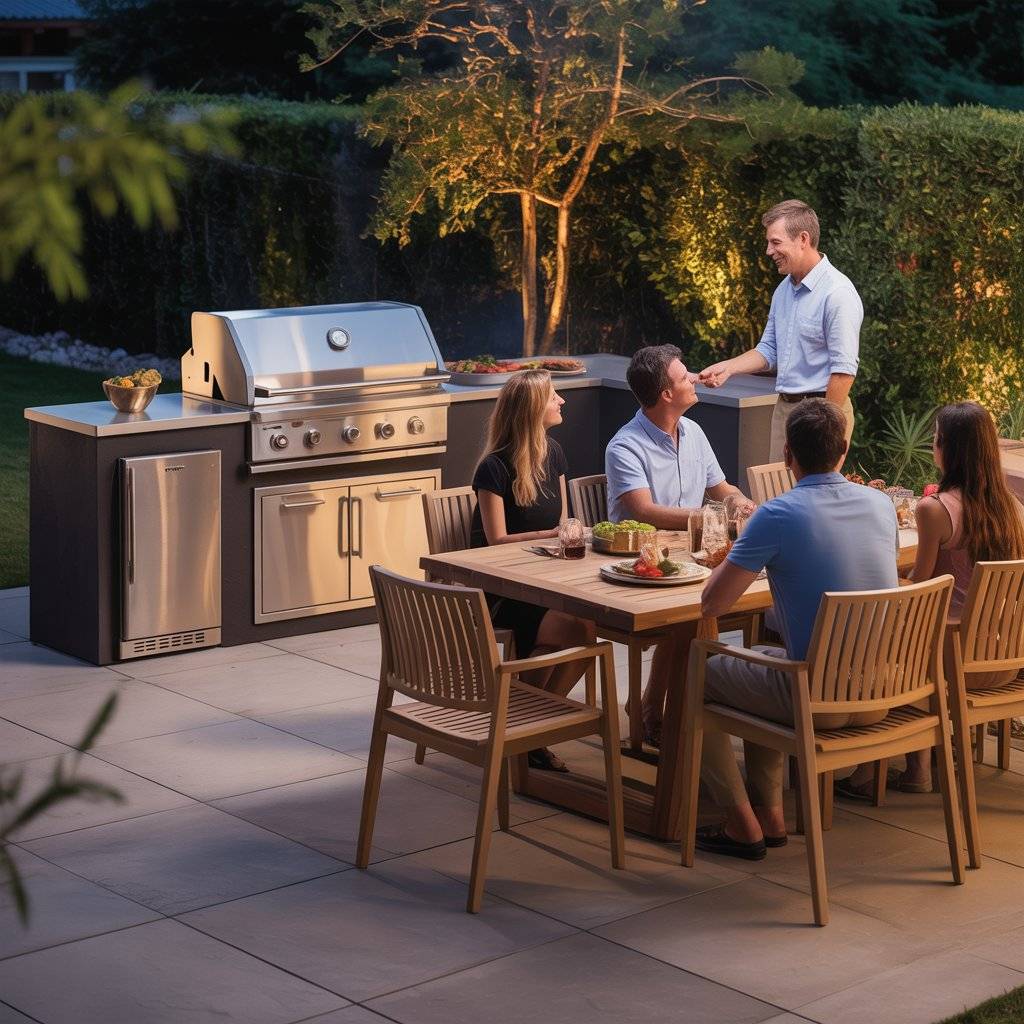
In another backyard, I created a setup where one counter was all prep and cooking, and a second, separate counter handled serving and drinks. I left space in between for people to walk or sit casually. I added a small pergola over the prep side, which helped protect from sun or rain, and it gave the area a nice cozy feel.
The layout worked well because I could focus on cooking without stepping over guests, and the serving counter became a natural gathering point. Simple lighting along the path also made a huge difference when hosting at night.
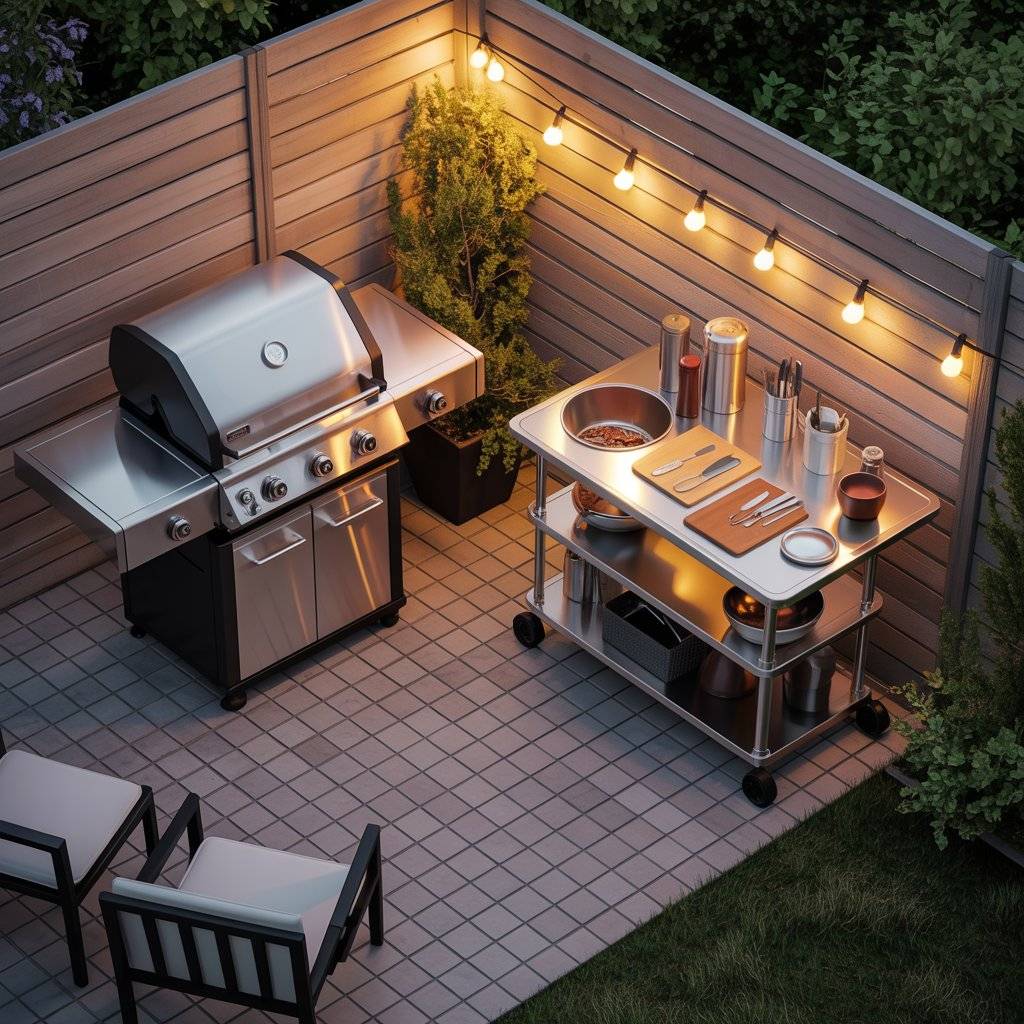
5. The “Corner Plus Cart” Layout
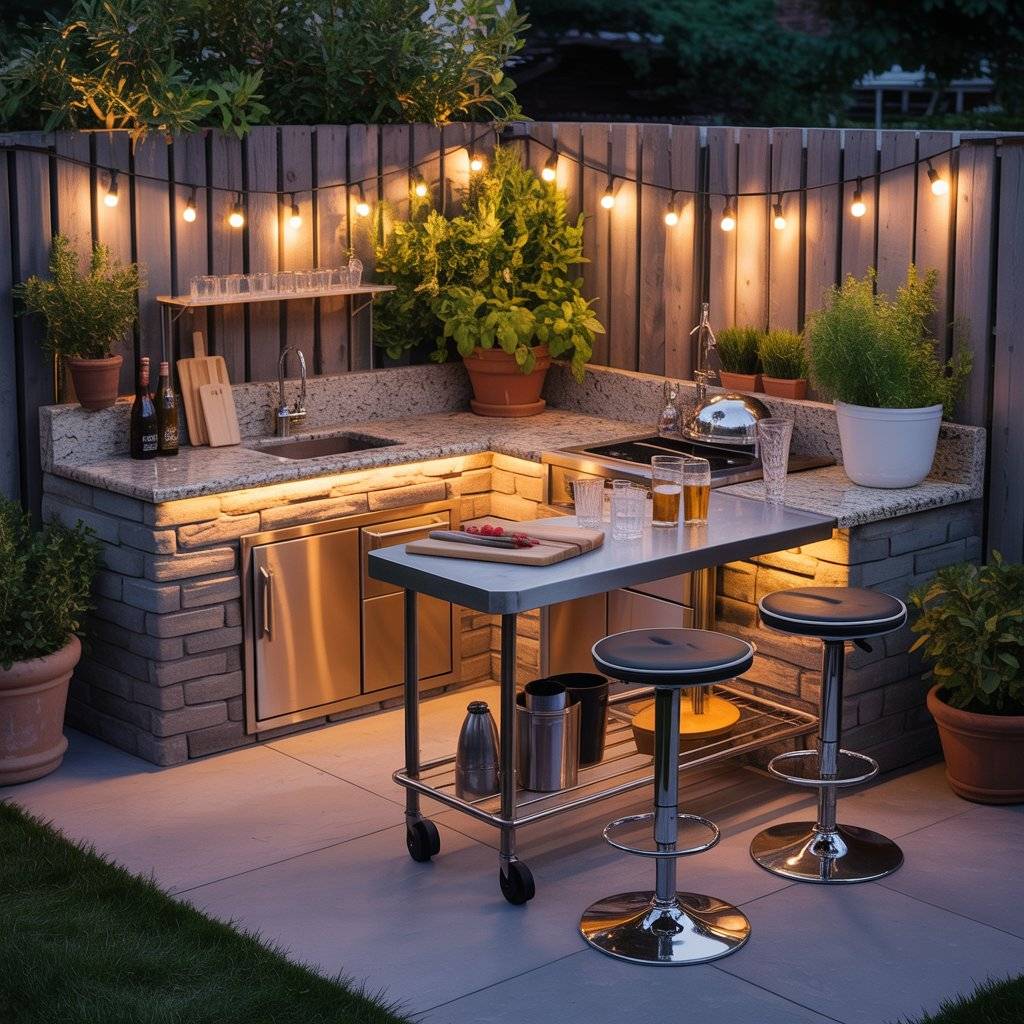
Sometimes you don’t have a huge space for a full island. In my small backyard, I placed an L-shaped counter in a corner and used a small rolling cart for extra prep or beverage storage.
The cart could move around depending on where I needed it, which made the space more flexible. I often kept cutting boards and drinks on it, so it wasn’t just extra storage it became part of the workflow.
Guests could also pull up stools to it, making it feel like a mini bar. Even with limited space, this layout kept cooking and entertaining smooth.

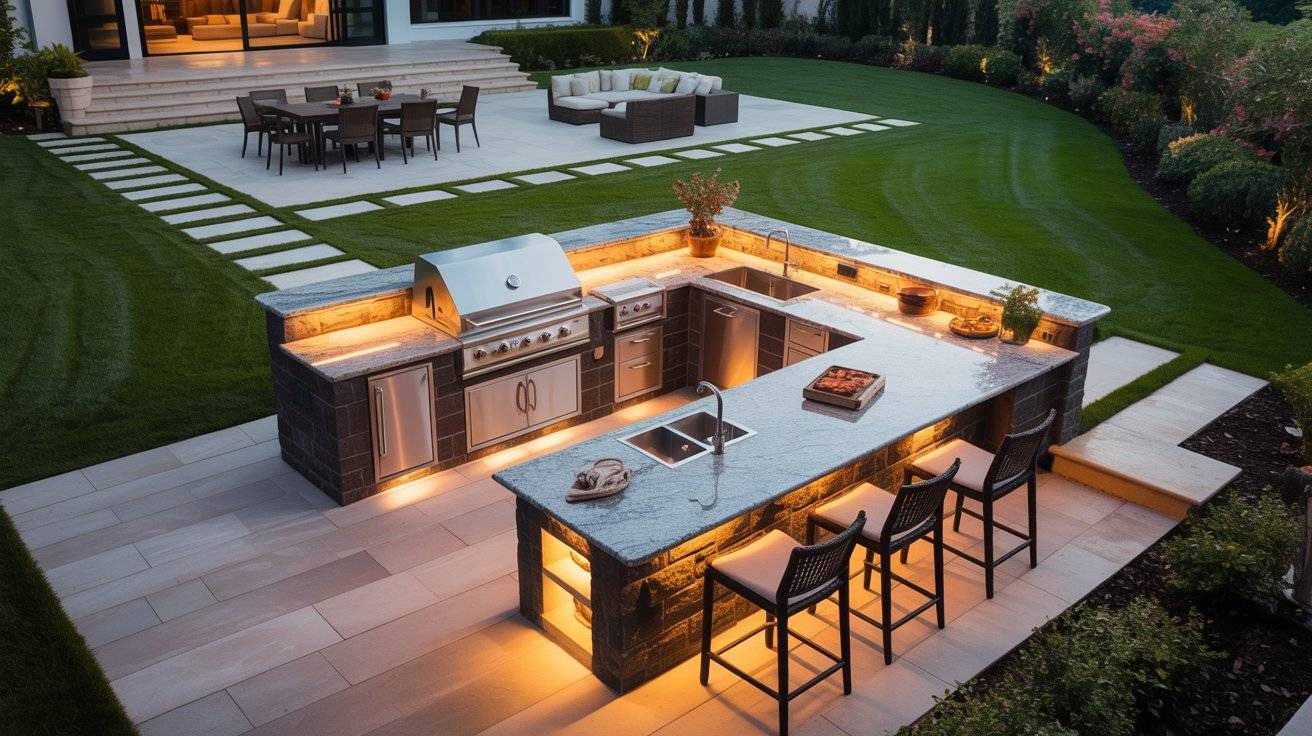
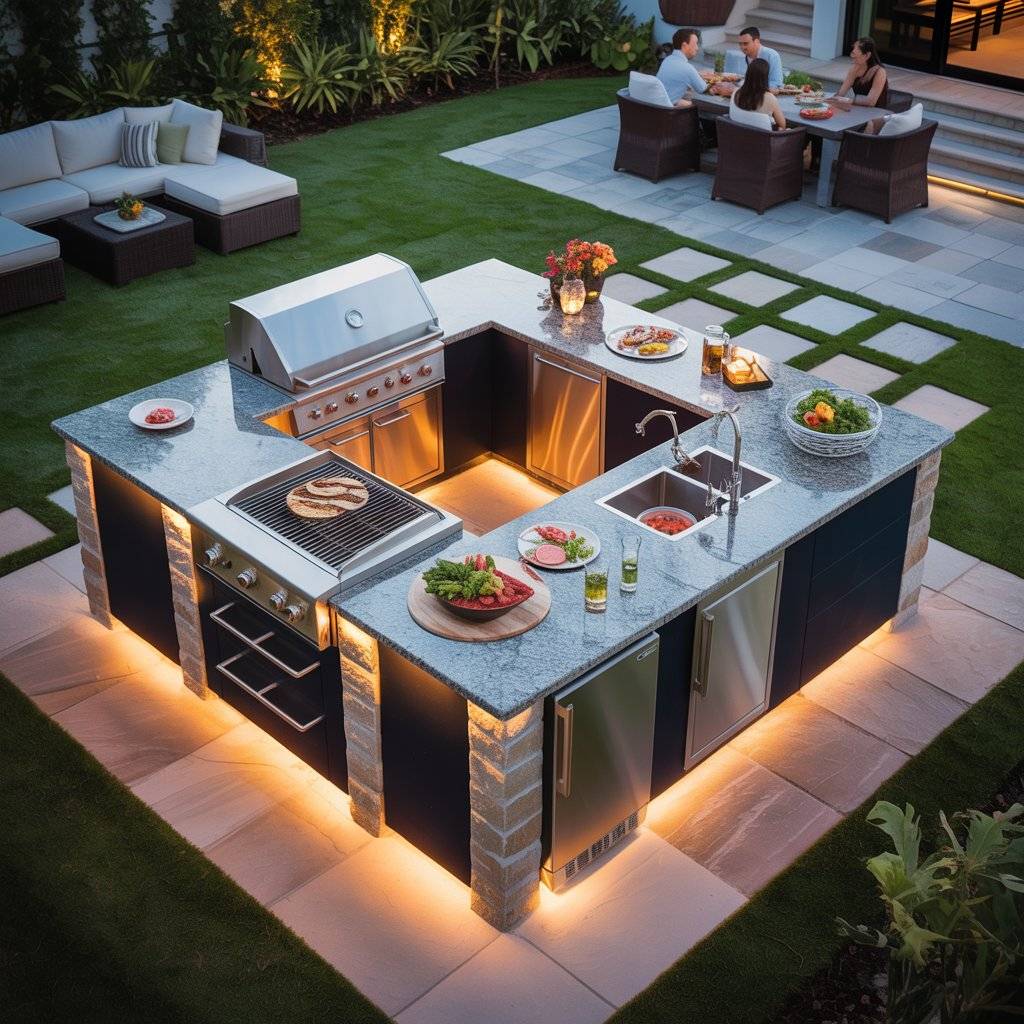
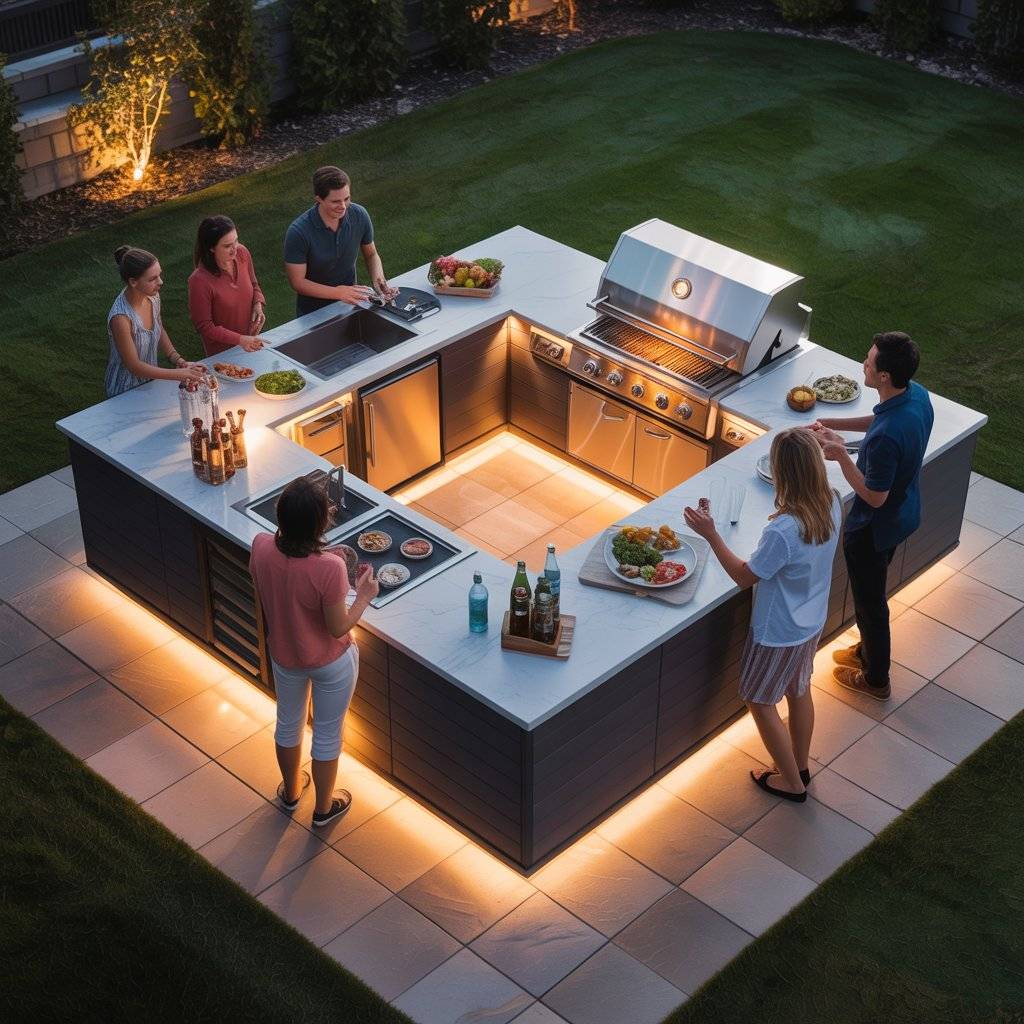
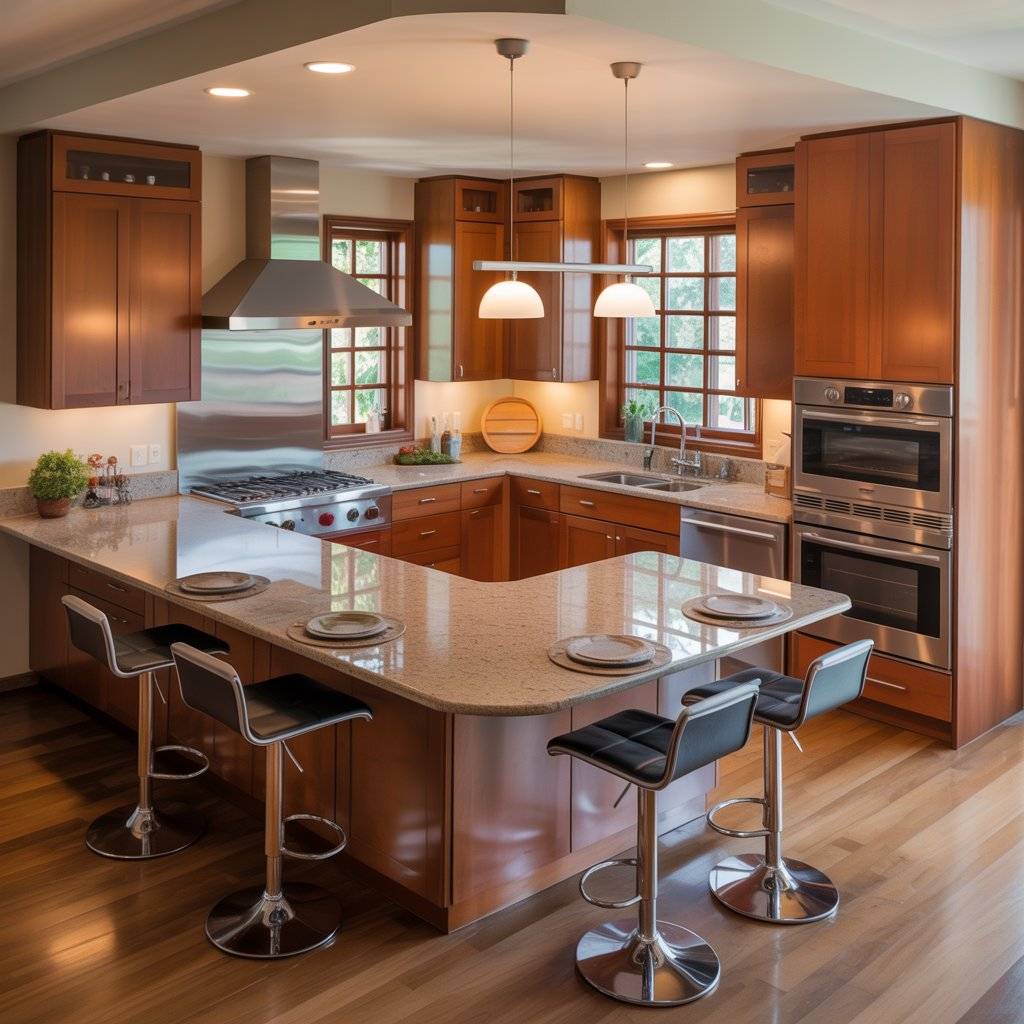
6. The “U-Shaped Entertainer” Layout
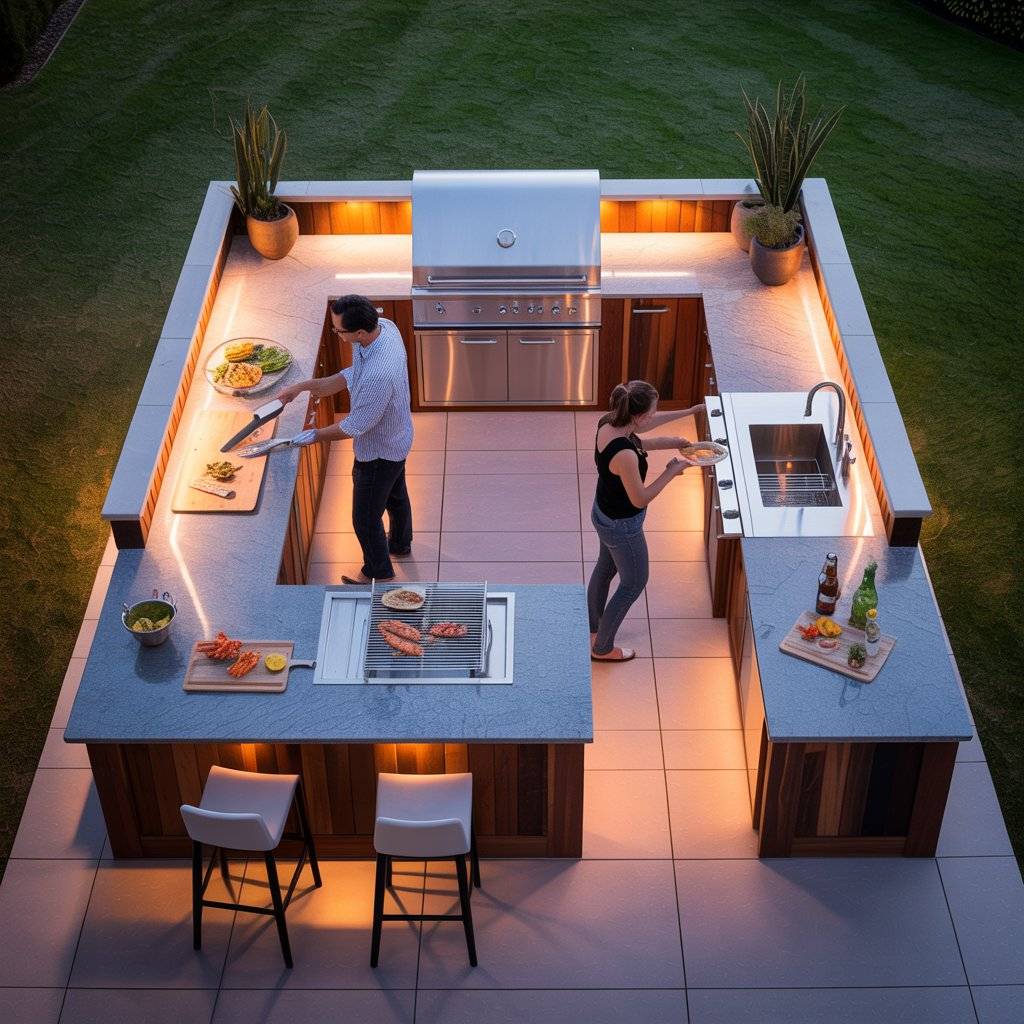
For a wider backyard, I tried a U-shaped layout that felt like a mini outdoor kitchen inside a house. I put the grill in the middle section, prep counters on one side, and a sink plus fridge on the other.
What made it work well was that multiple people could move around without bumping into each other. One person could cook, another prep, and a guest could pour drinks or grab a plate all at the same time.
I also added a narrow overhang on one side for bar stools, which turned part of the U into a casual eating area. It’s a layout that really encourages social cooking while keeping everything functional.

7. The “Backyard Corner + Seating Wall” Layout

In a tight corner of my yard, I placed the main cooking counter against the wall and added a low seating wall across from it.
This gave a natural boundary between cooking and hanging out. Guests could sit and chat, while I had plenty of counter space to prep and serve. I even added hooks along the wall for utensils and towels.
It’s a simple layout, but it keeps everything organized and avoids people wandering into the cooking zone. Small backyards like this can feel open if you plan traffic flow and leave room to move.

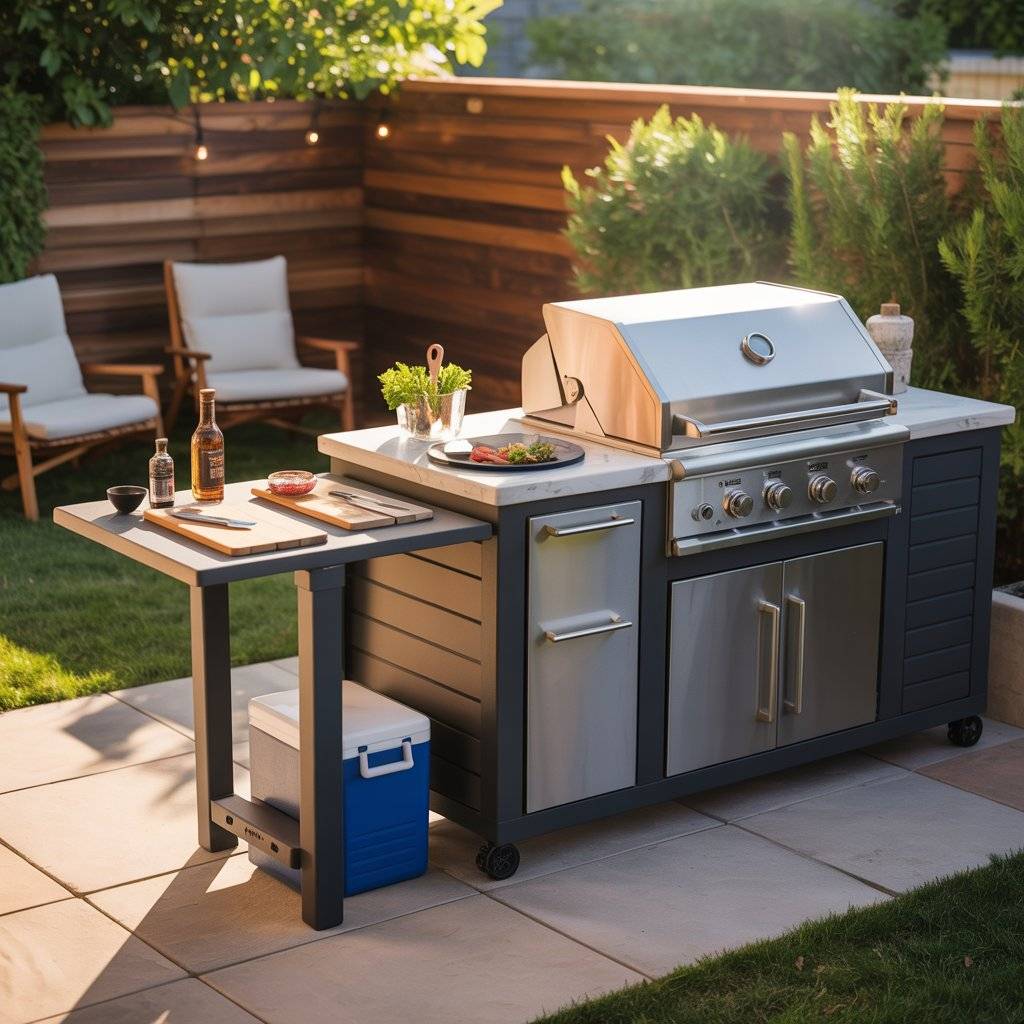
8. The “Floating Grill Station” Layout
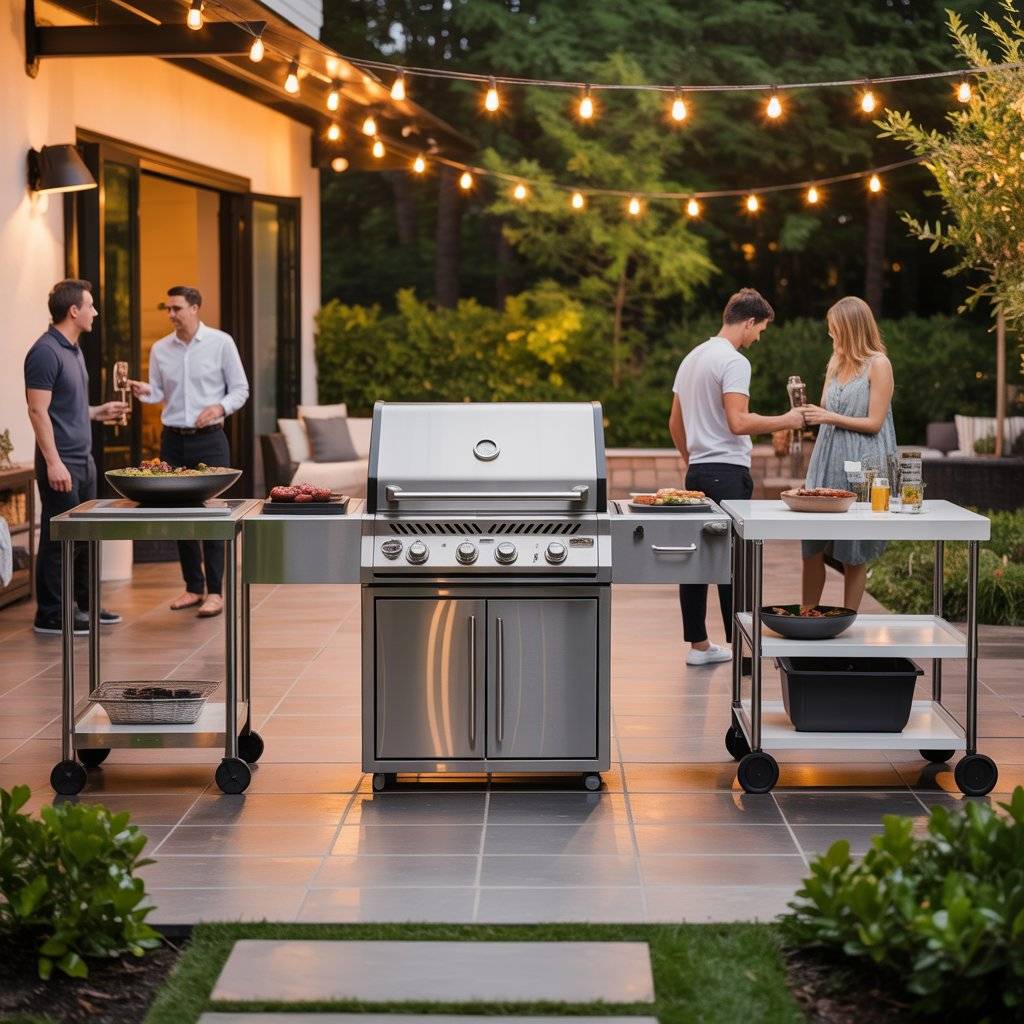
Sometimes you don’t need permanent counters all around. I’ve seen success with just a grill station in the center of an open backyard, surrounded by prep tables or portable carts.
This works well for seasonal use or when you want flexibility. I usually keep a rolling prep table and cooler nearby, so I can move things around depending on how I’m cooking or entertaining.
The key is leaving enough walking space and making sure everything you need is close at hand. Guests naturally gather around, and the setup feels casual, not cramped.
9. The “Dual Prep Zones” Layout
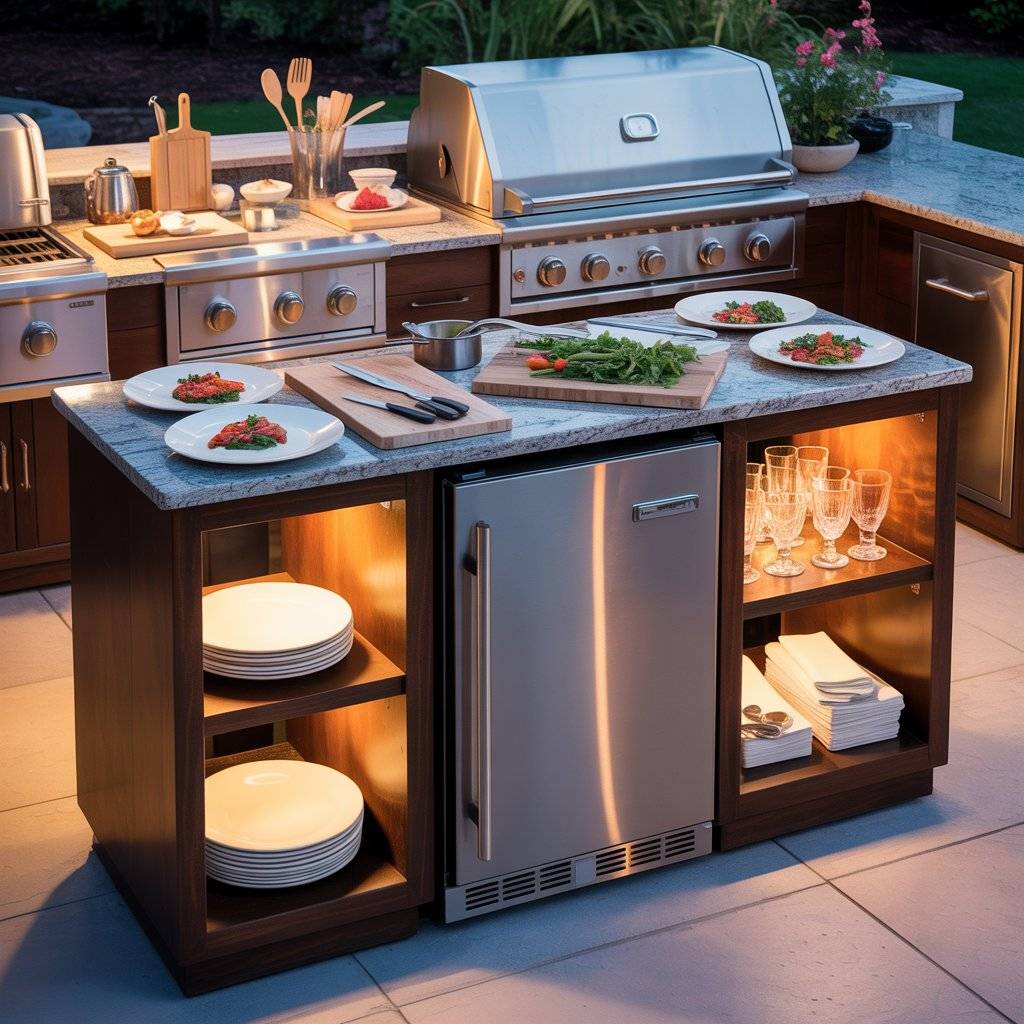
For larger gatherings, I set up two prep zones: one near the grill for cooking ingredients, and another at a side counter for plating and serving.
This keeps people from bumping into each other and makes hosting bigger meals easier. I added a mini fridge under one side and shelves for plates and napkins.
This layout works well when you cook with someone else, or when you host multiple dishes at the same time. It feels organized and keeps traffic flowing without making the space feel crowded.
10. The “Corner Grill + Island Bar” Layout
I combined a corner L-shaped counter with a small island in the middle for drinks or side prep. The corner handled the main cooking and sink, while the island became a casual bar for guests. I made sure there was enough space to walk around the island without squeezing.
This layout is great if you entertain often because you can cook, prep, and serve without stepping over people, and the island doubles as a conversation spot. It’s practical, flexible, and keeps everything within reach.

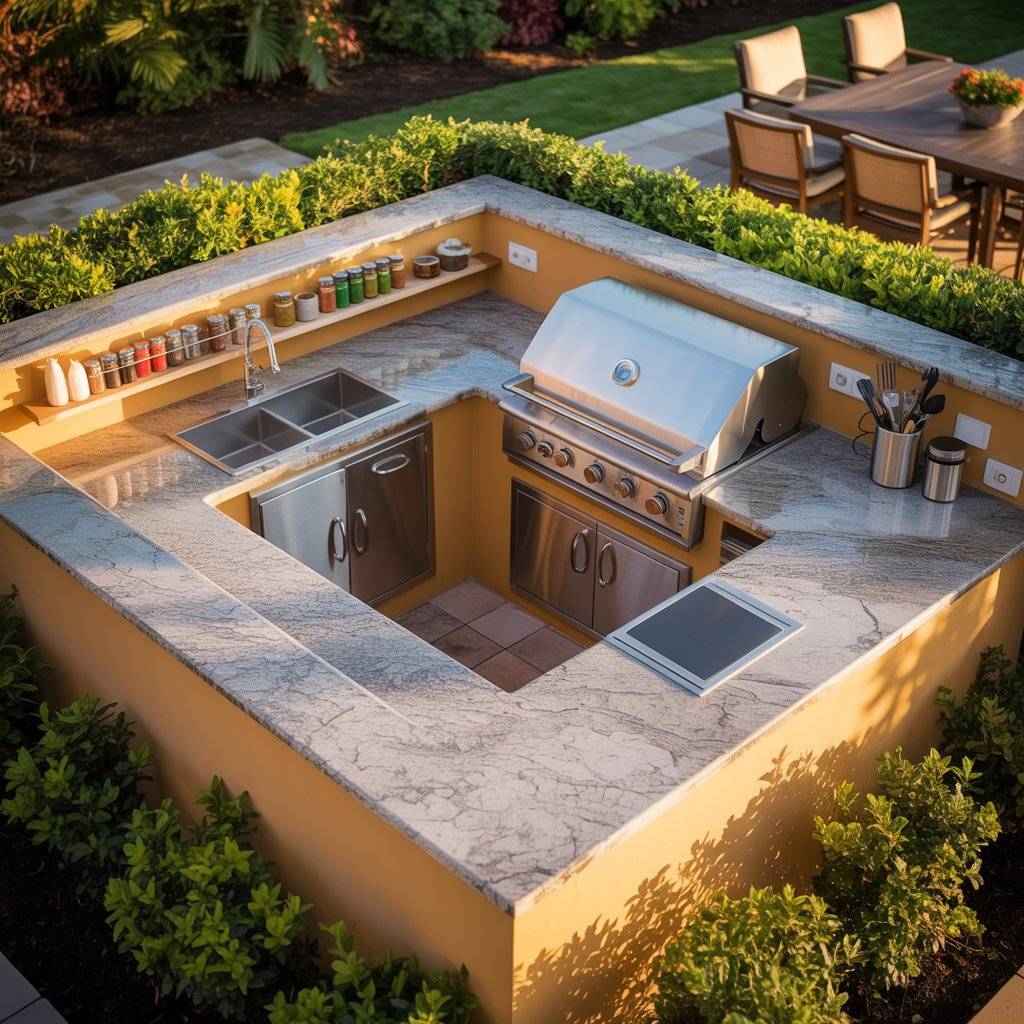
11. The “Corner with Built-In Storage” Layout

One backyard I worked on had a small corner, so I added built-in storage along the L-shaped counter. I put the grill on one side and a prep sink in the corner. The storage underneath held tools, utensils, and ingredients, so I didn’t have to run back inside.
What made it work best was keeping the counters clear and leaving enough open space in front of the corner. Even a small backyard can feel functional if you use vertical and under-counter storage smartly.

12. The “Parallel Counters with Walkway” Layout

In a narrow backyard, I set up two long counters facing each other, creating a clear walkway in between. One counter had the grill and prep space, the other held the sink, fridge, and beverage station. It felt like a real kitchen but outdoors.
The trick is keeping at least three feet between counters so people can pass freely. Guests could hang out on bar stools along the beverage counter, which kept them out of the cooking area. It’s efficient and keeps everything accessible.
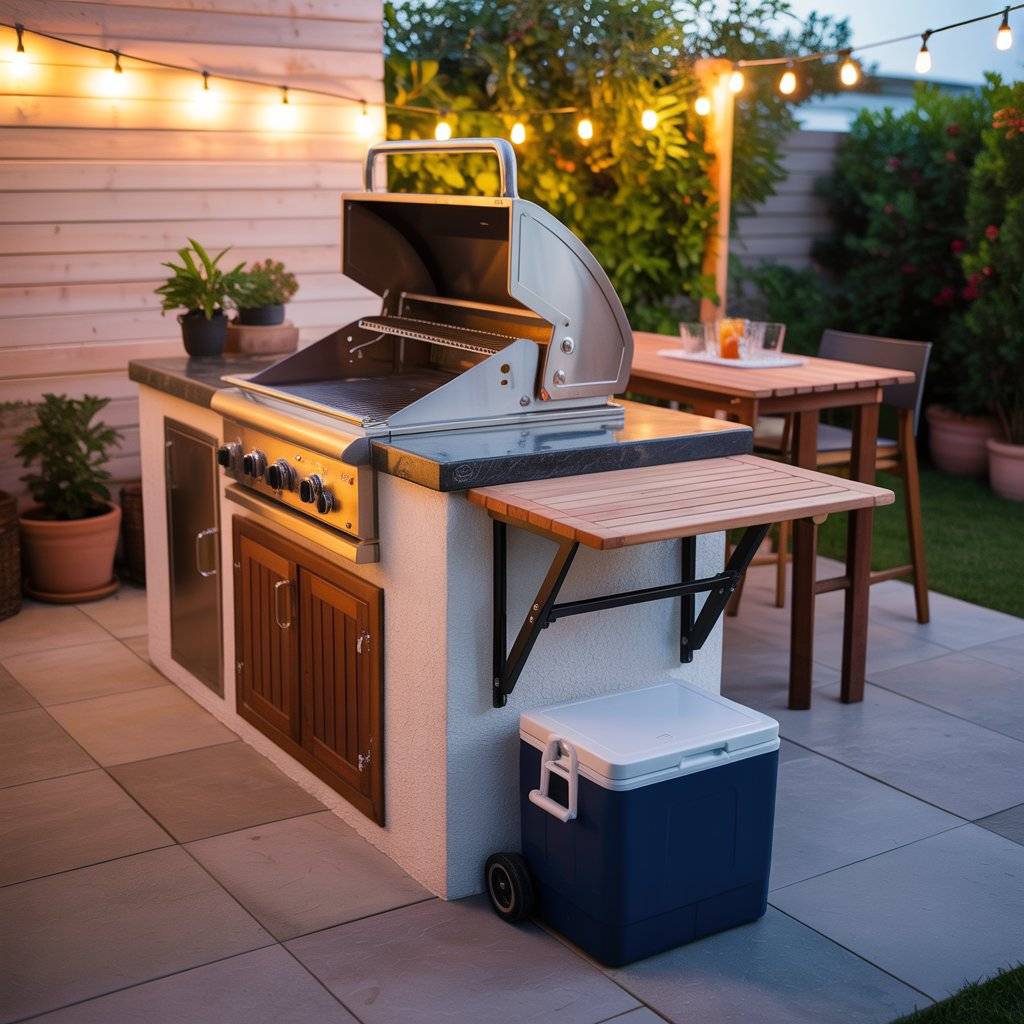
13. The “Small Island with Foldable Side Table” Layout
I once helped set up a compact island for a small patio, but space was tight, so I added a foldable side table. The island handled the grill and prep, while the table could fold out when more workspace was needed and fold back when not in use.
This layout worked well because it gave flexibility without cluttering the backyard. I kept a small cooler under the table for drinks, and guests could pull up chairs around the island. It’s a practical solution when you don’t have a lot of permanent counter space.
14. The “Grill Facing Dining Area” Layout
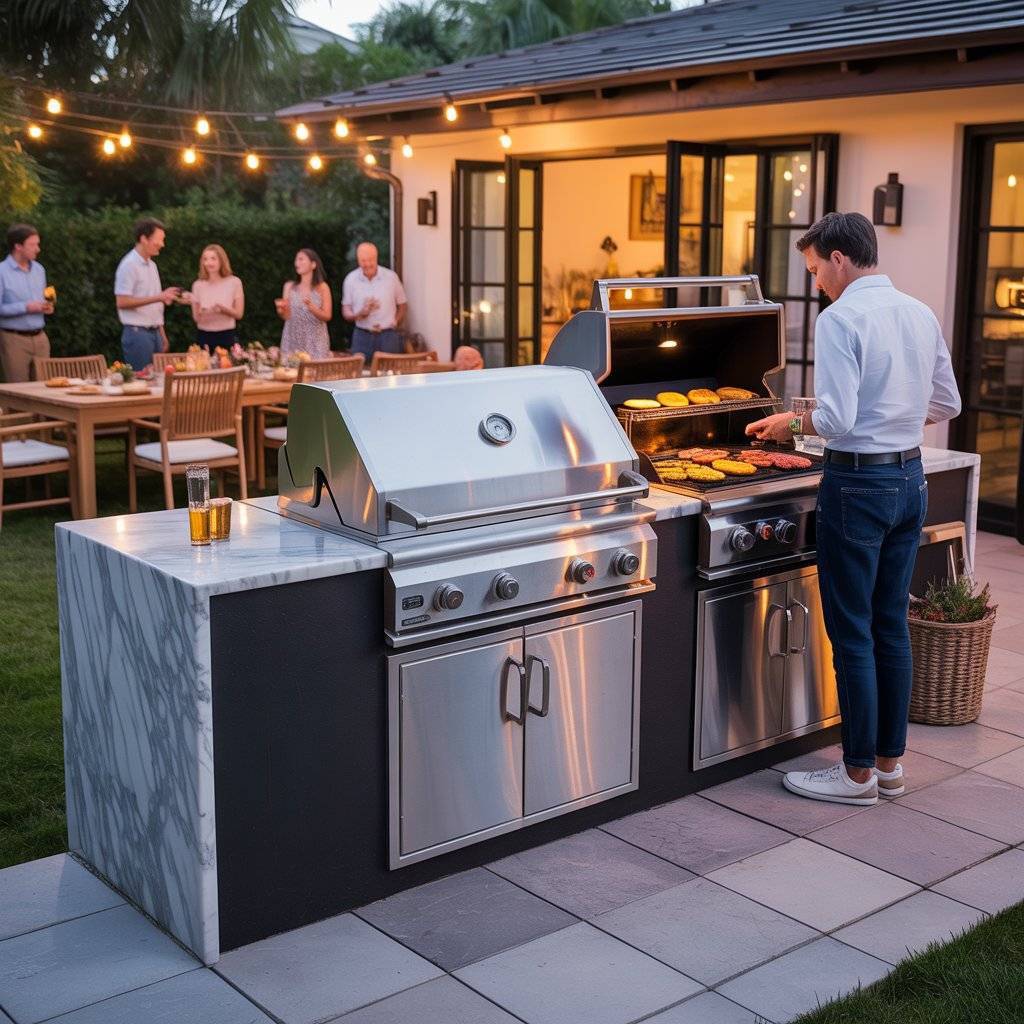
In one backyard, I positioned the grill so it faced the dining area instead of a wall. This was a game changer. I could cook and talk to guests at the same time. I added a prep counter next to the grill and a small under-counter fridge.
People could grab drinks or help themselves to sides while I handled the cooking. It’s a simple layout, but having the grill face the social space improved traffic flow and made hosting feel natural. Guests never felt like they were in the way.
15. The “Corner Grill with Portable Prep Station” Layout

In a tight backyard corner, I placed the grill permanently in one corner but used a small portable prep station on wheels. The prep station could be moved depending on where I needed extra space. This layout kept the main counter free for cooking while giving me flexibility.
Guests could also pull up a chair to the prep station without crowding me. Even in small backyards, having movable elements like this keeps things practical and smooth, especially during parties or large meals.
High-End Gas Grill for Outdoor Kitchens
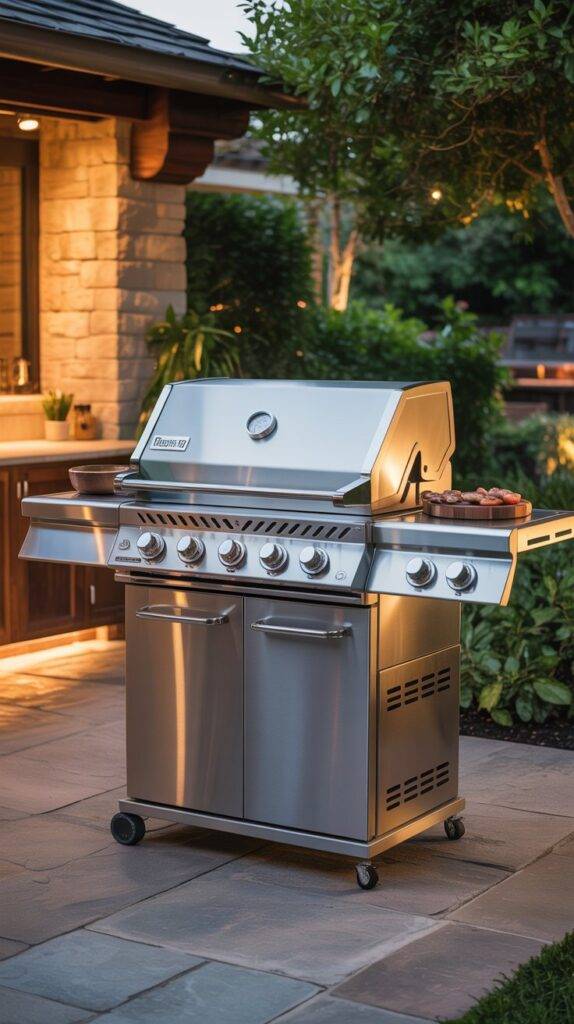
Upgrade Your Outdoor Cooking with a Premium Gas Grill
A good gas grill can change your outdoor cooking experience. Look for models with multiple burners, built-in thermometers, and side shelves for prep space.
I’ve noticed that grills with stainless steel construction hold up well against weather, and those with built-in rotisseries or smoker boxes let you cook more diverse dishes. For homeowners serious about hosting backyard parties, this is an investment that pays off in convenience and durability.
Check price on Amazon.com. High-End Gas Grill for Outdoor Kitchens
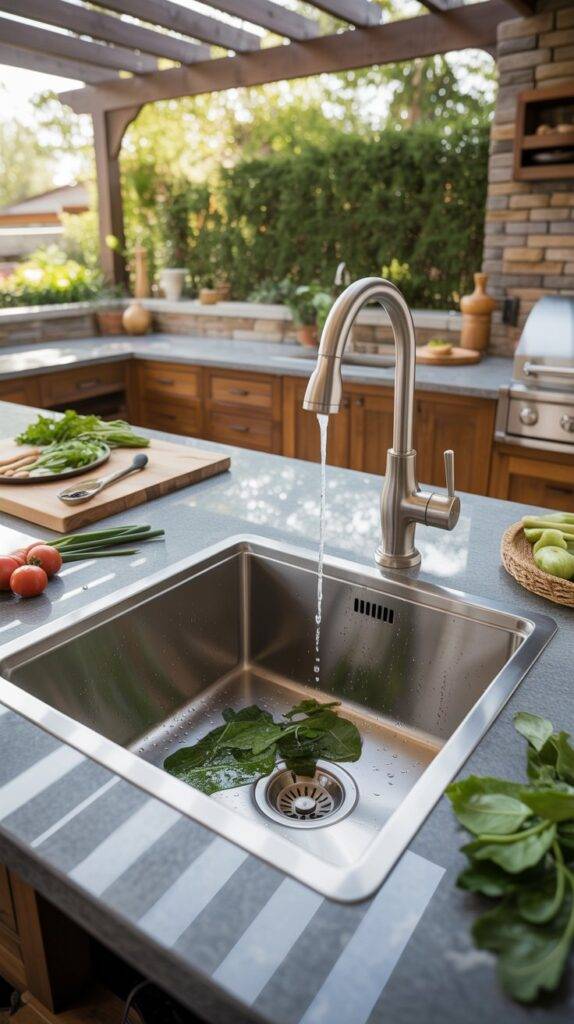
Outdoor Kitchen Prep Sink with Faucet
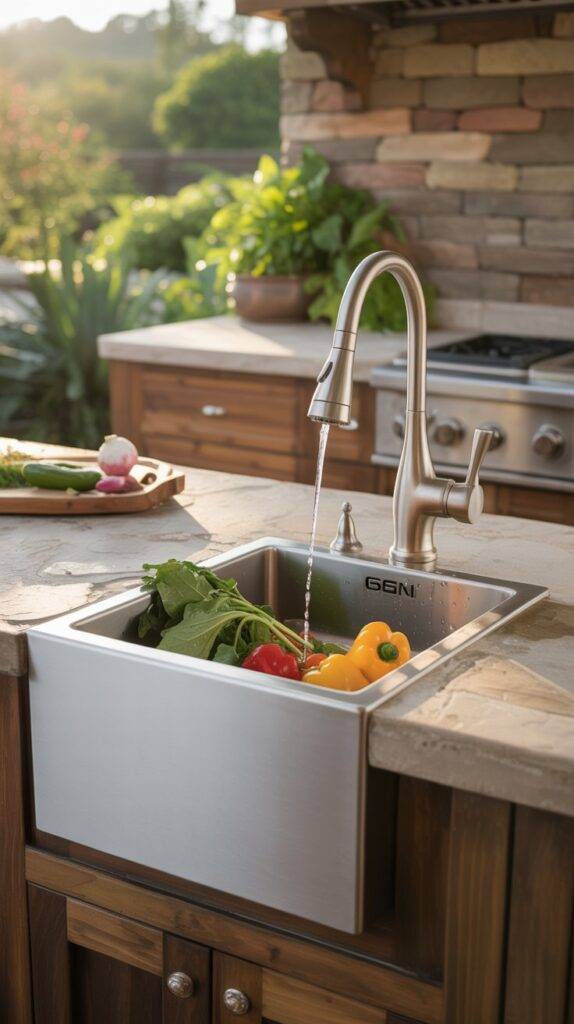
Keep Your Outdoor Kitchen Clean and Efficient with a Dedicated Prep Sink
Adding a prep sink to your outdoor kitchen makes everything easier. You can wash vegetables, rinse utensils, or prep drinks without running inside the house.
I’ve found stainless steel sinks with a weather-resistant faucet work best they’re durable, low-maintenance, and fit into most backyard layouts. Pairing it with a small countertop or island creates a workflow that keeps your cooking area tidy and organized.
Check price on Amazon.com. Outdoor Kitchen Prep Sink with Faucet
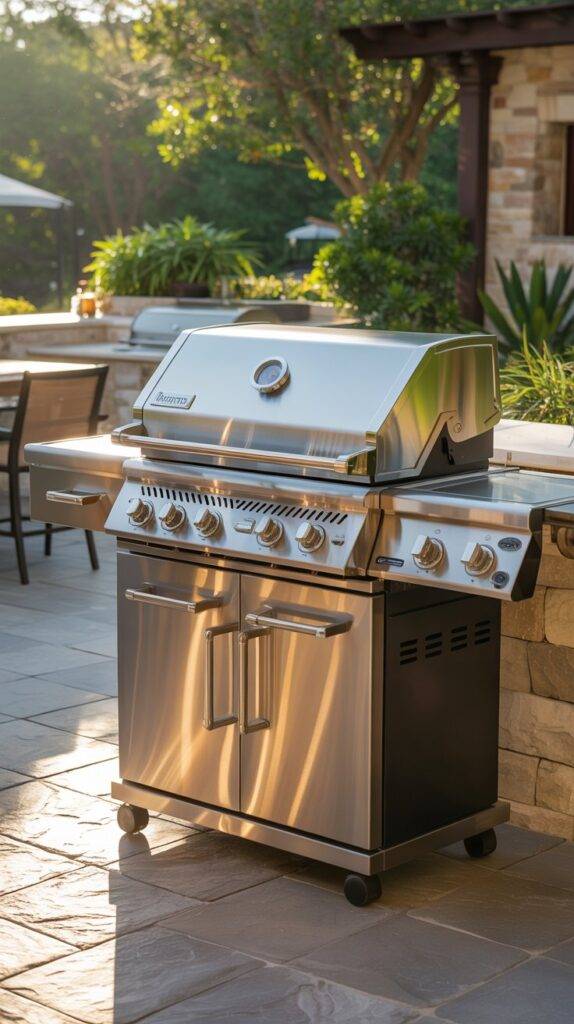
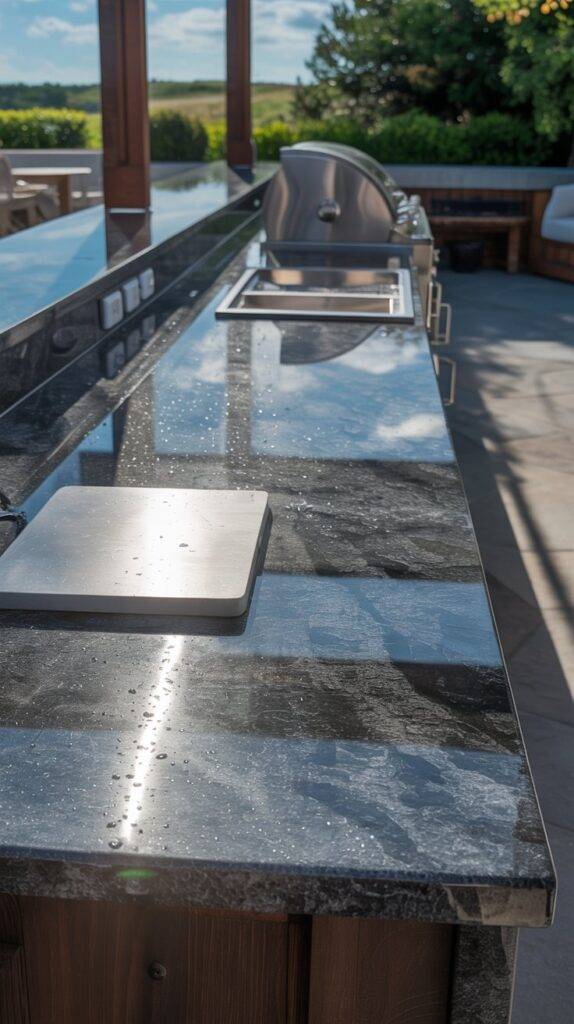
Weather-Resistant Outdoor Countertops
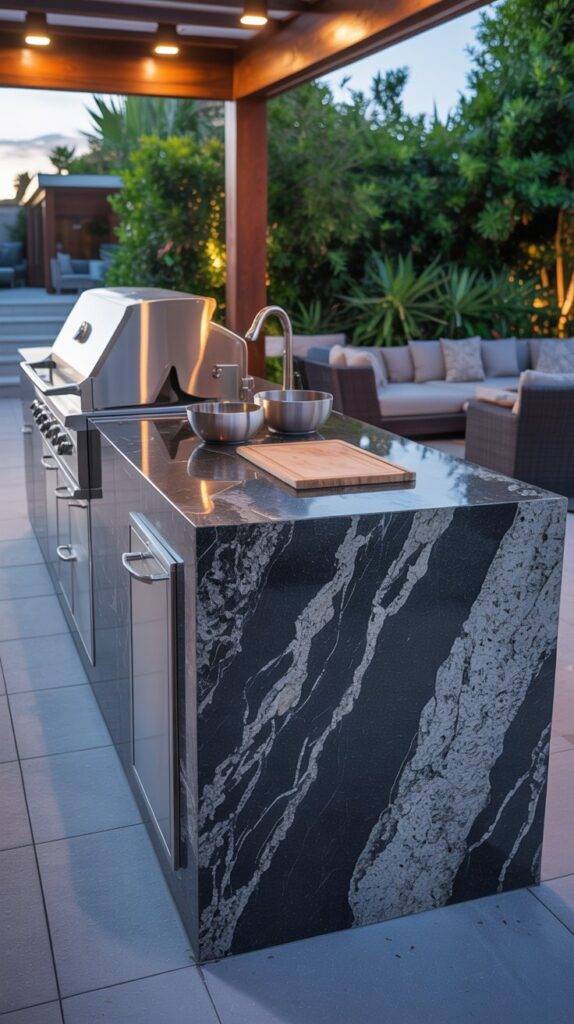
Durable Countertops That Withstand Outdoor Conditions
A functional outdoor kitchen needs solid countertops. Materials like granite, concrete, or high-quality stainless steel resist heat, water, and scratches, making them perfect for cooking outdoors.
I’ve seen homeowners add cutting boards or prep trays directly on the countertop without worrying about damage. Installing weather-resistant surfaces also keeps your outdoor kitchen looking clean and professional year-round. Check price on Amazon.com.
Outdoor Countertops Backsplash Check price on Amazon.com.
Wrapping It Up
When I finally got my outdoor kitchen work the way I wanted, it wasn’t because I followed trends but trial and error, to figuring out what actually made cooking and hosting easier. I moved counters around, tested different spots for the grill, and added a little cart here and there. Some things worked, also some didn’t, but in the end, finally I make it.
Even if your backyard isn’t huge, you can make it feel open and usable. Little things, like having your prep space near the grill or keeping drinks within reach, make a world of difference when you’re actually cooking or serving guests.
The layouts and tips I shared here are ones I’ve tried or seen work in real spaces. You don’t need a perfect design just something that fits your habits and your yard. Start with one corner, see what works, and adjust from there. When you get the flow right, cooking outside stops feeling like a hassle and starts being fun.
Related Post: