
When I first thought about building an outdoor kitchen, I assumed it would cost a lot. Most of what you see online looks expensive stone counters, built-in grills, and full setups.
But after looking into it, I realized you don’t need all that to make something useful.
The cheapest way to build an outdoor kitchen is to keep it simple and build in stages. Start with what you need most, then add more later if you want.
I’ve seen people build working outdoor kitchens using basic materials like pallets, concrete blocks, and even old furniture. It doesn’t have to look perfect. It just needs to work.
Here are some ideas that actually make sense if you’re trying to keep costs low.
1. Start with a Simple Grill Station
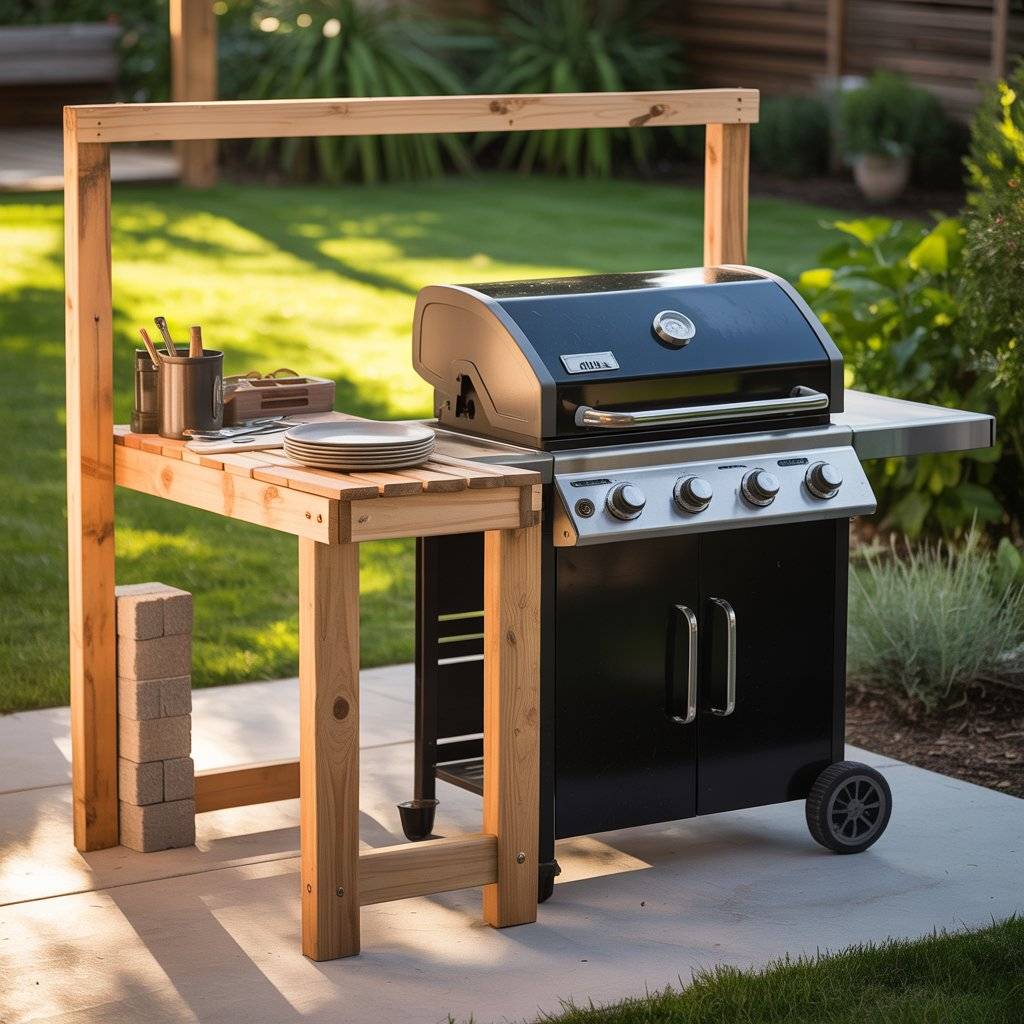
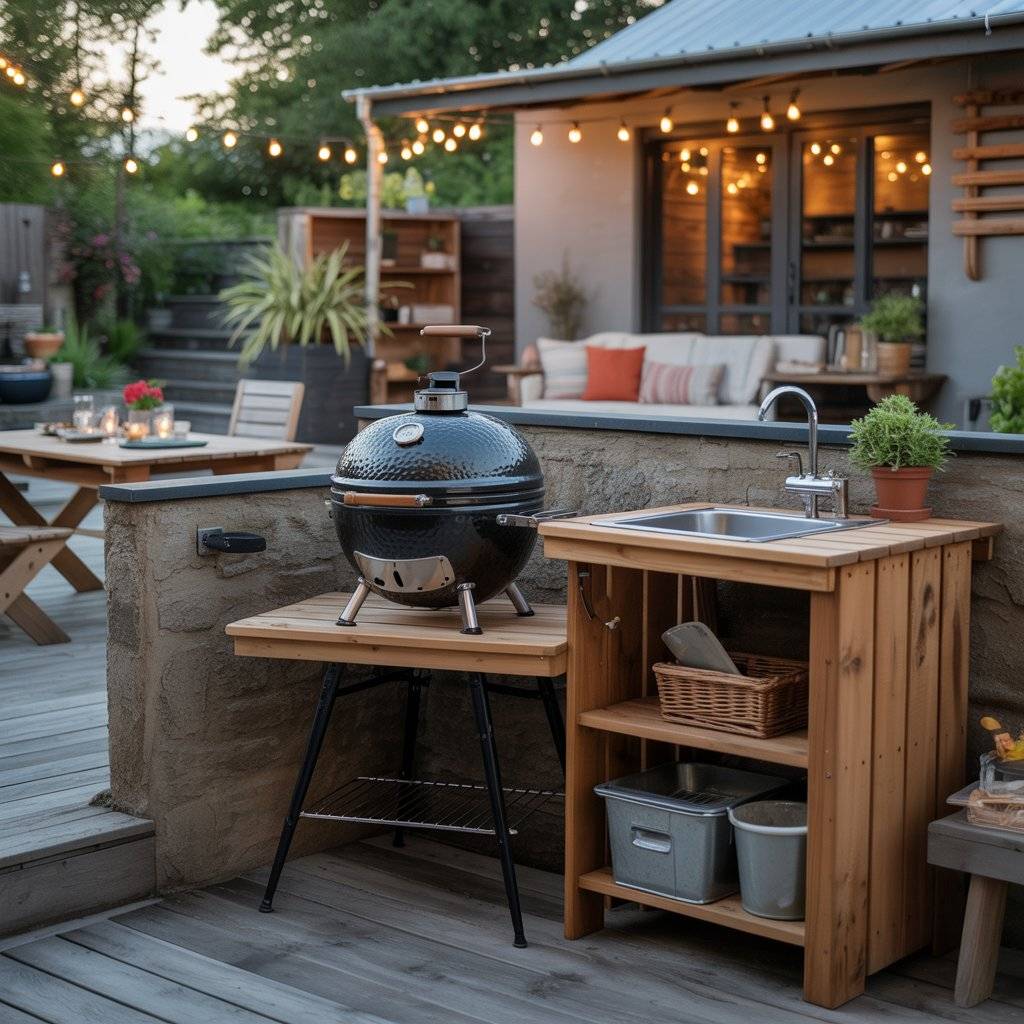
The cheapest outdoor kitchen usually starts with one thing a grill. You don’t need a built-in setup right away. A simple charcoal or gas grill can do most of the work. What I did first was set up a small cooking corner using my grill and a basic table next to it. That table held my tools, plates, and prep items.
If you want to improve it a bit, you can build a small frame around the grill using wood or concrete blocks. This gives it a more stable and permanent feel without spending too much.
The key here is not to overbuild at the start. Focus on cooking first. You can always add counters, storage, or a sink later. This approach keeps your cost low and lets you figure out what you actually need before spending more money.
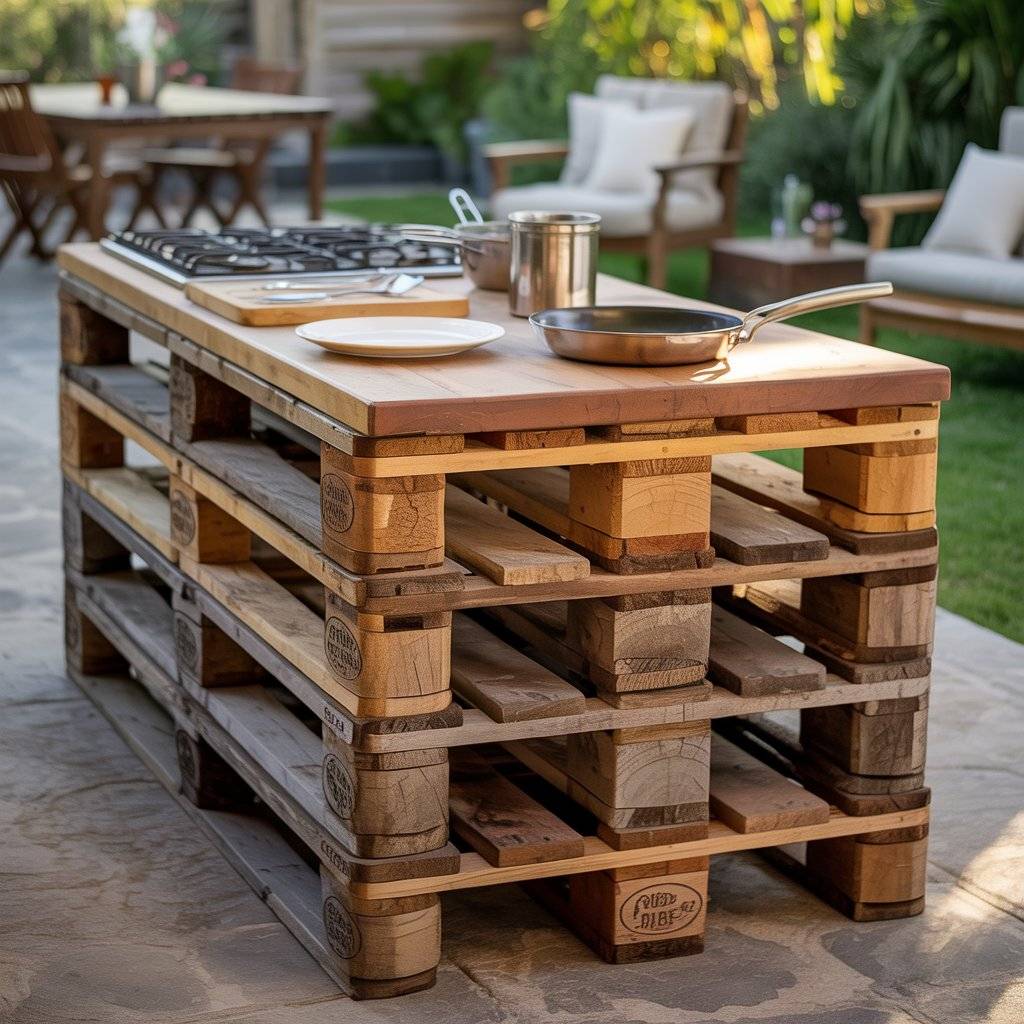
2. Use Pallets for Counter Space
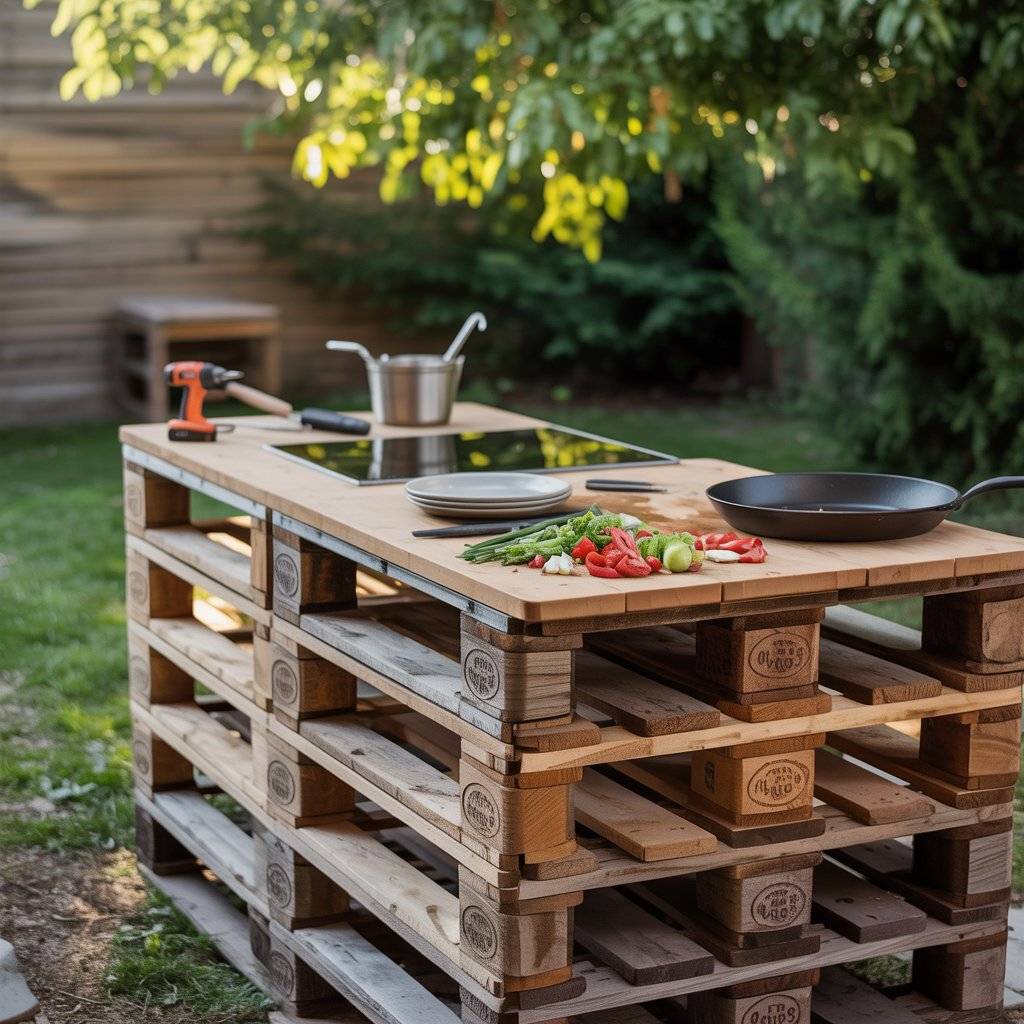
One of the cheapest ways I found to build counter space was using wooden pallets. You can often get them for free or very cheap. I stacked two pallets and secured them together to create a base. Then I added a flat wooden board on top to make a smoother work surface.
It wasn’t fancy, but it worked. I could prep food, place plates, and even set down hot pans. If you want it to last longer, sanding the wood and adding a simple outdoor seal helps protect it from weather.
What I like about pallets is how flexible they are. You can build a straight counter, an L-shape, or even a small bar area. It’s one of those setups that doesn’t cost much but makes your outdoor kitchen feel more complete right away.
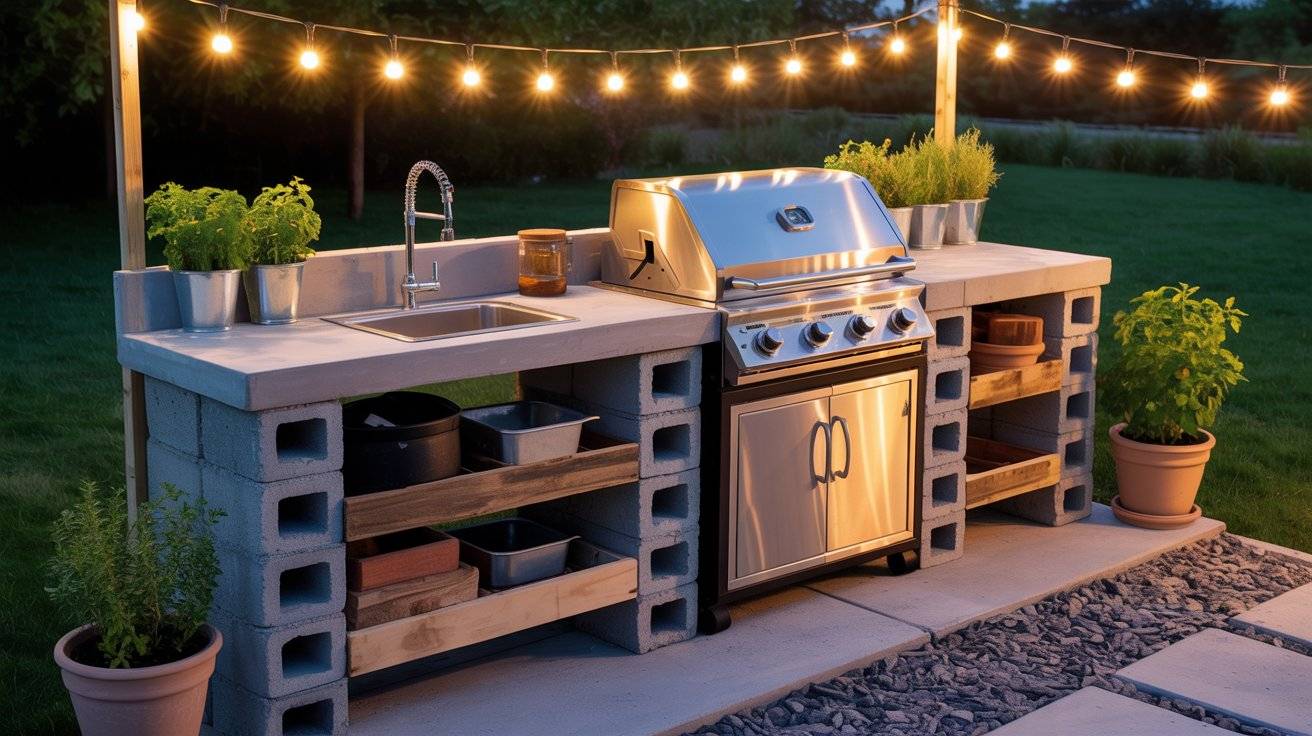
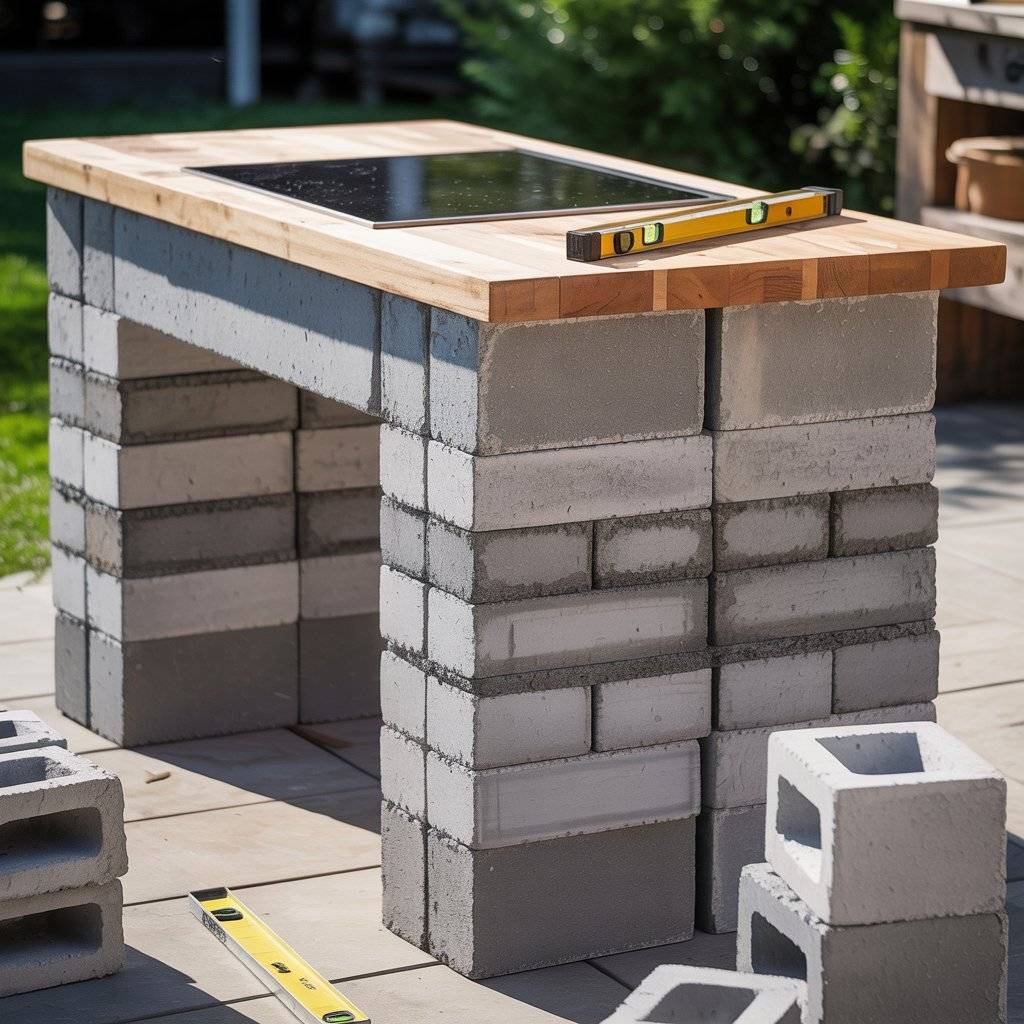
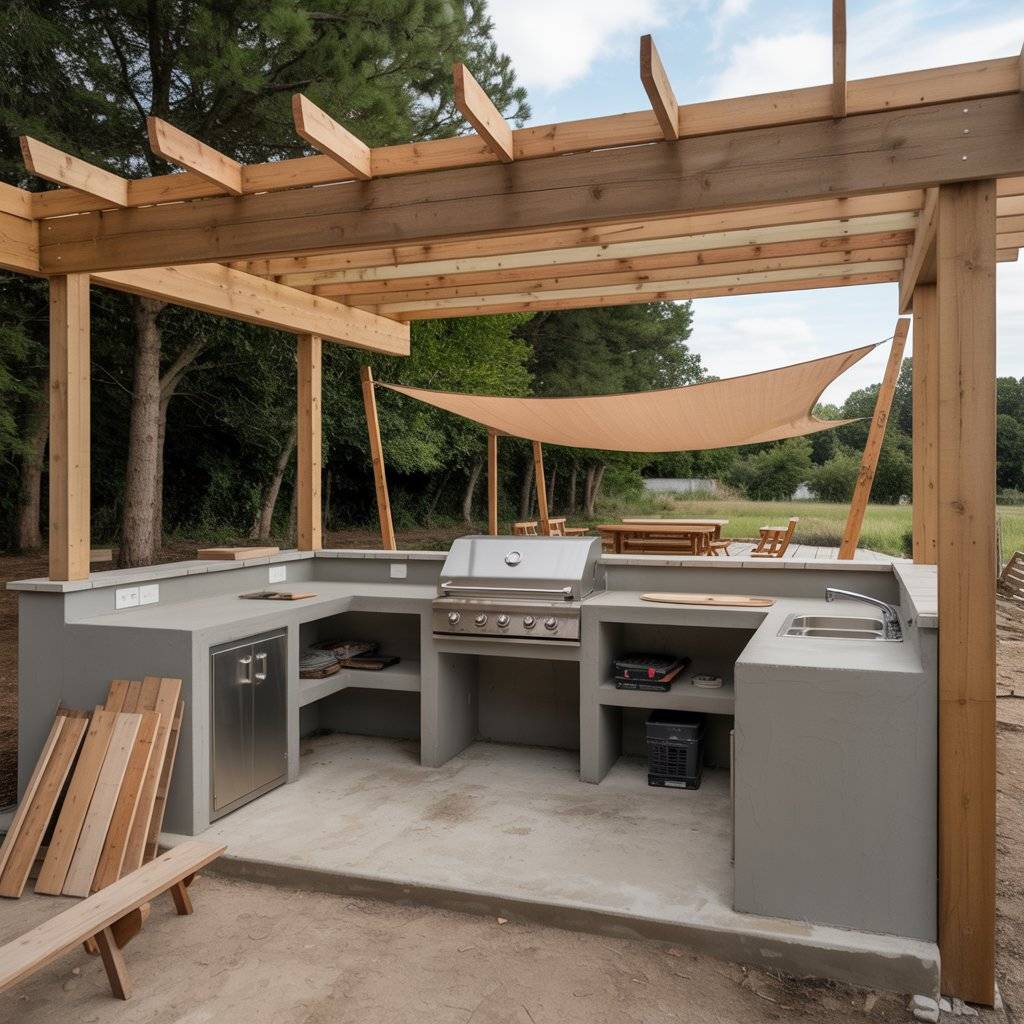
3. Build a Base with Concrete Blocks

Another low-cost method I’ve seen work well is using concrete blocks to build the main structure. This is one of the simplest ways to create a strong base without hiring anyone.
You can stack the blocks to form a counter frame. Then place a wooden board, tile, or even a slab on top as your work surface. The good thing about concrete blocks is that they are strong and weather-resistant. They also don’t require special tools to assemble.
I’ve seen people build full grill surrounds this way, and it holds up really well over time. If you want to improve the look later, you can cover the blocks with stone veneer or paint. But even in their basic form, they get the job done. For a budget outdoor kitchen, this is one of the most practical starting points.
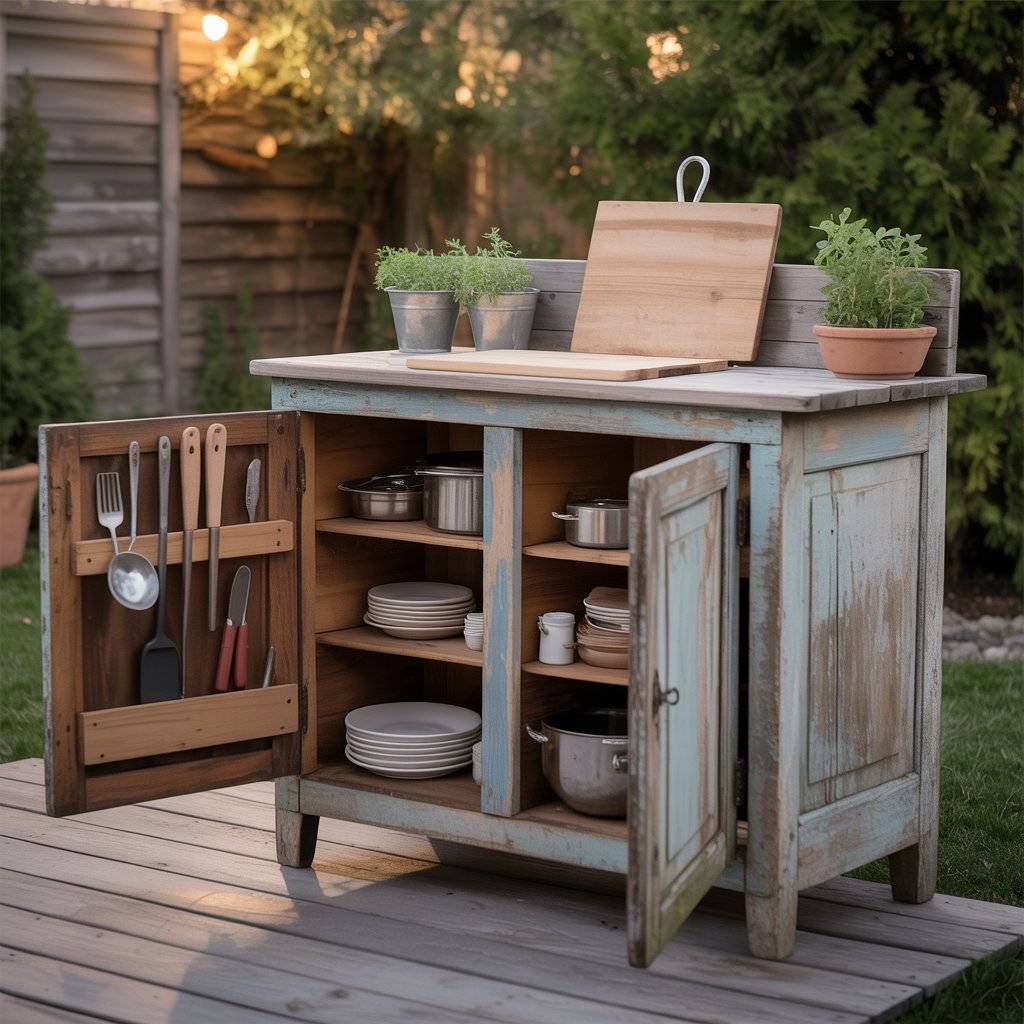
4. Use Old Furniture for Storage and Prep
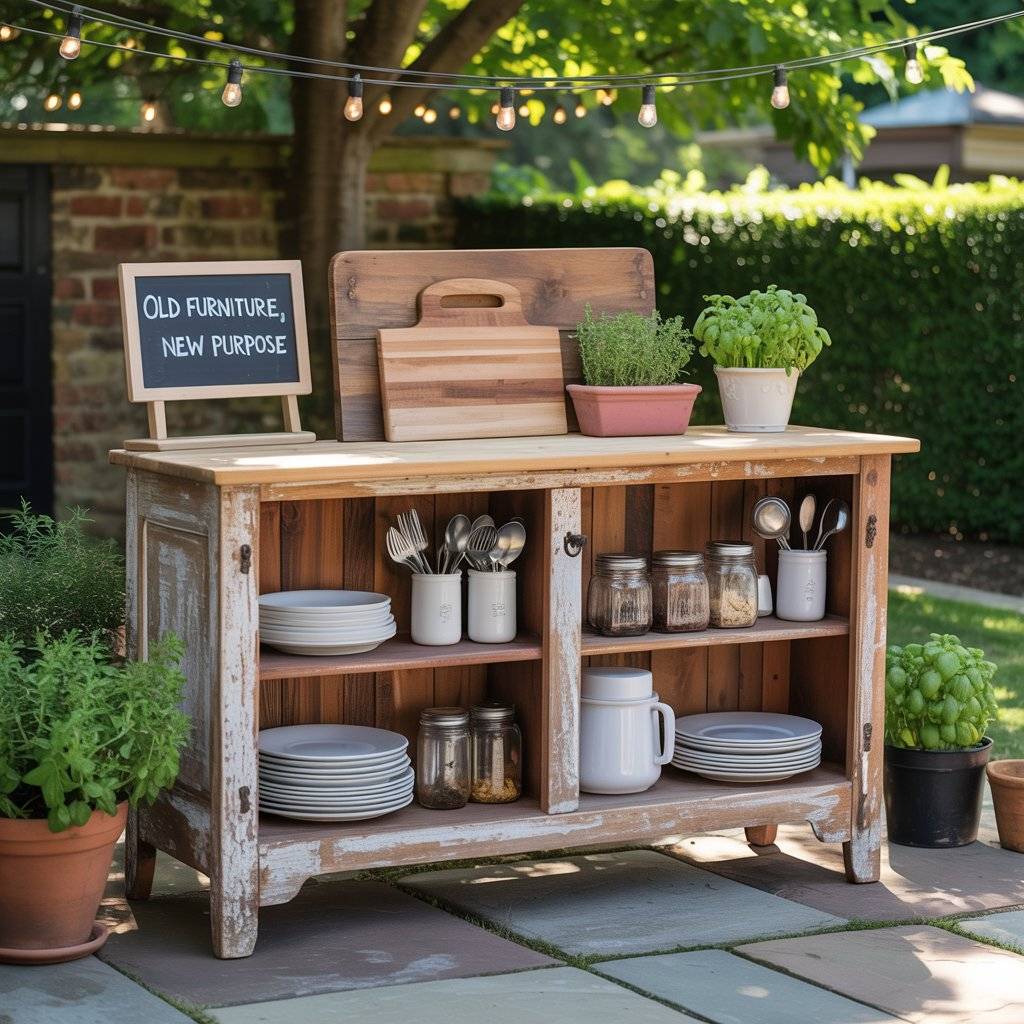
One thing that saved me money was using old furniture instead of building everything from scratch. I had an old cabinet that I wasn’t using inside the house, so I moved it outside and turned it into part of the kitchen.
It worked well for storing utensils, plates, and even small cooking tools. I added a simple board on top to create more prep space. You don’t need anything fancy here. Old tables, dressers, or shelves can all work. The only thing I recommend is sealing the wood so it can handle outdoor weather.
What I like about this setup is that it costs almost nothing if you already have the furniture. Even if you don’t, you can find cheap pieces at local markets or second-hand shops. It’s one of the easiest ways to add storage and counter space without spending much.
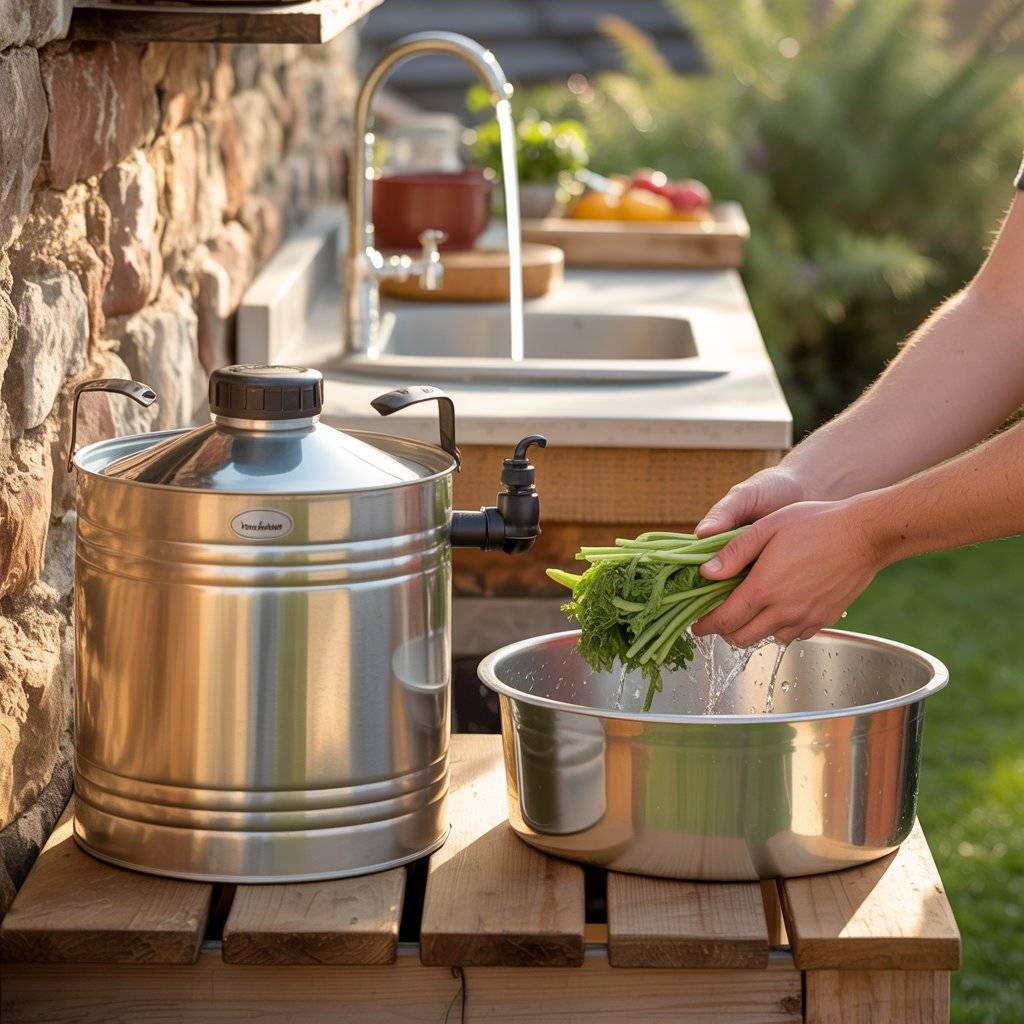
5. Keep the Sink Simple (or Skip It First)
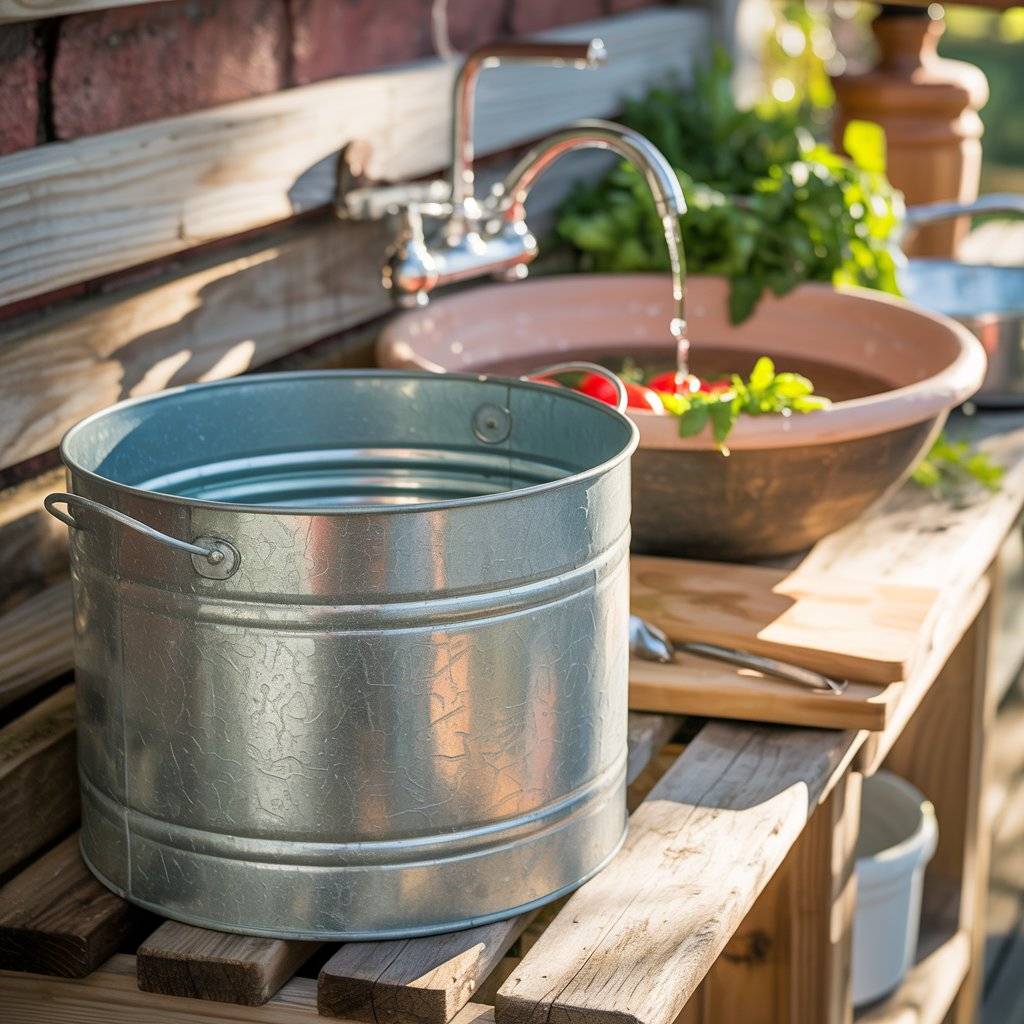
At first, I thought I needed a full sink setup in my outdoor kitchen. But when I looked at the cost of plumbing, I decided to keep things simple. Instead of installing a permanent sink, I used a large water container and a basin. It worked fine for washing hands, rinsing vegetables, and cleaning small items.
Later, I upgraded to a basic outdoor sink using a simple hose connection. That was much cheaper than installing full plumbing. If you’re trying to save money, it’s okay to skip the sink at the beginning.
Focus on cooking and prep first. A simple water setup can still get the job done without adding extra cost or complexity.
6. Create Shade with a Low-Cost Setup
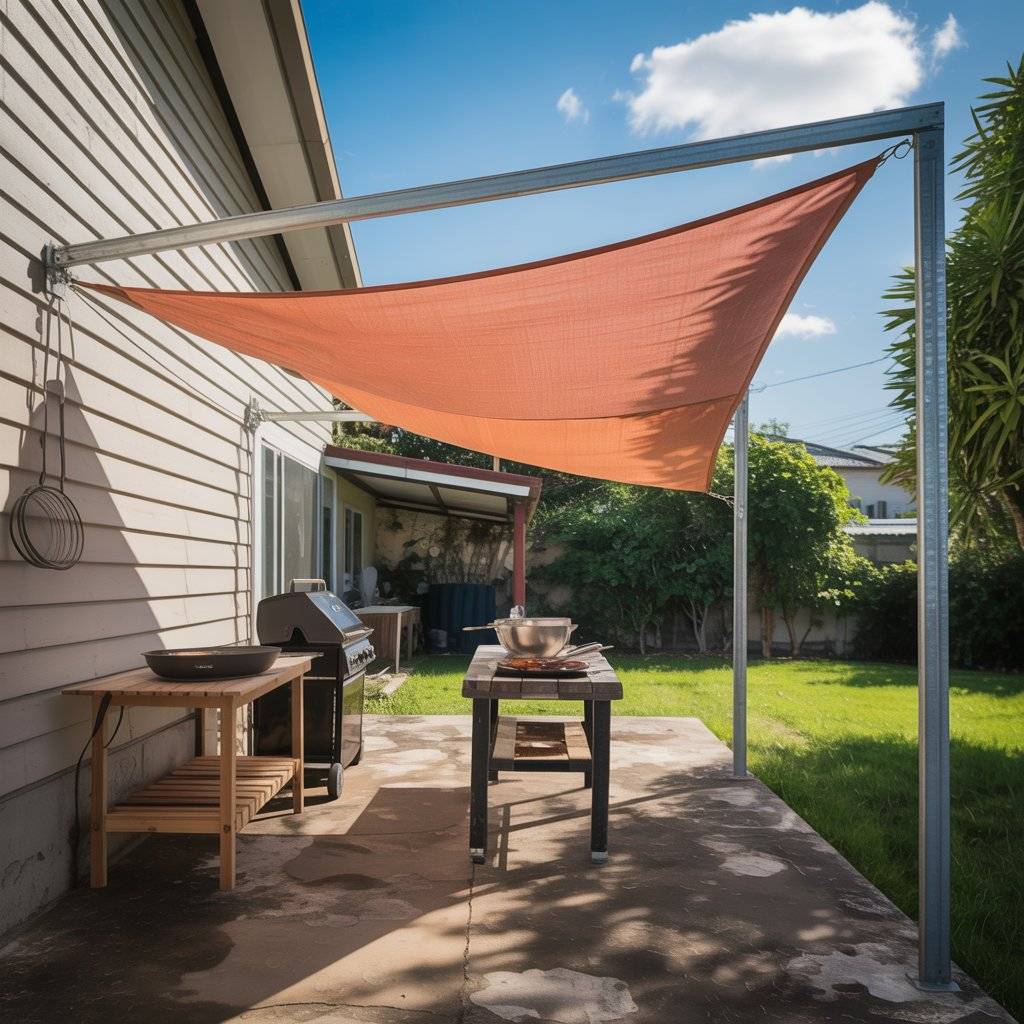
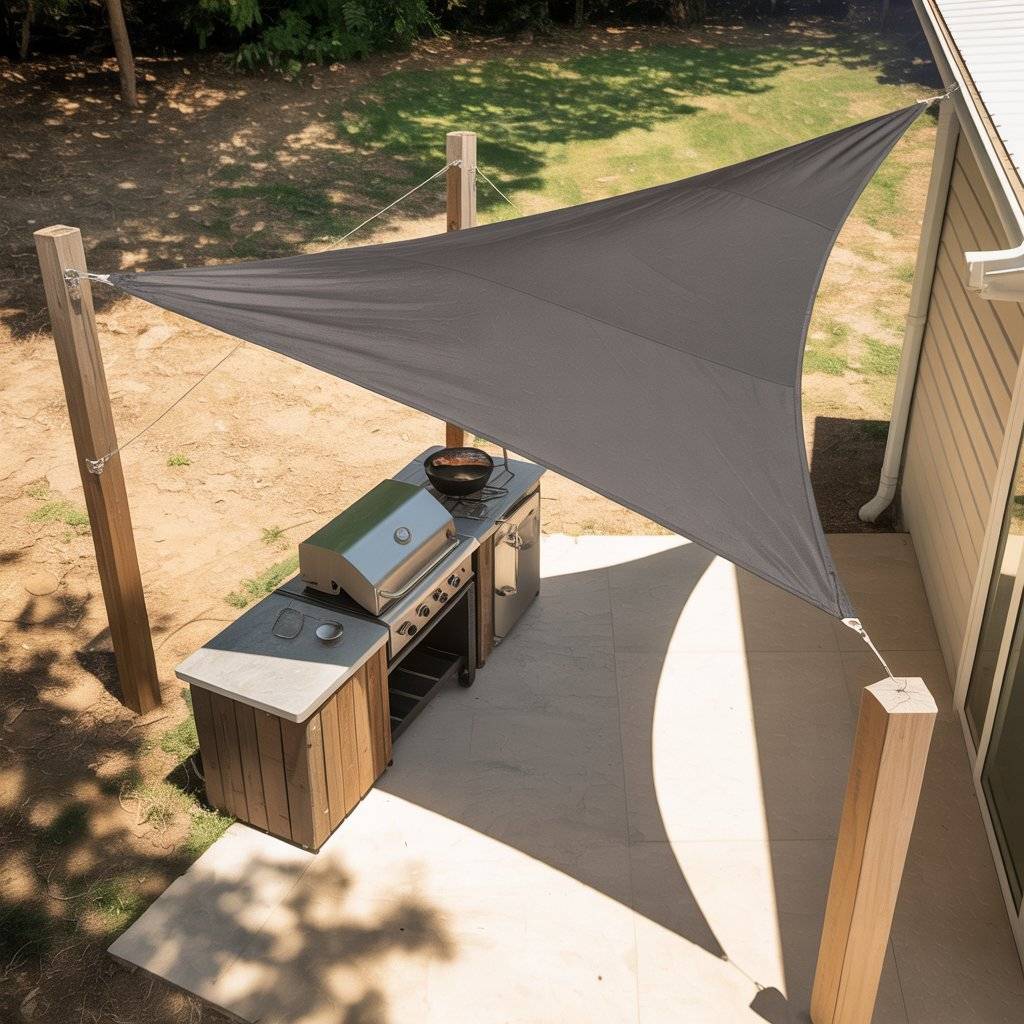
One thing I didn’t think about at the start was shade. Cooking outside in direct sun gets uncomfortable fast. Instead of building a full roof, I went with a simple and cheaper option. I used a shade sail and attached it to posts and a nearby wall.
It made a big difference right away. The cooking area stayed cooler, and I could use the space for longer periods during the day. You can also use an outdoor umbrella or even a basic tarp if you’re on a tight budget. The goal is just to block direct sunlight and make the space more usable.
This is one of those small additions that doesn’t cost much but improves the whole outdoor kitchen experience.
7. Use Gravel Instead of a Full Patio
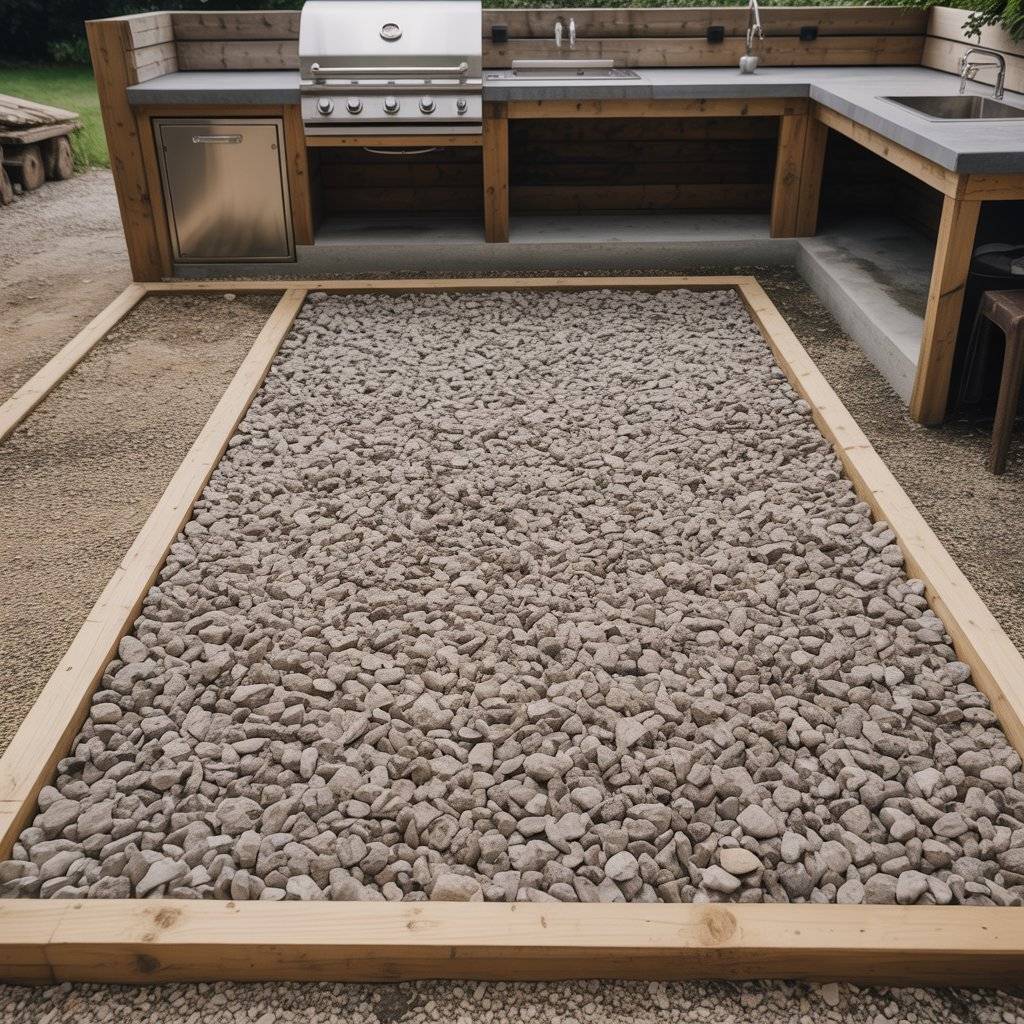
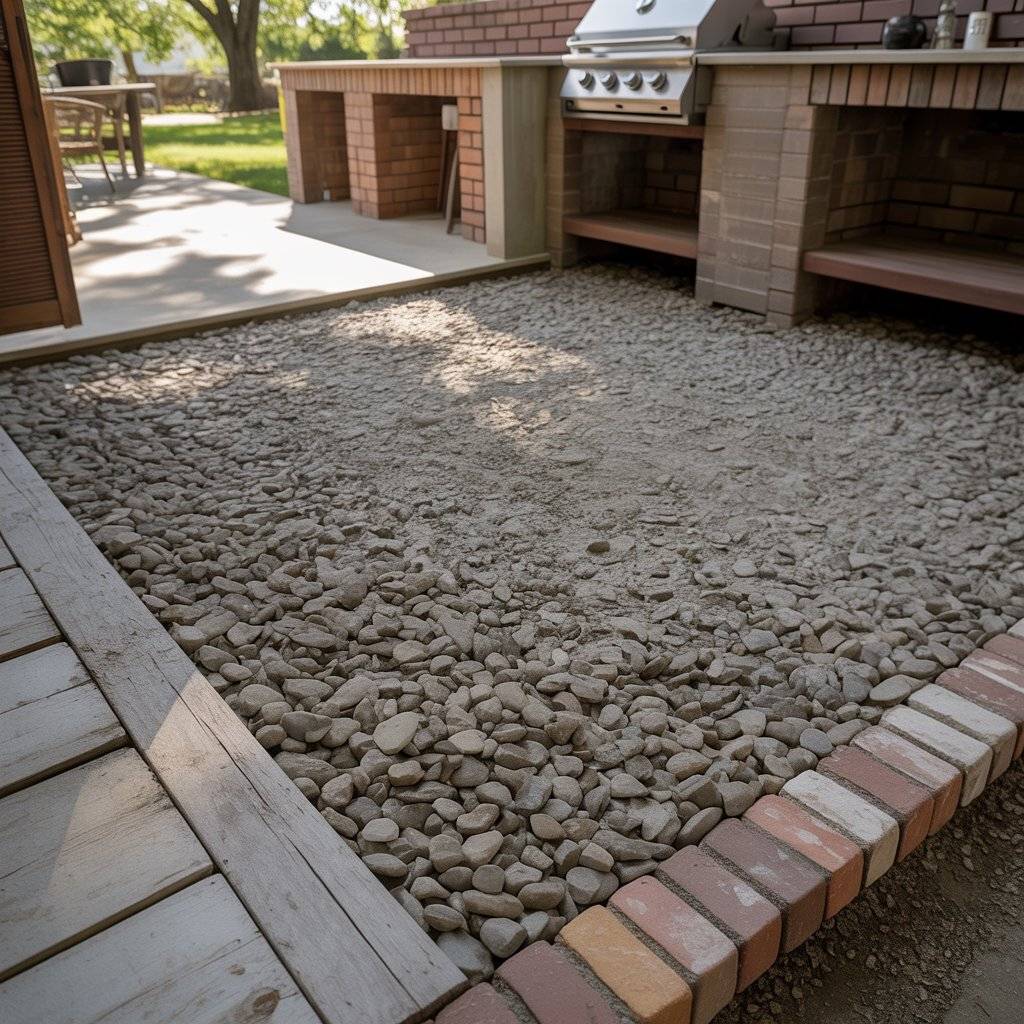
At first, I thought I needed to pour concrete for the outdoor kitchen floor. That quickly felt expensive. So I went with gravel instead. I cleared the area, leveled the ground, and spread a thick layer of gravel. It was simple and much cheaper than concrete or paving.
Gravel drains water well, which helps keep the area from getting muddy. It also gives the space a clean look without much effort. If you want it to look more finished, you can add a border using bricks or wood. That keeps the gravel in place.
This setup works well if you’re building on a budget. It doesn’t require special tools, and you can finish it in a day. For me, this was one of the easiest ways to create a solid base without spending too much.
8. Add a Basic Roof Later, Not First
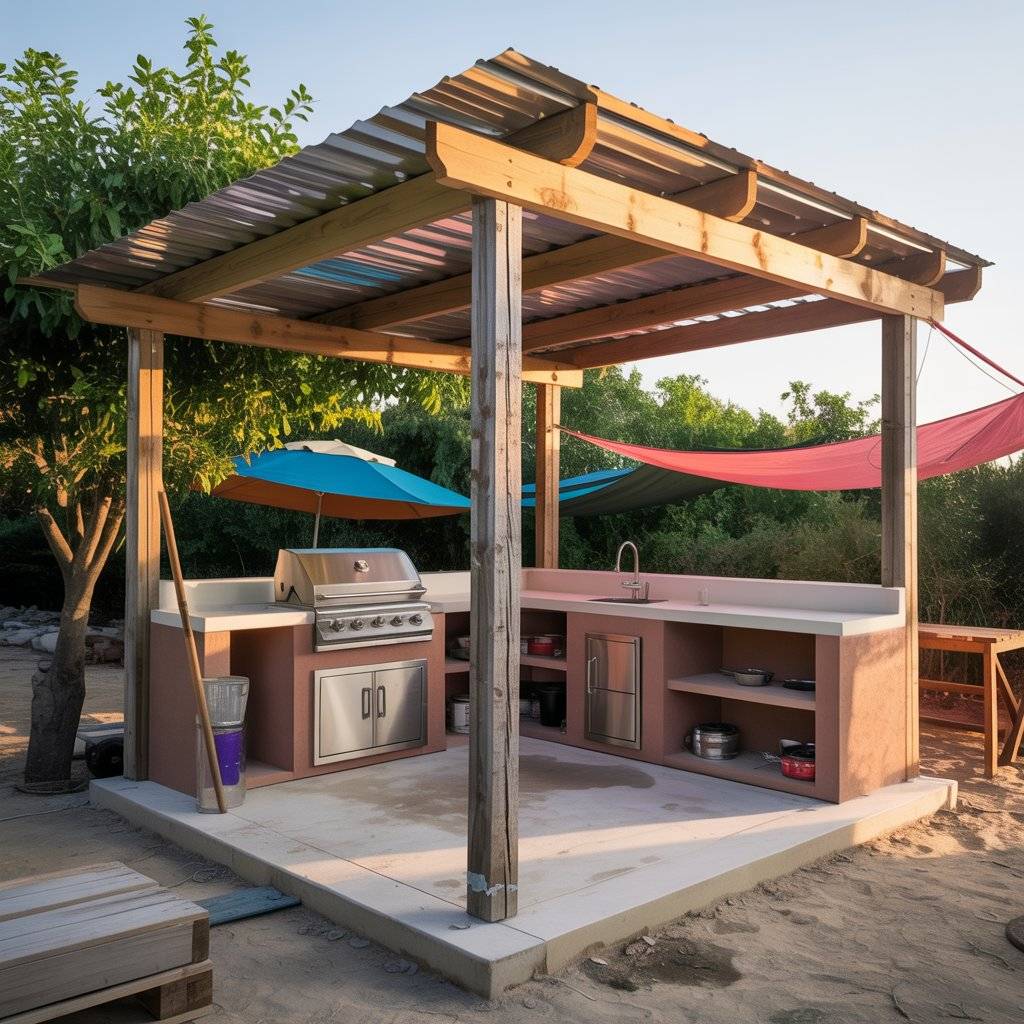
One mistake I almost made was trying to build everything at once, including a roof. That would have cost a lot more. Instead, I focused on the main kitchen area first. After using it for a while, I understood better where shade was needed.
When I finally added a simple roof, I kept it basic. Just a small structure with wood posts and metal sheets on top. If your budget is tight, it’s better to wait on this step.
Use a temporary shade option first, like an umbrella or shade sail. Building in stages helps you save money and avoid wasting materials on things you may not need right away.
9. Keep the Design Small and Expand Later
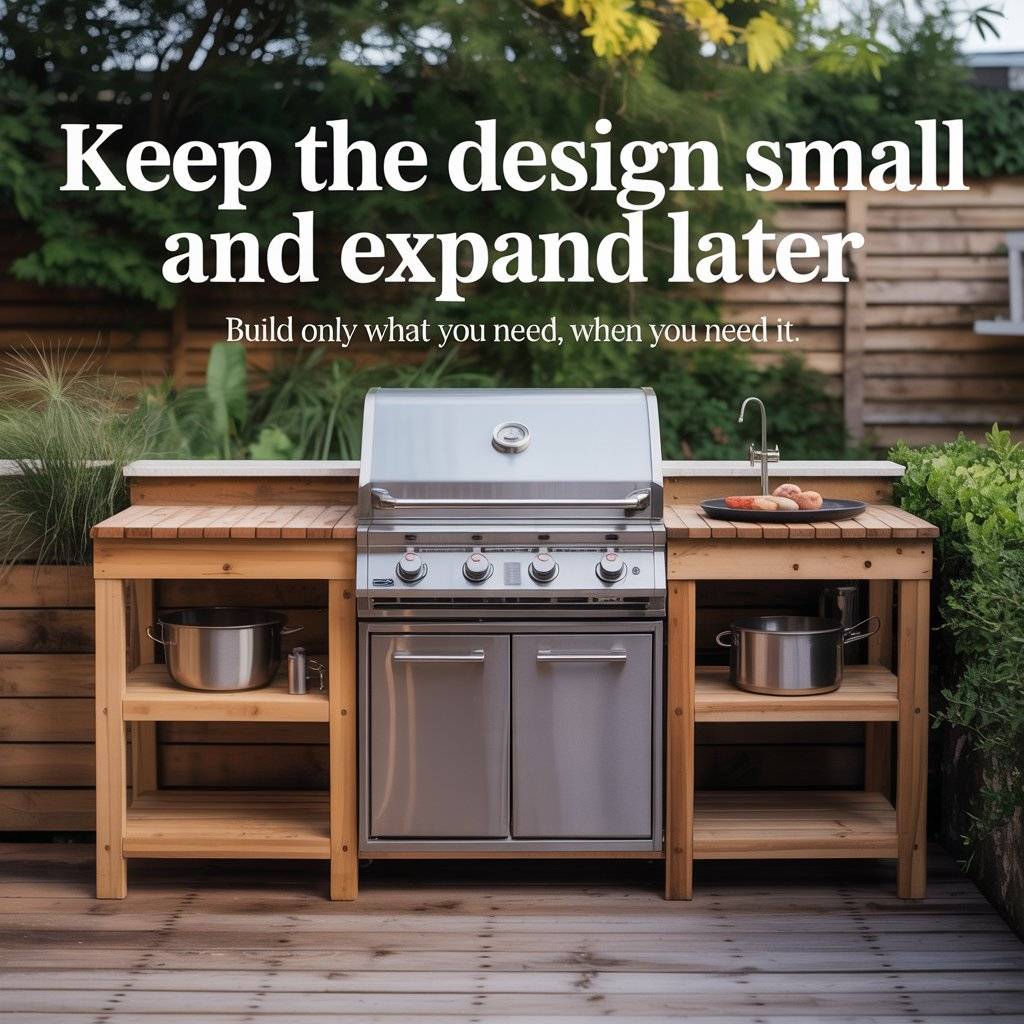
The biggest thing I learned is this don’t try to build a big outdoor kitchen at once. I started with a small setup. Just a grill, a simple counter, and a bit of storage. That was enough to cook and enjoy the space.
Over time, I added more. A better counter, a stronger base, and small upgrades here and there. This approach kept the cost low from the beginning. It also helped me avoid building things I didn’t actually use.
A smaller kitchen is easier to manage and maintain. And if you ever want to expand, you already have a solid starting point. Sometimes the cheapest way is not about the materials. It’s about building only what you need, when you need it.
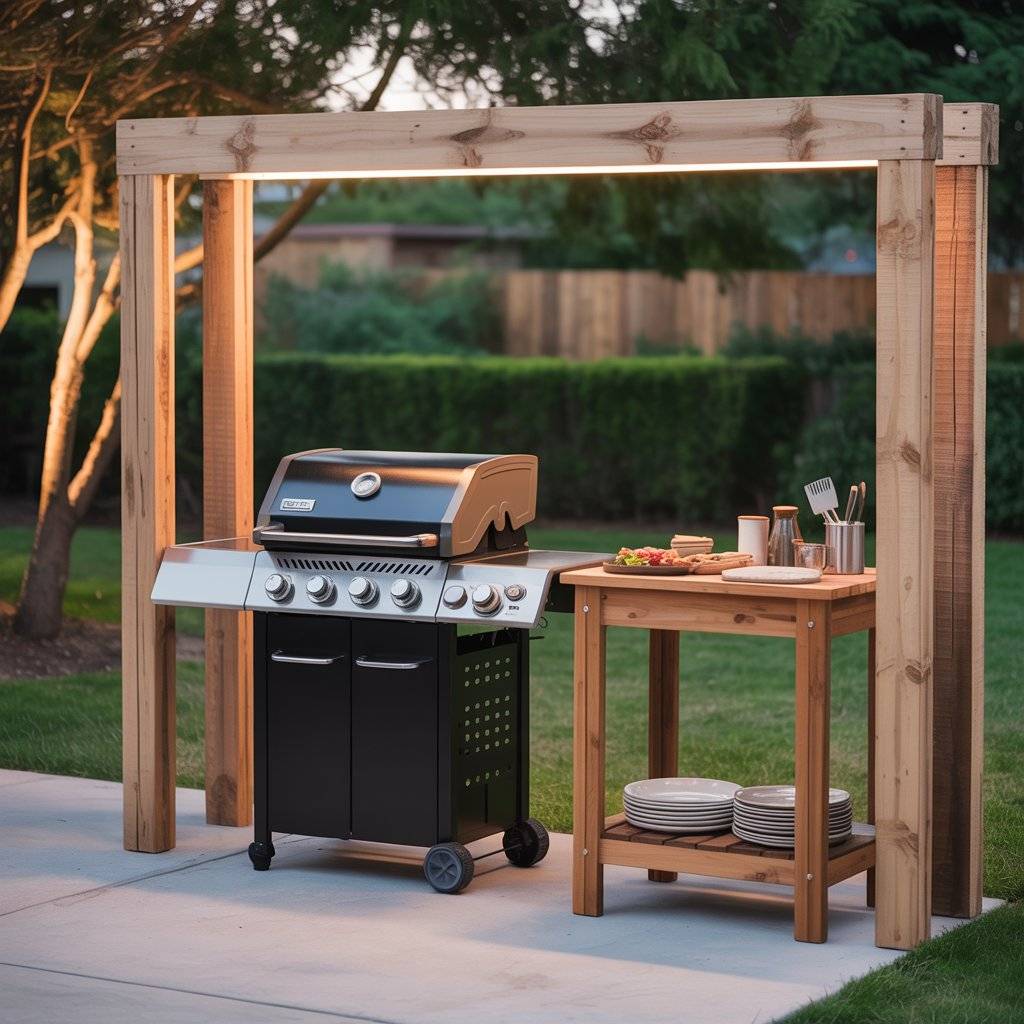
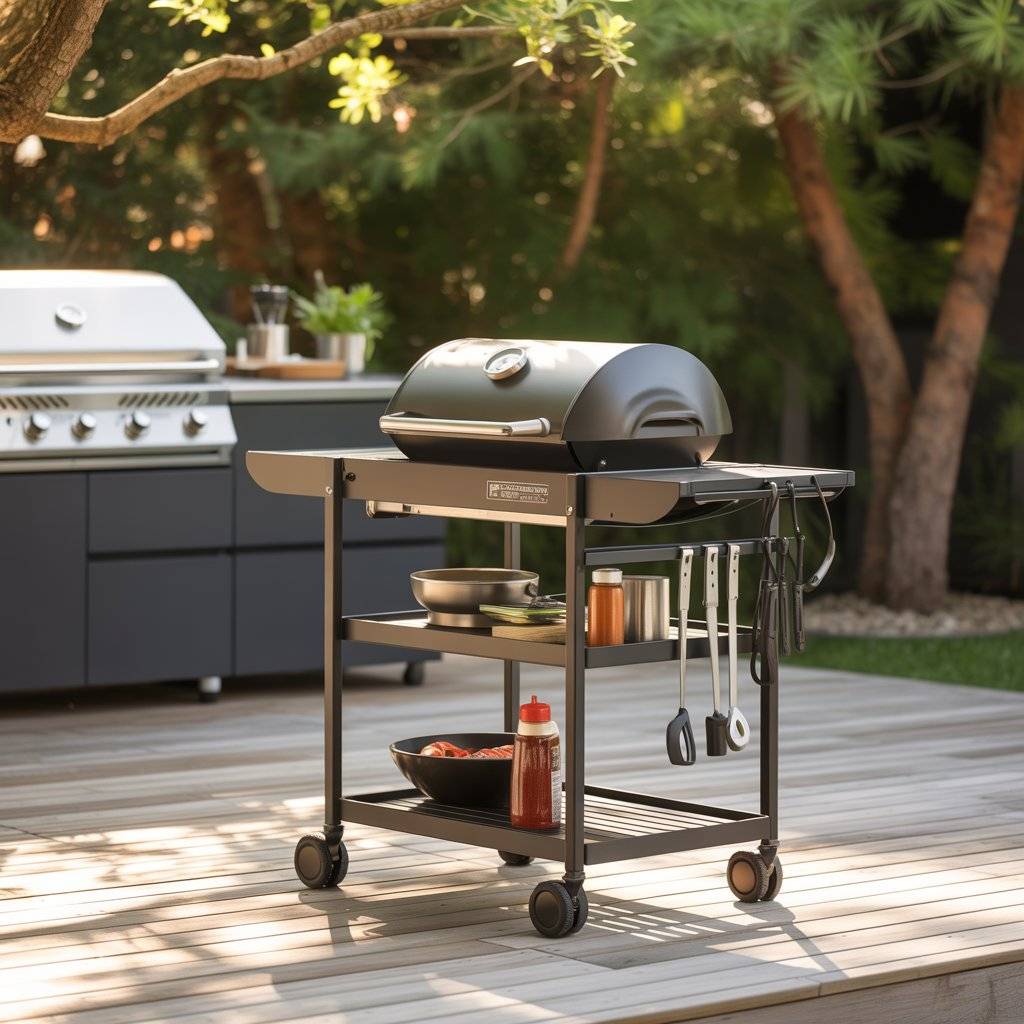
10. Use a Portable Grill Cart Instead of Building One
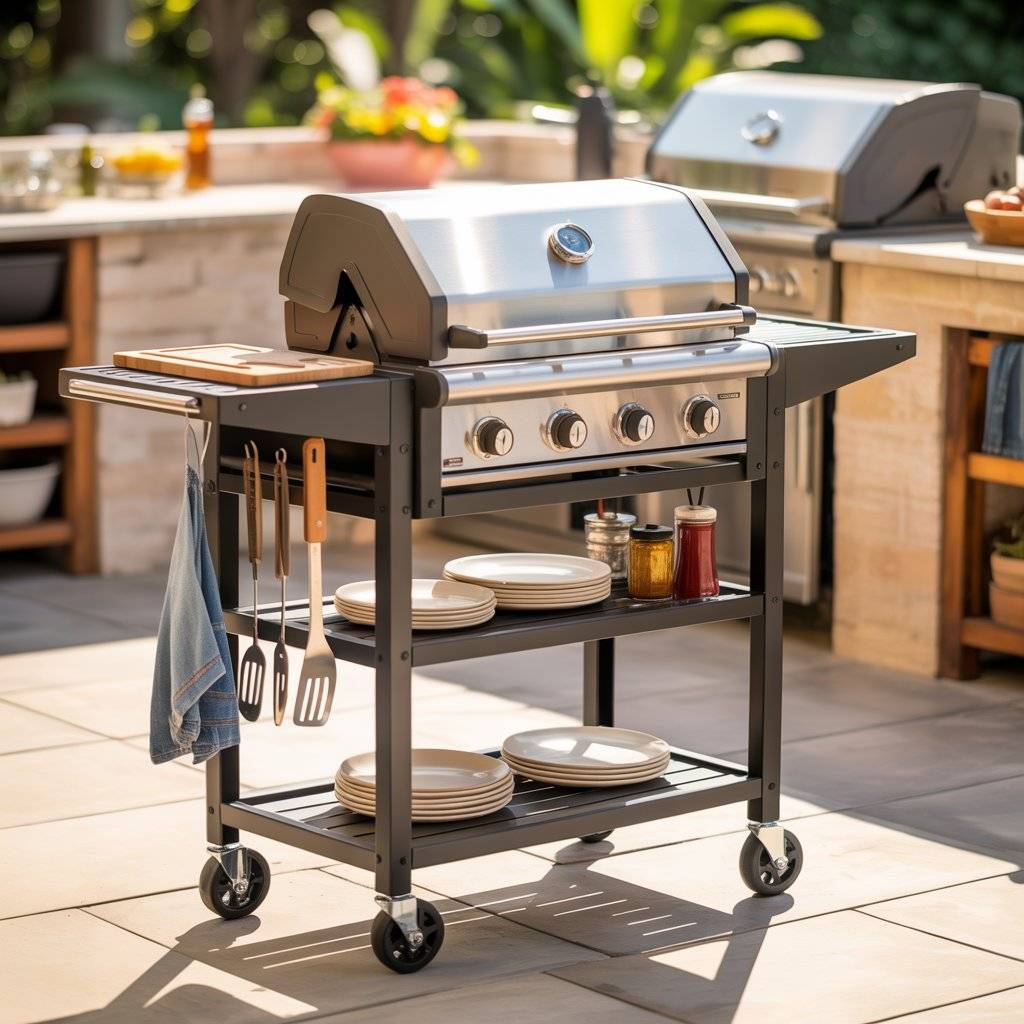
One thing I realized later is that you don’t always need to build a fixed grill station. A portable grill cart can do the same job for much less money. I tried this setup when I didn’t want to spend time building a frame.
The cart already had wheels, storage space, and a surface for prep. I just placed it next to my main cooking area. It made things easier because I could move it around when needed. If I wanted more space, I just rolled it to a better spot.
This works well if you’re renting or not ready to commit to a permanent setup. You can always build a fixed station later. For now, a simple cart gives you flexibility and keeps your costs low.
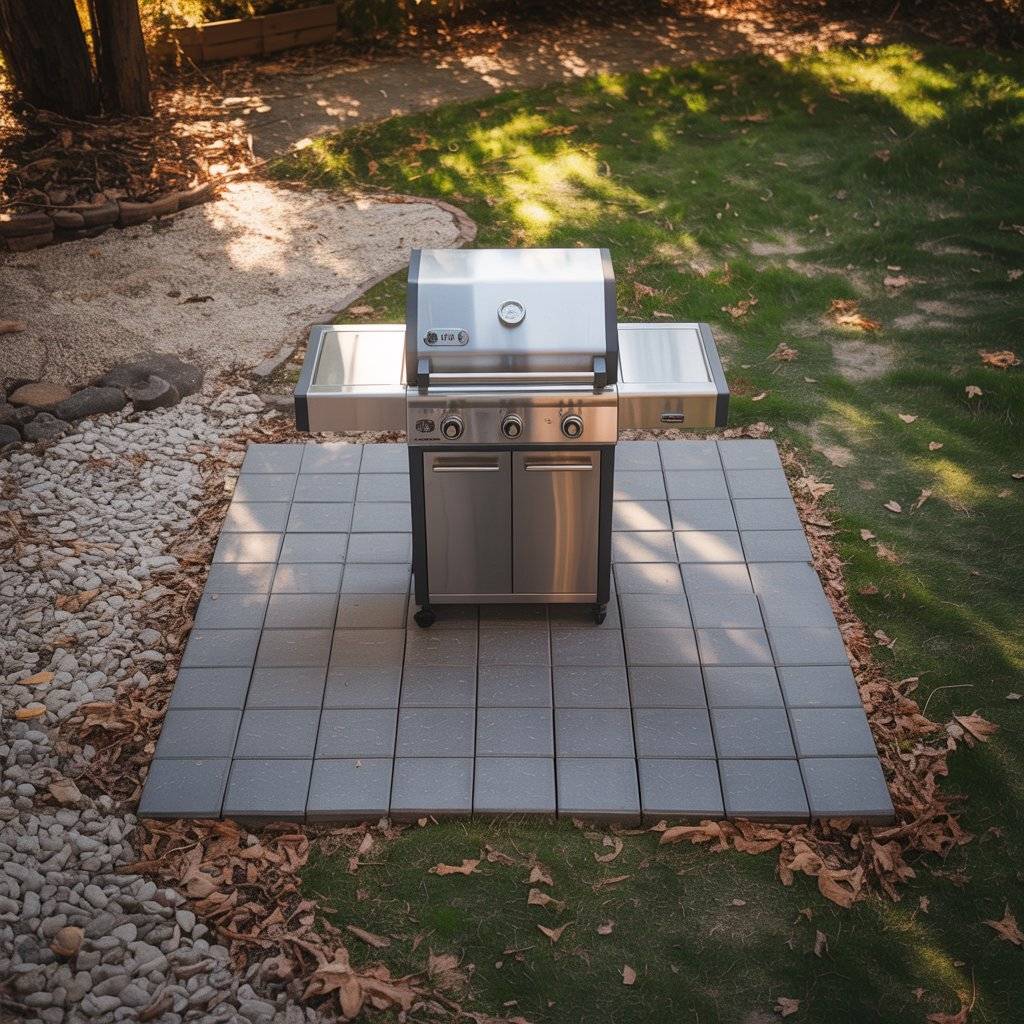
11. Use Pavers for a Small Cooking Zone
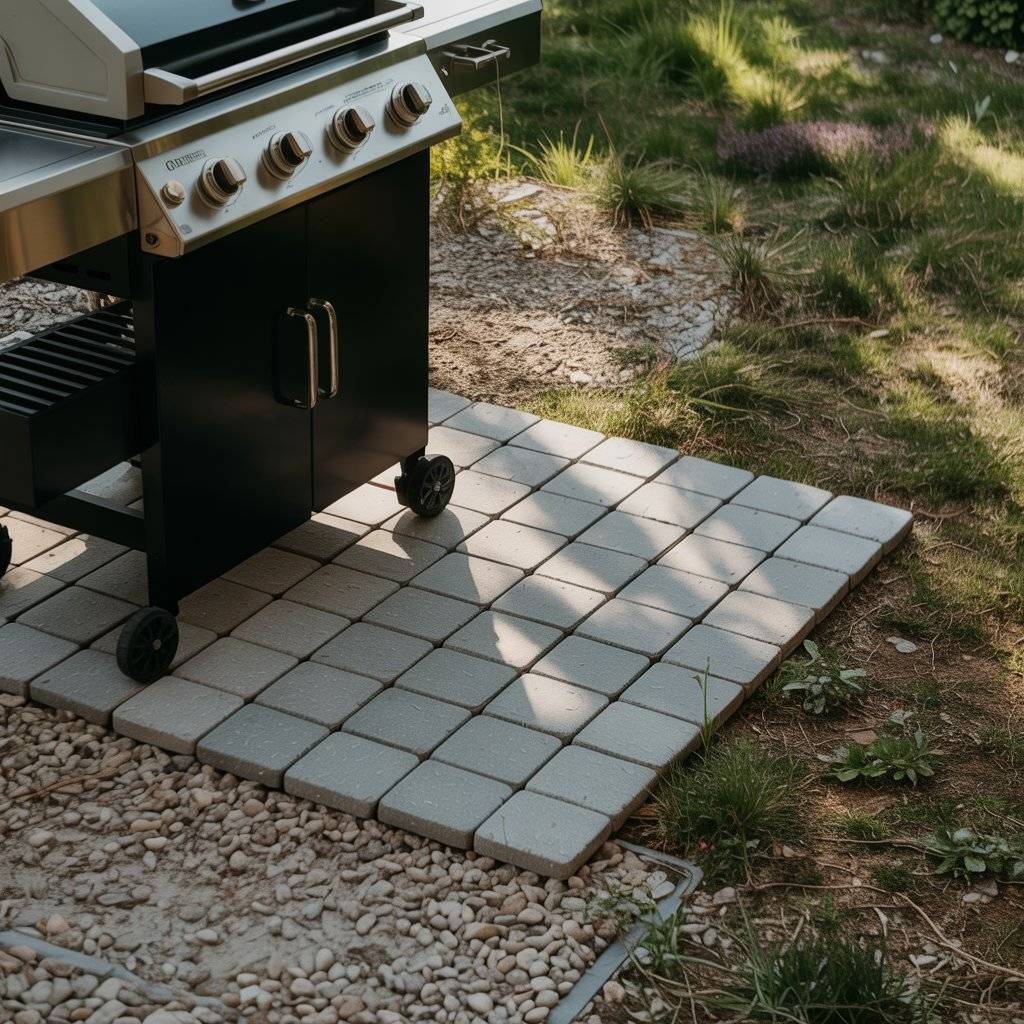
Instead of covering a large area with expensive materials, I kept things small and used a few pavers just under the grill area. I placed them where the grill sits to create a heat-safe surface. This helped protect the ground and made cleaning easier.
You don’t need many pavers for this. Just enough to cover the cooking spot. The rest of the area can stay gravel or grass. It’s a simple way to make your outdoor kitchen feel more solid without spending too much.
If you ever want to upgrade later, you can expand the paver area slowly instead of doing everything at once.
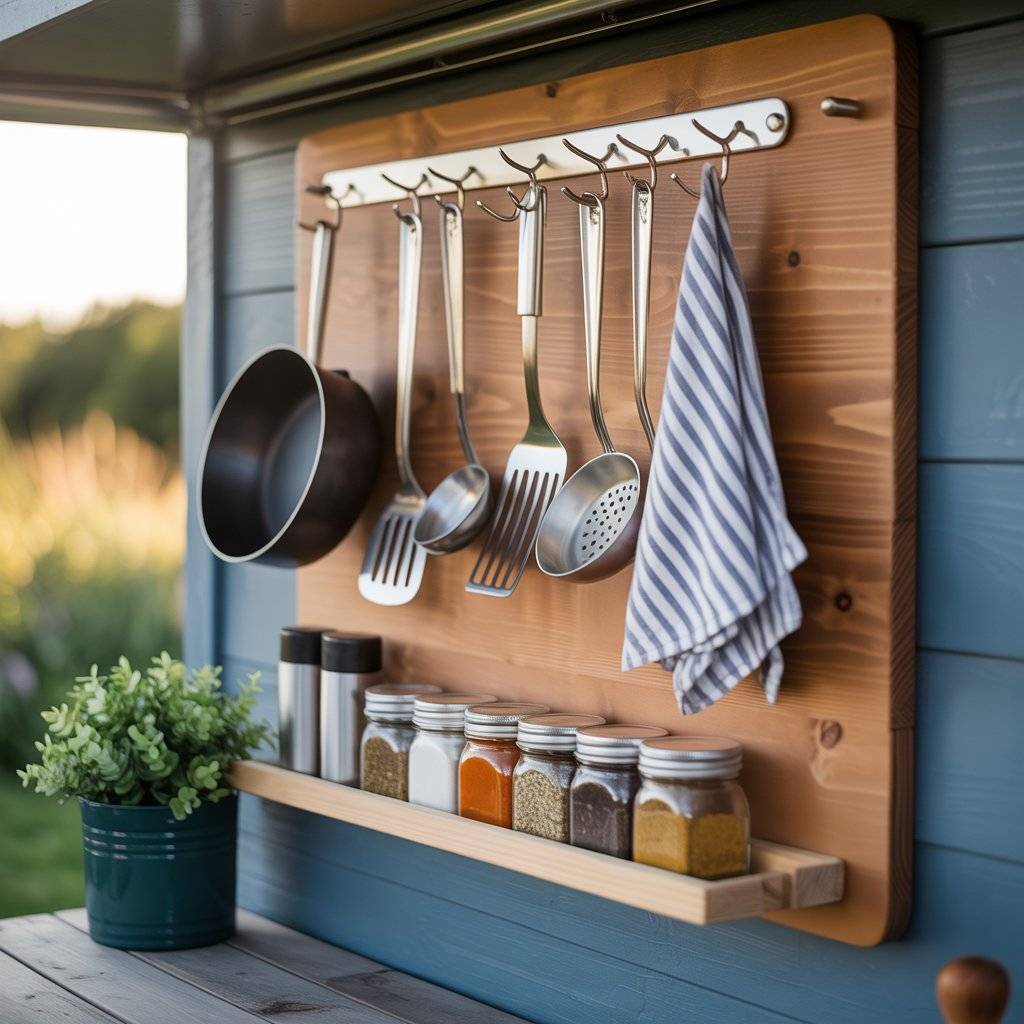
12. Add Simple Hooks and Wall Storage
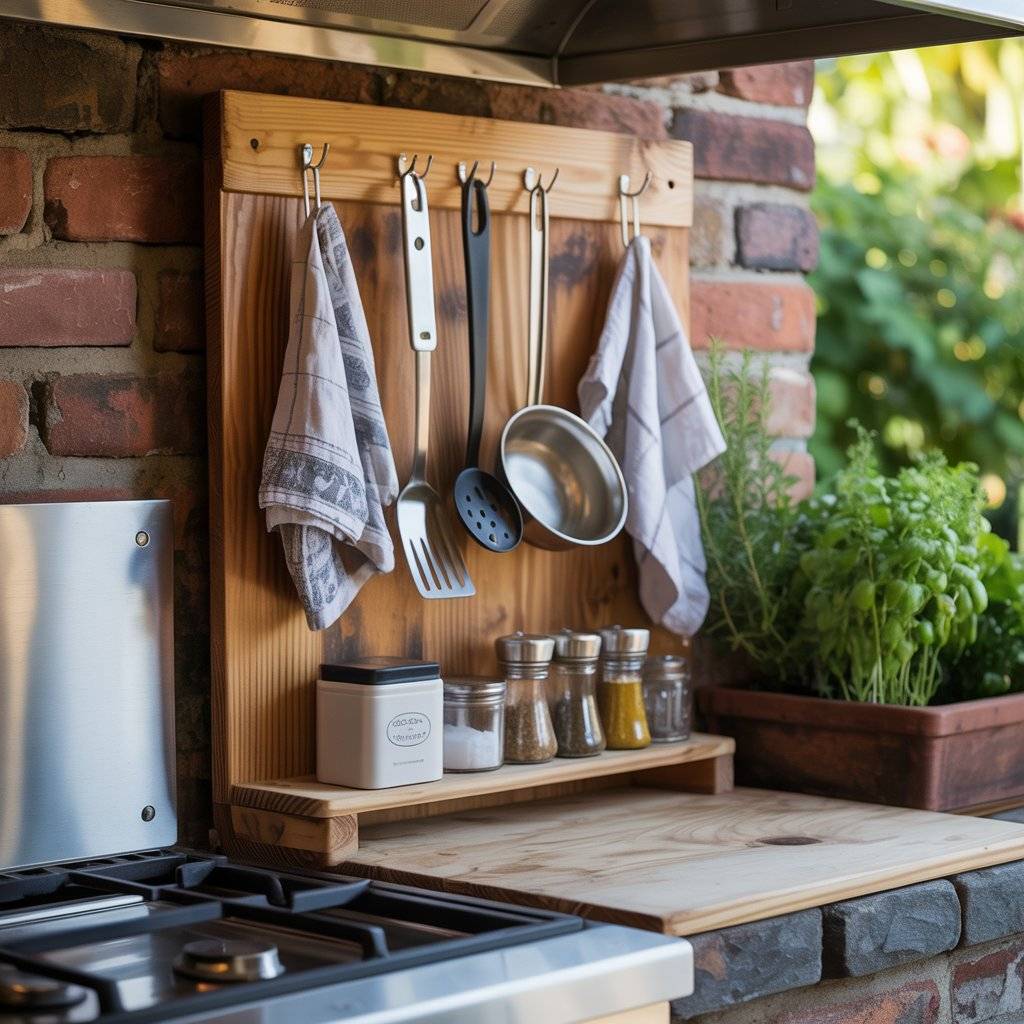
One small upgrade that made a big difference was adding hooks and basic wall storage. At first, I kept going back inside the house to grab tools. That got frustrating quickly.
So I installed a few hooks on a wooden board near the cooking area. I used them to hang utensils, towels, and even small pans. It didn’t cost much, but it made the kitchen more practical right away.
You can also add a small shelf for spices or cooking items. These little details don’t seem important at first, but once you start cooking outside more often, you realize how useful they are.
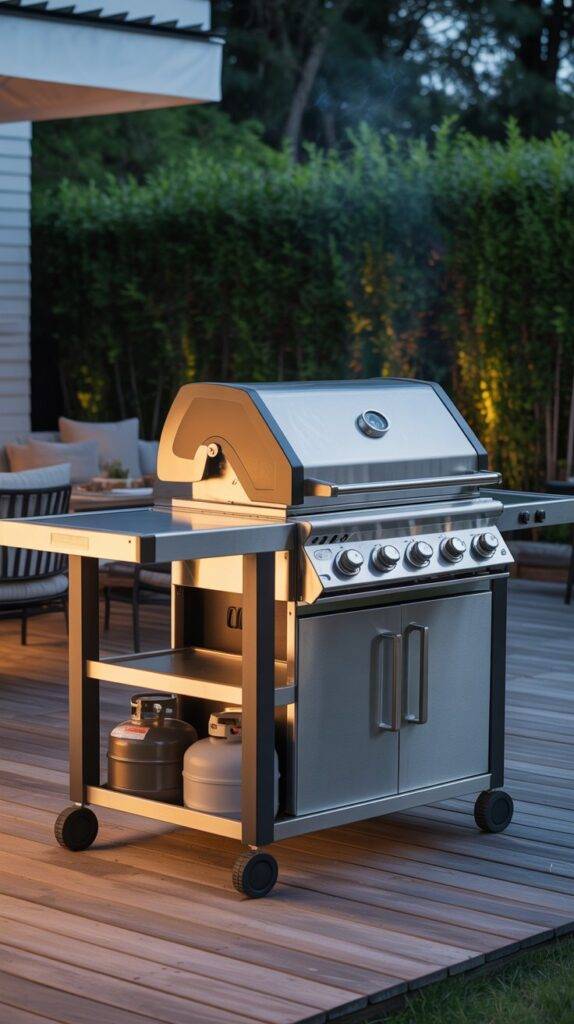
1. Portable Outdoor Grill Cart
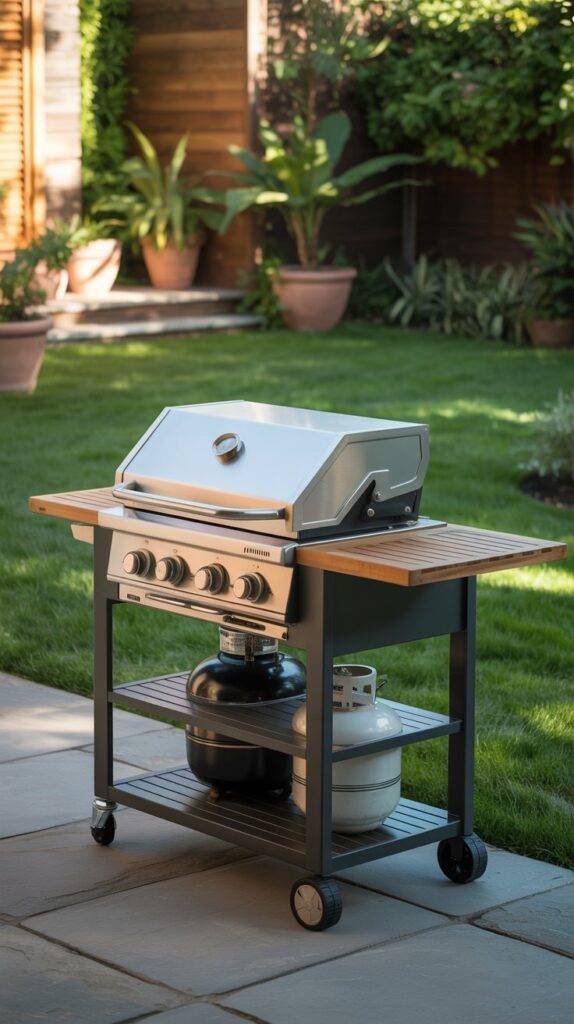
A portable grill cart is perfect for a small, flexible outdoor kitchen. I used one, and it lets you move the grill anywhere in your backyard. It often comes with wheels, a prep surface, and storage, so you don’t need a permanent setup.
This fits the “start small and expand later” approach. It’s practical, easy to use, and works on patios, decks, or grass. Portable carts save money compared to built-in grills and give you freedom to adjust your layout over time. ✅ Suggested Supply: Check price on Amazon.com
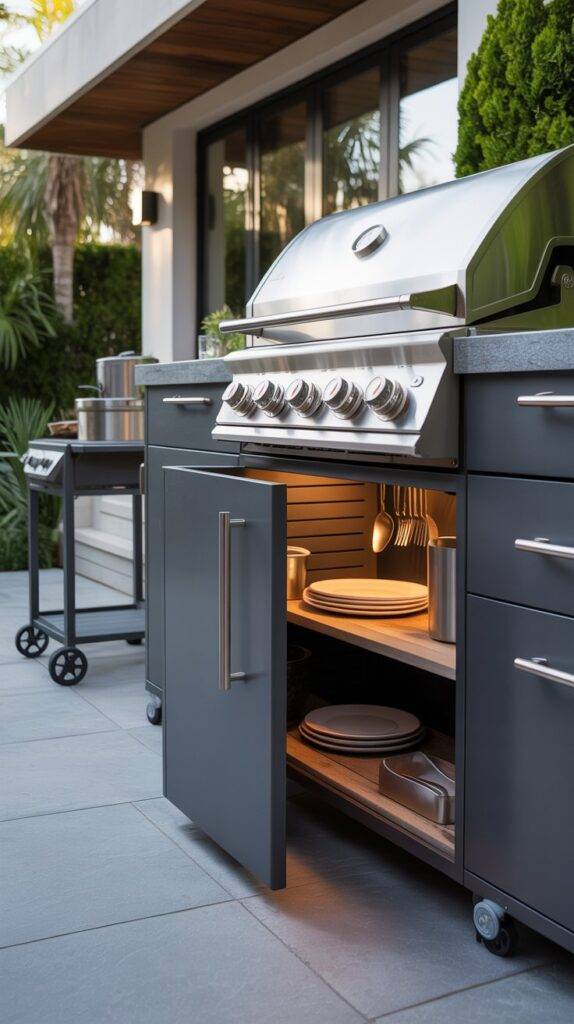
2. Weatherproof Outdoor Storage Cabinet
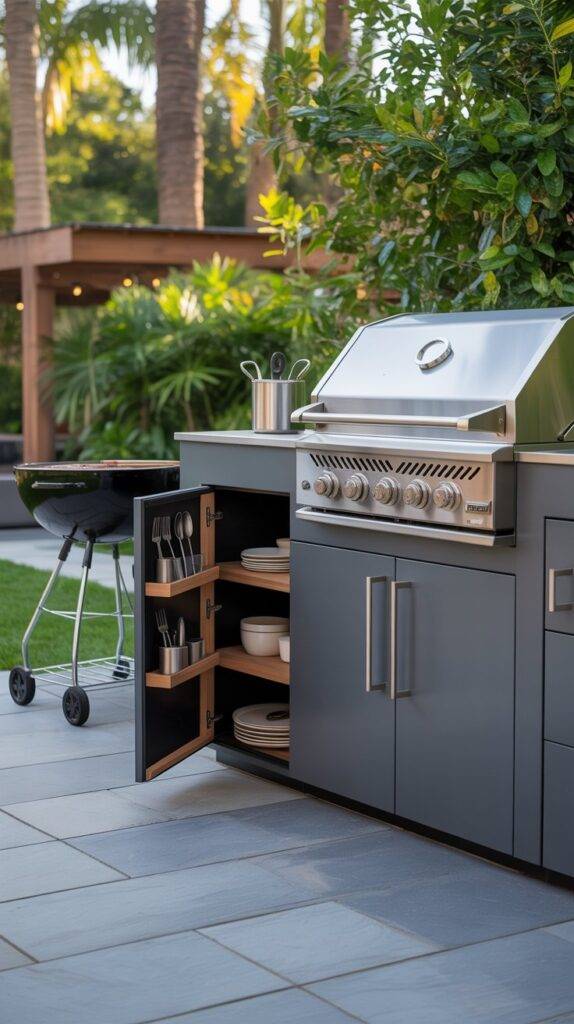
Storage is a big trend in 2026 outdoor kitchens, and having a weatherproof cabinet makes life easier. I added one next to my grill, and it kept utensils, plates, and tools organized.
These cabinets protect your items from rain and sun. You don’t need custom builds most are ready-to-use, durable, and affordable. It’s one of the easiest upgrades that make cooking outside practical and less stressful. ✅ Suggested Supply: Check price on Amazon.com
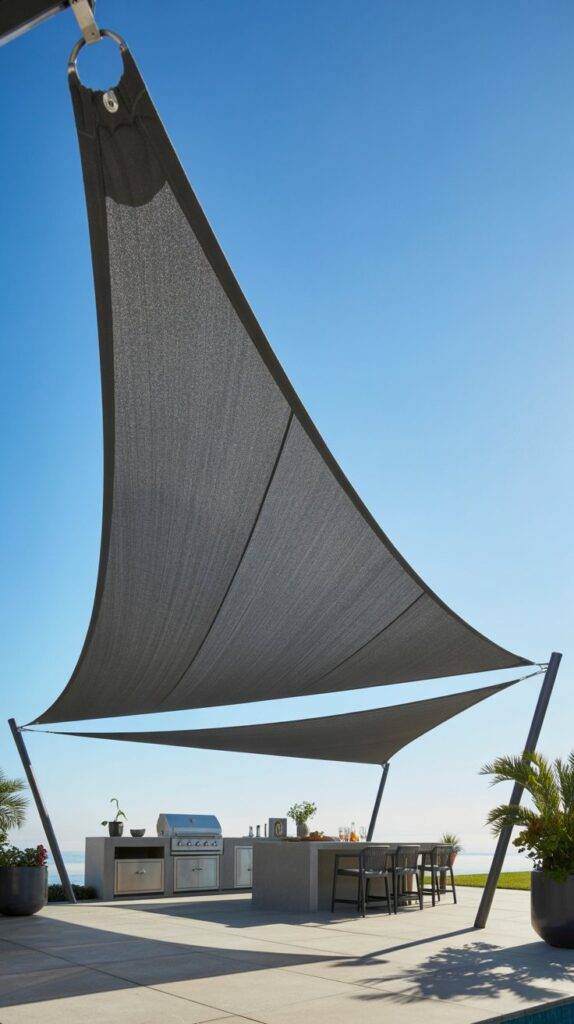
3. Outdoor Shade Sail or Canopy
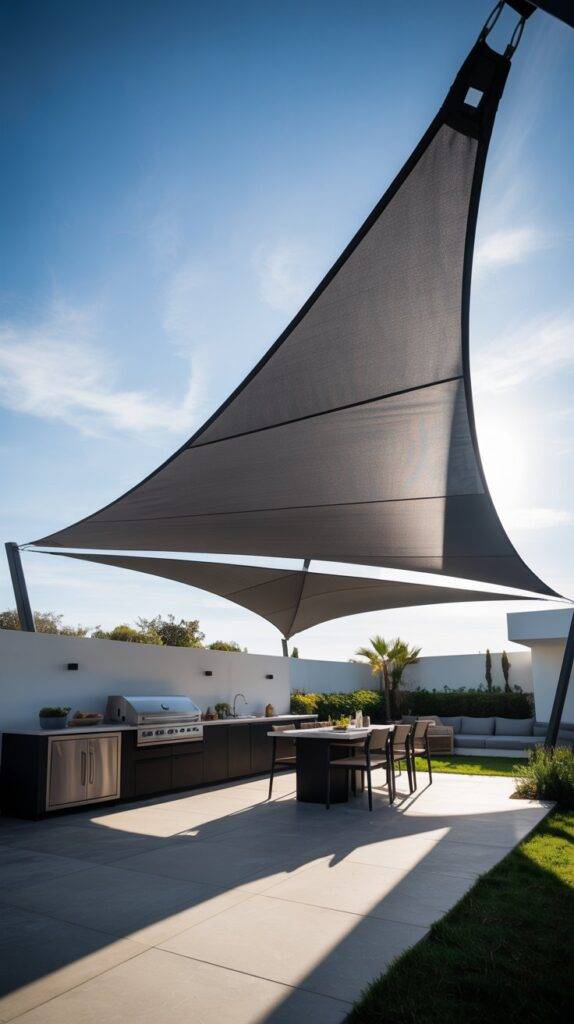
Shade is essential when cooking outside. A simple outdoor shade sail or canopy keeps the area cool, protects food, and makes your kitchen usable even on hot days.
I installed one over my setup, and it immediately improved comfort. Some sails are adjustable and easy to move. This inexpensive addition protects you, your guests, and your cooking area from the sun while keeping the space flexible. ✅ Suggested Supply: Check price on Amazon.com
FAQs
What is the cheapest way to build an outdoor kitchen?
The cheapest way is to start small. You don’t need a full setup right away. A grill, a simple counter, and a basic ground surface like gravel is enough. You can use pallets, old furniture, or concrete blocks to save money. Build step by step instead of doing everything at once.
Can I build an outdoor kitchen without concrete?
Yes, you can. I’ve done it without pouring concrete. Gravel, pavers, or even compacted soil can work as a base. Concrete looks nice, but it’s not required when you’re trying to keep costs low.
What materials are cheapest for outdoor kitchens?
Some of the cheapest materials are pallets, concrete blocks, gravel, and recycled wood. These are easy to find and don’t cost much. You can also reuse items like old cabinets or tables to save even more.
Do I need plumbing for an outdoor kitchen?
No, you don’t need it at the start. You can use a water container, a hose, or a simple basin. A full sink setup can come later if you decide to upgrade.
How can I make my outdoor kitchen look better on a budget?
Keep it clean and simple. Add small details like edging, shelves, or hooks. Even basic layouts look better when everything has a place. You don’t need expensive materials to make it look organized.
Reasons Why I Wrote This Article
I wrote this because I’ve been in that spot where you want an outdoor kitchen but everything online looks too expensive.
I also noticed a lot of ideas don’t focus on what actually works. They look good in pictures, but they’re not always practical.
Another reason is that many people don’t realize you can start small. You don’t need to build everything at once to enjoy cooking outside.
I wanted to share ideas that are simple and real. Things you can actually build without special tools or a big budget.
And honestly, I wrote this to make it easier for someone else. If you can save time, avoid mistakes, and build something that works, then this article did its job.
Final Thoughts
If you’re trying to figure out the cheapest way to build an outdoor kitchen, the answer is simple keep it basic and builds step by step.
You don’t need expensive materials or a perfect design. A working grill, a small prep area, and a clean surface under your feet are enough to get started.
What matters most is that the space works for you.
Once you start using it, you’ll naturally see what needs improvement. That’s when you can slowly add more without spending too much all at once.
In the end, a simple outdoor kitchen that you actually use is better than a large one that costs too much and takes too long to finish.
Related Post: